 Save
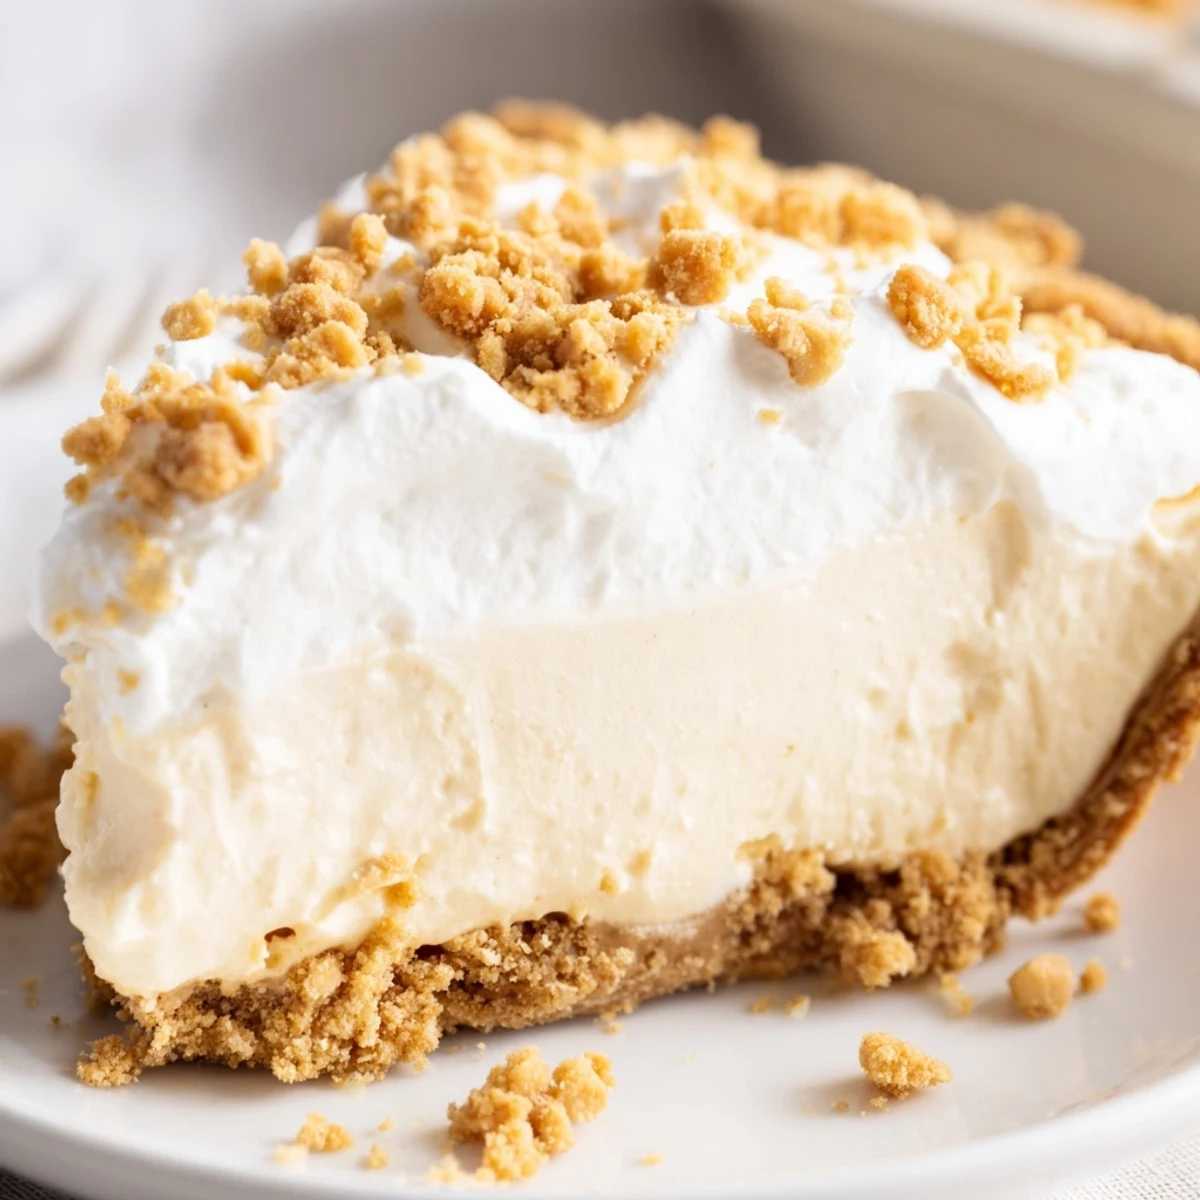
Save This beloved Amish dessert combines a silky peanut butter custard with layers of crumbly peanut butter topping and fresh whipped cream. The result is an irresistibly creamy, nutty treat that evokes memories of old-fashioned kitchen traditions. Perfect for gatherings or quiet evenings with coffee.
My grandmother kept a small Amish cookbook tucked away in her pantry, its pages stained with butter and vanilla. She swore by their peanut butter pie recipe, claiming it was the only dessert that could silence a rowdy Sunday dinner table. The first time I made it myself, I understood exactly what she meant—something about that velvety filling, those sweet crumbs, the way it feels like a hug in pie form.
I once brought this pie to a potluck where nobody knew me, and suddenly I was the person everyone wanted to talk to. A stranger actually asked for the recipe before she even learned my name. Thats the power of really good peanut butter.
Ingredients
- 1 9-inch prepared pie crust: Bake it until golden and let it cool completely—no one wants a soggy bottom situation
- 3/4 cup creamy peanut butter: The kind you stir, the oil on top is your friend here
- 1 cup powdered sugar: Makes those incredible crumbs that texture is everything
- 2/3 cup granulated sugar: Sweetens the custard just right without overpowering
- 1/3 cup all-purpose flour: The secret to that silky thick filling
- 1/4 teaspoon salt: Wakes up all the flavors
- 2 cups whole milk: Please use whole milk—your patience will be rewarded
- 3 large egg yolks: Room temperature eggs incorporate so much better
- 1 teaspoon pure vanilla extract: Real stuff only, please
- 2 tablespoons unsalted butter: Adds that luxurious finish
- 1 cup heavy whipping cream: Cold cream whips up faster and holds its shape longer
- 2 tablespoons powdered sugar: Just enough sweet for the topping
- 1/2 teaspoon vanilla extract: Because vanilla twice is never a bad idea
Instructions
- Mix the crumbs:
- Combine the peanut butter and powdered sugar with a fork until it looks like sandy crumbs, not a dough. Set aside half for later.
- Layer the bottom:
- Press half the crumbs into your cooled crust—think of it as building flavor from the ground up.
- Start the custard:
- Whisk sugar, flour, and salt in your saucepan, then gradually whisk in the milk until no lumps remain.
- Cook it right:
- Heat over medium, whisking constantly until it bubbles and thickens—about 4 minutes of arm work.
- Temper those eggs:
- Whisk your yolks in a separate bowl, then slowly add some hot milk while whisking like your life depends on it.
- Combine and cook again:
- Pour the warmed egg mixture back into the saucepan, cook 2 more minutes until glossy and thick enough to coat a spoon.
- Finish the filling:
- Remove from heat and stir in butter and vanilla until smooth and gorgeous.
- Assemble and chill:
- Pour over the crumbs, cool 15 minutes, then refrigerate at least 2 hours—overnight is even better.
- Make the topping:
- Beat the cream, powdered sugar, and vanilla until stiff peaks form—dont overwhip or youll be making butter.
- Finish it off:
- Spread that cloud of cream over your chilled pie and shower it with the remaining crumbs.
 Save
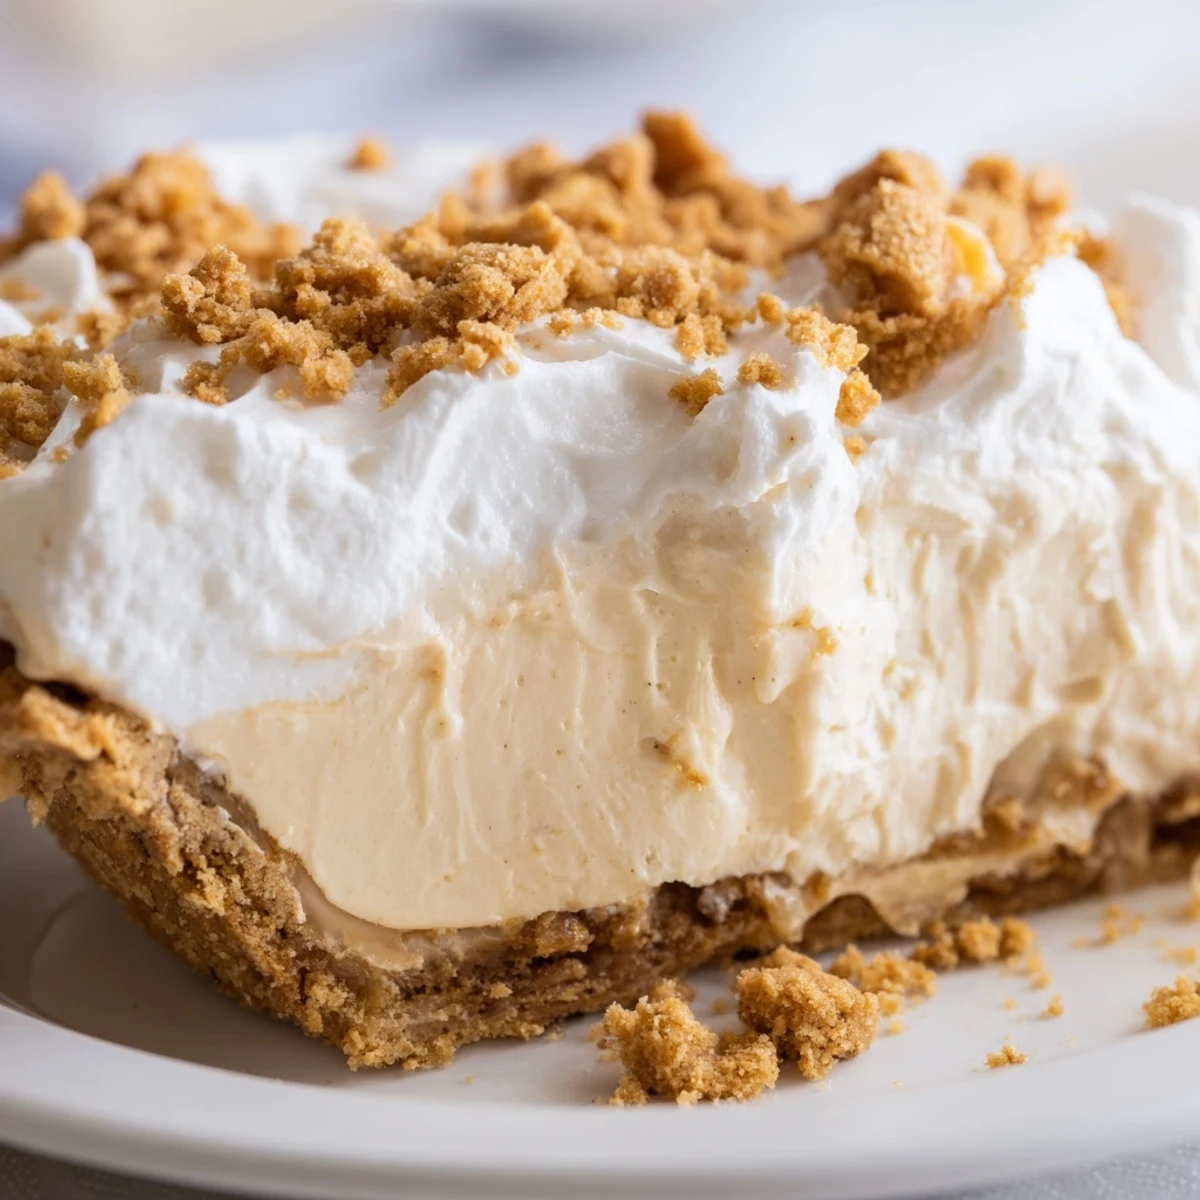
Save My daughter now requests this for her birthday instead of cake, which feels like the ultimate compliment. Something about that first forkful cutting through all those layers.
The Crust Situation
While store-bought crusts work perfectly fine, a homemade graham cracker crust takes this pie to another level. Just crush graham crackers, mix with melted butter and a pinch of salt, press into your pan, and bake 8 minutes. The difference is subtle but worth it.
Make Ahead Magic
This pie is your best friend for entertaining because it actually improves with time. You can make the entire thing up to 24 hours in advance. Just hold off on adding the final crumb topping until right before serving so they stay crunchy and fresh-looking.
Serving Suggestions
A cold glass of milk is the classic pairing for good reason—it cuts through all that richness perfectly. Hot coffee works surprisingly well too, especially if you serve this after dinner.
- Let the pie sit at room temperature for 10 minutes before slicing for cleaner cuts
- Dip your knife in hot water between slices for picture-perfect wedges
- Store leftovers covered in the fridge—though there rarely are any
 Save
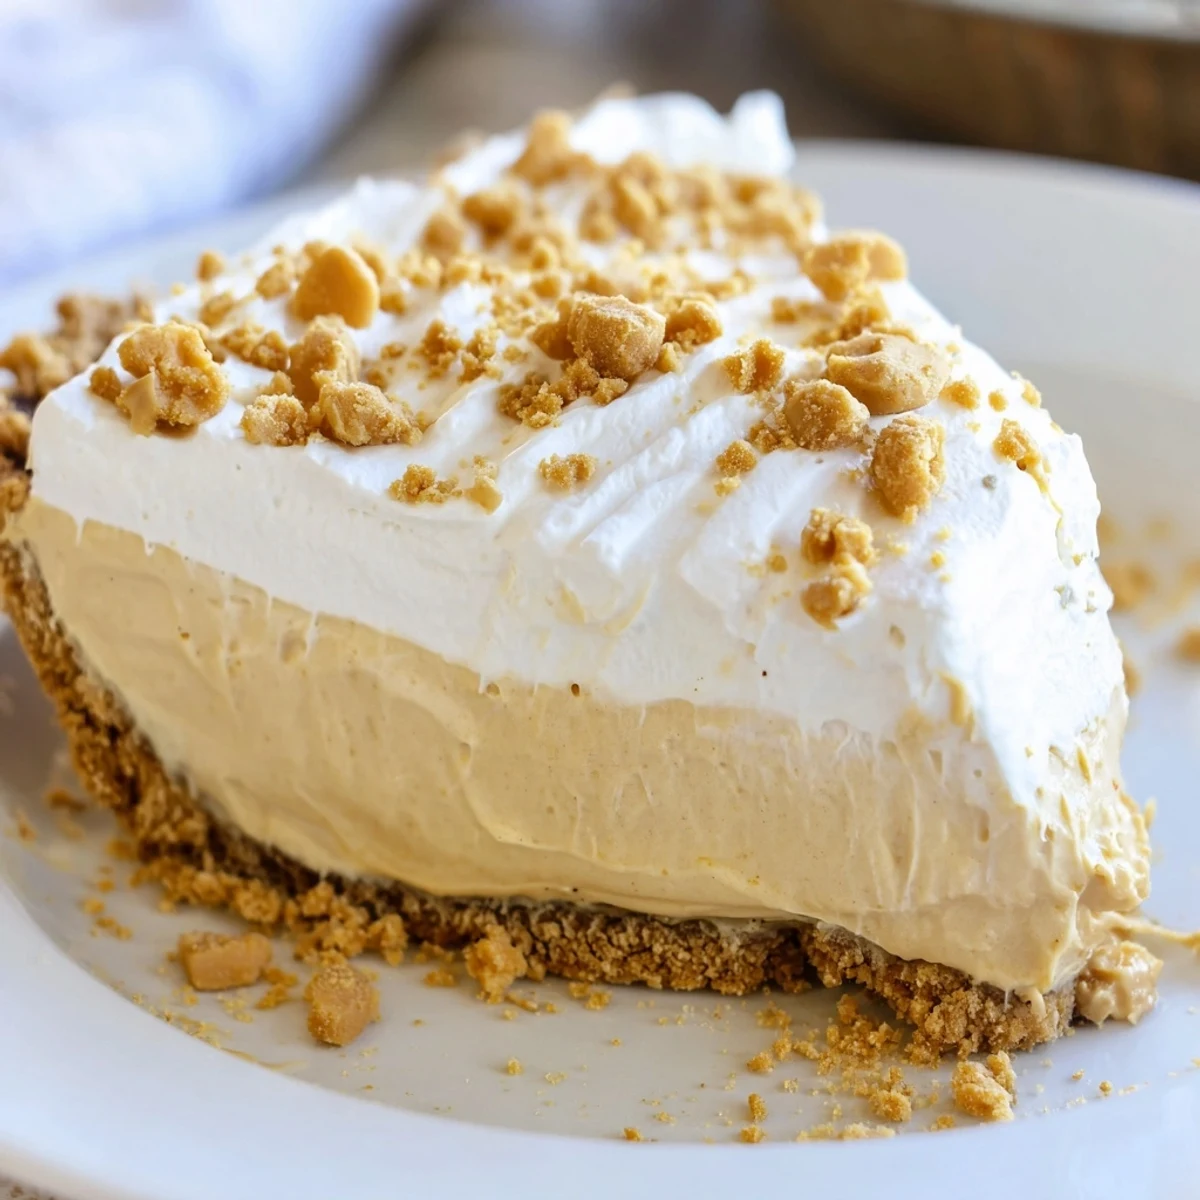
Save Some desserts are about technique, but this one is all about comfort and letting simple ingredients shine together. That grandmother of mine knew what she was doing.
Recipe FAQs
- → How long should the pie chill before serving?
-
Refrigerate for at least 2 hours until completely set. The filling firms up beautifully, making clean slices easier and the texture perfectly creamy.
- → Can I make this ahead of time?
-
Absolutely. This pie actually improves after chilling overnight. Store covered in the refrigerator for up to 3 days. Add the whipped cream topping just before serving for the freshest presentation.
- → What type of peanut butter works best?
-
Creamy peanut butter creates the smoothest texture for both the filling and crumbs. Commercial brands work wonderfully, though natural peanut butter can be used if thoroughly stirred.
- → Can I use a store-bought crust?
-
Yes, a prepared 9-inch pie crust works perfectly. For extra flavor, consider a graham cracker or shortbread crust. Bake and cool completely before adding the filling.
- → How do I prevent the filling from curdling?
-
Temper the egg yolks by gradually whisking in a small amount of hot milk before adding them back to the saucepan. This gentle warming prevents scrambling and ensures a silky smooth custard.
- → Can I freeze this pie?
-
The filling freezes well, but the whipped cream topping does not. Freeze the pie without topping, wrapped tightly, for up to 2 months. Thaw overnight in the refrigerator and top with freshly whipped cream before serving.
