 Save
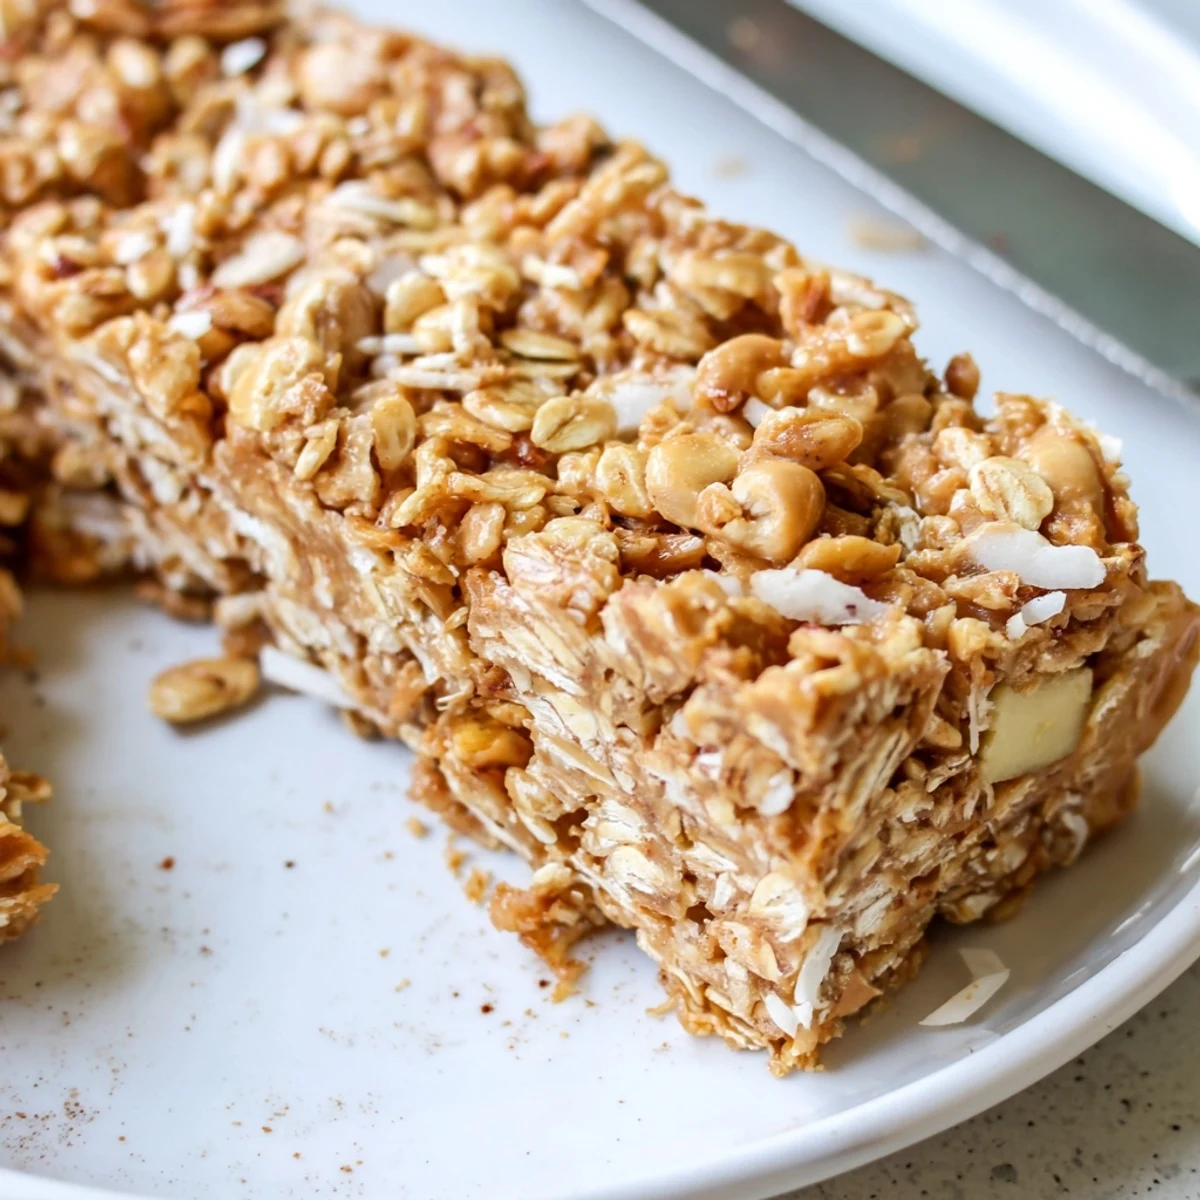
Save These soft and chewy granola bars combine wholesome oats, crispy rice cereal, and sweet dried apple with rich creamy peanut butter. Naturally sweetened with honey and flavored with warm cinnamon, they come together in just 15 minutes without any baking. Simply mix, press into a pan, and chill until firm. Perfect for meal prep, lunchboxes, or anytime snacking. Each bar delivers a satisfying balance of sweetness, crunch, and nutty flavor while being vegetarian and easily gluten-free.
Last September, my kitchen counter became a laboratory for these granola bars after I got tired of paying seven dollars for tiny bars at the grocery store. The first batch stuck to the pan because I forgot parchment paper, a mistake I made exactly once. Now these bars live in my refrigerator constantly, perfect for those moments when you need something sweet but substantial.
My friend Sarah popped over unexpectedly last week while I was pressing the mixture into the pan. She stood watching, skeptical about the no bake approach, until I handed her a cooled bar an hour later. She texted me that night from her own kitchen asking for the recipe, which is basically my highest compliment.
Ingredients
- 2 cups old fashioned rolled oats: The sturdy flakes hold their texture beautifully and provide that classic granola bar chew
- 1 cup crispy rice cereal: Creates those irresistible airy crunch pockets throughout each bite
- 1/2 cup dried apple finely chopped: Finer pieces distribute sweetness evenly instead of creating concentrated fruity zones
- 1/3 cup unsweetened shredded coconut optional: Toast it first if you want deeper nutty flavor throughout
- 1/4 cup chopped peanuts optional: Salted peanuts add a gorgeous contrast against the sweet honey binder
- 1/2 teaspoon ground cinnamon: Warm spice that makes apple and peanut butter sing together
- 1/4 teaspoon salt: Enhances all flavors and prevents that flat taste some homemade bars have
- 1/2 cup natural creamy peanut butter: The glue holding everything together, so use the good stuff
- 1/3 cup honey: Maple syrup works but honey creates that signature chewy texture
- 2 tablespoons coconut oil melted: Helps the mixture set firm enough to cut cleanly
- 1 teaspoon pure vanilla extract: Stir it in off heat to preserve those delicate aromatic compounds
Instructions
- Prep your pan properly:
- Line an 8x8 inch pan with parchment paper, leaving overhang on two sides like handles. This small step saves so much frustration later when you need to lift the whole slab out.
- Mix the dry ingredients:
- In a large bowl, combine oats, rice cereal, dried apple, coconut, peanuts, cinnamon, and salt. Stir until everything looks evenly distributed.
- Warm the wet mixture:
- Heat peanut butter, honey, and coconut oil in the microwave or on the stove until smooth and pourable. Remove from heat before stirring in vanilla.
- Combine thoroughly:
- Pour the warm mixture over the dry ingredients and stir until every oat and crisp is coated. This takes some muscle but is crucial for bars that hold together.
- Press firmly into pan:
- Transfer mixture to your prepared pan and press down firmly with a spatula or your hands. Really pack it in tight so the bars do not crumble apart later.
- Chill until set:
- Refrigerate for at least one hour until completely firm. This step cannot be rushed or the bars will fall apart when cut.
- Cut and store:
- Lift the slab using your parchment handles and cut into 12 bars. Store in an airtight container in the refrigerator for up to a week.
 Save
Save These bars have saved me on countless road trips and busy mornings when breakfast felt impossible. My partner actually requested them instead of a birthday cake last month, which might say something about how addictive they become.
Making Them Your Own
The beauty of this recipe is its flexibility. I have swapped dried apple for cherries, replaced peanuts with almonds, even added dark chocolate chips once the mixture cooled slightly. Keep the ratios of wet to dry ingredients similar and you cannot go wrong.
Texture Secrets
Some days I want extra crunch so I increase the rice cereal. Other times I make them dense with more oats and less cereal. You control the final texture based on what you enjoy most in a granola bar.
Storage And Portability
These travel beautifully and actually improve after a day or two as flavors meld. I wrap individual bars in parchment and toss them in lunch boxes or gym bags without worry.
- They hold up surprisingly well in backpacks during hiking trips
- Freeze them for up to three months if you want to meal prep ahead
- Let frozen bars thaw at room temperature for about ten minutes before eating
 Save
Save There is something deeply satisfying about making your own granola bars, like you have unlocked a secret skill. Once you start, you might never go back to store bought again.
Recipe FAQs
- → How long do these bars need to chill?
-
Refrigerate the bars for at least 1 hour until firm. For best results, let them chill completely before cutting to ensure clean edges and proper structure.
- → Can I make these nut-free?
-
Yes, substitute sunflower seed butter for the peanut butter and omit the chopped peanuts. The texture and flavor will remain similar with this easy swap.
- → How should I store these granola bars?
-
Keep bars in an airtight container in the refrigerator for up to 1 week. They hold together best when chilled and maintain their soft, chewy texture this way.
- → Can I use quick oats instead of old-fashioned?
-
Old-fashioned rolled oats provide better texture and chewiness. Quick oats may make the bars softer and less substantial. Stick with traditional rolled oats for best results.
- → What can I use instead of honey?
-
Maple syrup works perfectly as a vegan alternative. Agave nectar is another option that provides similar binding properties and subtle sweetness to hold the bars together.
