 Save
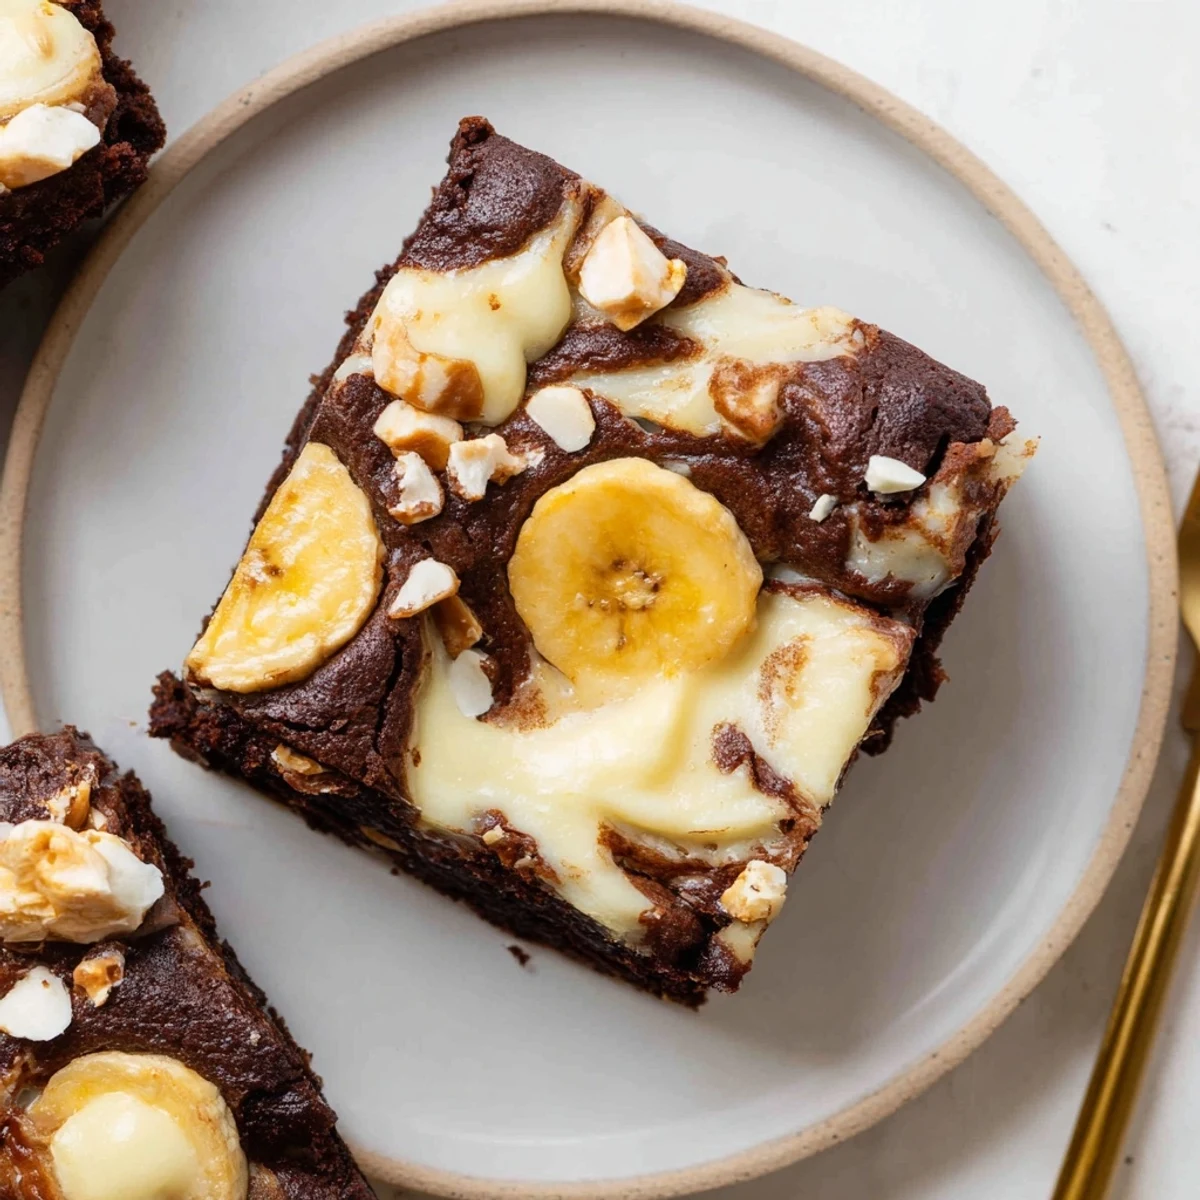
Save Layer a fudgy chocolate batter in an 8x8 pan, then spoon a thick banana pudding mixture (milk, cream, instant banana pudding mix, an egg yolk and mashed banana) over the top. Dollop and gently swirl for a marbled effect, sprinkle chopped vanilla wafers, and bake 35–38 minutes until just set. Cool completely before cutting; serve chilled or at room temperature. Optional: fold in chocolate chips or swap gluten-free wafers.
The smell of overripe bananas has never bothered me, mostly because it signals brownie weather in my kitchen. One Sunday afternoon, staring at three browning bananas and half a box of vanilla wafers, I decided mashed bananas and cocoa needed to meet in a pan rather than in separate recipes. The result was so ridiculous, ly good that my roommate ate three squares before the pan had fully cooled.
I brought these to a potluck where a friend who claims to hate banana flavored anything went back for seconds before admitting defeat.
Ingredients
- Unsalted butter (1/2 cup, melted): Use good butter here because the fudgy base depends on it, and salted butter will throw off the balance.
- Granulated sugar (1 cup): This amount keeps the brownie layer tender without crossing into cloying territory.
- Large eggs (2, plus 1 yolk): The whole eggs give the brownies structure while the extra yolk enriches the pudding layer with silkiness.
- Vanilla extract (1 teaspoon): A modest amount lets the banana shine rather than competing with it.
- Unsweetened cocoa powder (1/3 cup): Dutch processed or natural both work, just dont skip it or you lose the whole brownie identity.
- All-purpose flour (1/2 cup): Measure by spooning into the cup and leveling off to avoid dense, heavy squares.
- Salt (1/4 teaspoon): Just enough to wake up the chocolate without announcing itself.
- Whole milk (1/2 cup): Fat content matters here, so avoid skim unless you want a thinner pudding layer.
- Heavy cream (1/2 cup): Combined with the milk it gives the pudding swirl a luxurious, almost custardy texture.
- Instant banana pudding mix (one 3.4 oz box): This is the shortcut that makes the whole thing work without standing over a stove stirring custard.
- Ripe banana (1, mashed): The riper the better since brown speckles mean sweeter, deeper banana flavor.
- Vanilla wafer cookies (10, chopped): Roughly chopped gives you crunchy pockets without turning everything into crumbs.
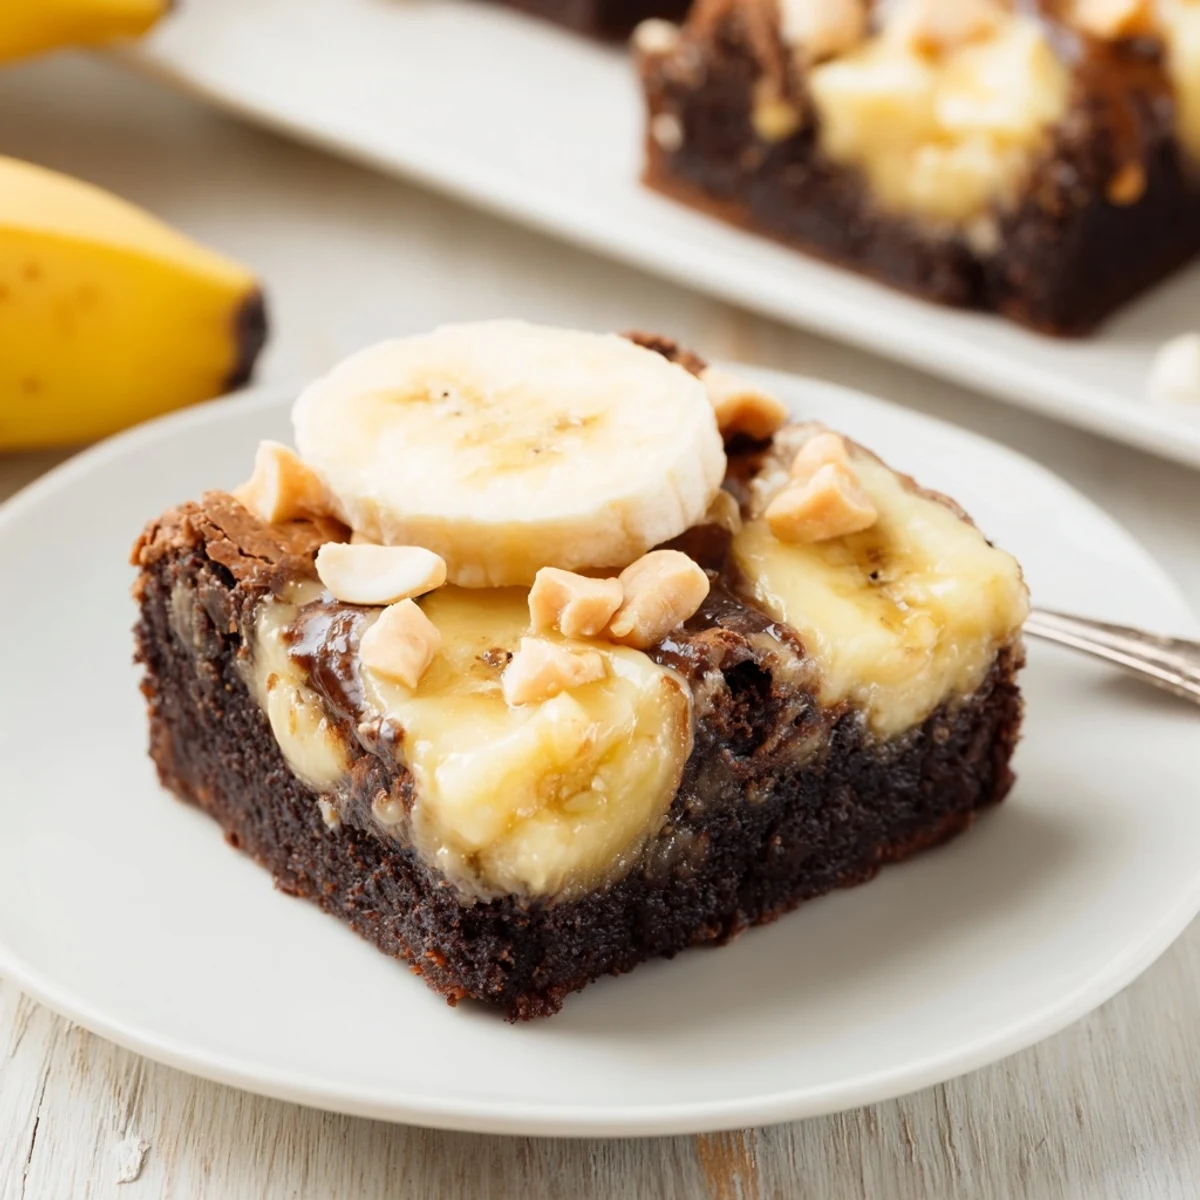
- Optional banana slices for garnish: Add these right before serving or they will brown and look sad.
Instructions
- Prep the pan and oven:
- Heat your oven to 350 degrees F and line an 8 by 8 inch baking pan with parchment, leaving overhang on two sides so you can lift the whole thing out later.
- Build the brownie batter:
- Whisk melted butter and sugar together in a large bowl until it looks glossy and no longer grainy, then beat in the eggs one at a time followed by the vanilla. Fold in the cocoa, flour, and salt just until the last white streak disappears, then spread this thick batter evenly across your prepared pan.
- Whip up the pudding swirl:
- In a separate bowl, whisk the milk, heavy cream, pudding mix, egg yolk, and mashed banana vigorously for about two minutes until it thickens into something resembling a soft, spoonable custard.
- Marble the layers:
- Drop large, generous spoonfuls of the pudding mixture all over the brownie surface, then take a knife or skewer and drag it through in figure eight motions, stopping before everything looks uniformly mixed.
- Add the crunch and bake:
- Scatter the chopped vanilla wafers across the top and slide the pan into the oven for 35 to 38 minutes, until the center is just set and a toothpick at the edges comes out with only moist crumbs.
- Cool completely before slicing:
- Patience is the hardest step here, but these need to cool fully in the pan or they will fall apart into delicious, structurally unsound piles.
 Save
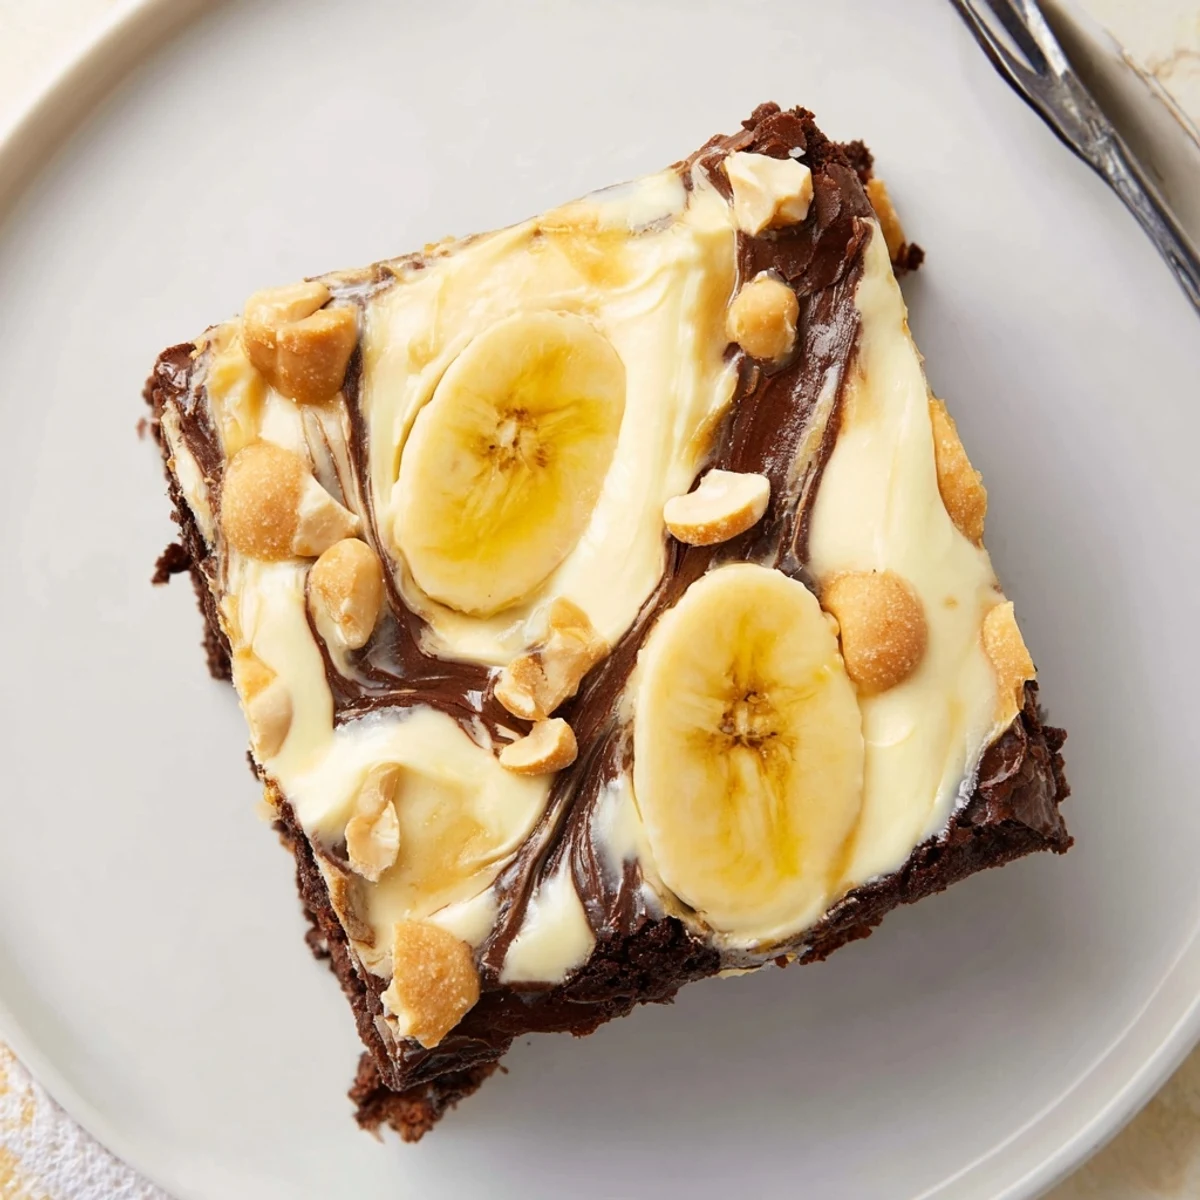
Save The moment someone realizes these are not just plain brownies is always the same, a pause, a second chew, and then wide eyes.
Serving and Storage Wisdom
These squares are honestly better after a night in the refrigerator, when the pudding layer firms up and the flavors deepen into something almost cake like.
Making It Your Own
Tossing a handful of chocolate chips into the brownie batter is never a mistake, and a pinch of cinnamon in the pudding layer adds warmth without confusing the flavor profile.
Tools and Allergen Notes
Keep it simple with two bowls, a whisk, and that 8 by 8 pan lined with parchment for easy removal.
- Check your pudding mix label if nut allergies are a concern, some brands share processing facilities.
- Gluten free vanilla wafers swap in seamlessly for a GF version.
- These contain eggs, milk, wheat, and possibly soy depending on your brand choices.
 Save
Save Some recipes earn a permanent spot in your rotation because they ask so little and give so much back. This is one of them.
Recipe FAQs
- → How can I tell when the bars are done baking?
-
The center should be just set with a slight jiggle; a toothpick inserted near the edge will come out mostly clean while the very center retains a few moist crumbs. Avoid overbaking to keep the brownies fudgy.
- → Can I use fresh banana instead of instant banana pudding mix?
-
Fresh mashed banana adds natural flavor but the instant mix helps thicken and stabilize the pudding layer. If skipping the mix, reduce milk slightly and use a bit of cornstarch (mixed with milk) cooked briefly to achieve thickness.
- → What are good swaps for vanilla wafers?
-
Use graham crackers for a slightly spicier crunch, crushed shortbread for extra buttery notes, or gluten-free vanilla cookies to make the topping wheat-free. Toast briefly for added depth.
- → How should I store leftover bars?
-
Store cooled bars in an airtight container in the refrigerator for up to 4 days. Bring to room temperature before serving for softer texture, or enjoy chilled for a firmer, sliceable bar.
- → Can I add mix-ins to the brownie layer?
-
Yes—stirring in chocolate chips, chopped nuts, or a swirl of peanut butter before baking enhances texture and flavor. Keep additions moderate to preserve the marbled pudding layer.
- → Is there a recommended pan and parchment technique?
-
Line an 8x8-inch pan with parchment paper, leaving an overhang on two sides to lift the bars easily. This prevents sticking and helps achieve clean, even squares when slicing.
