 Save
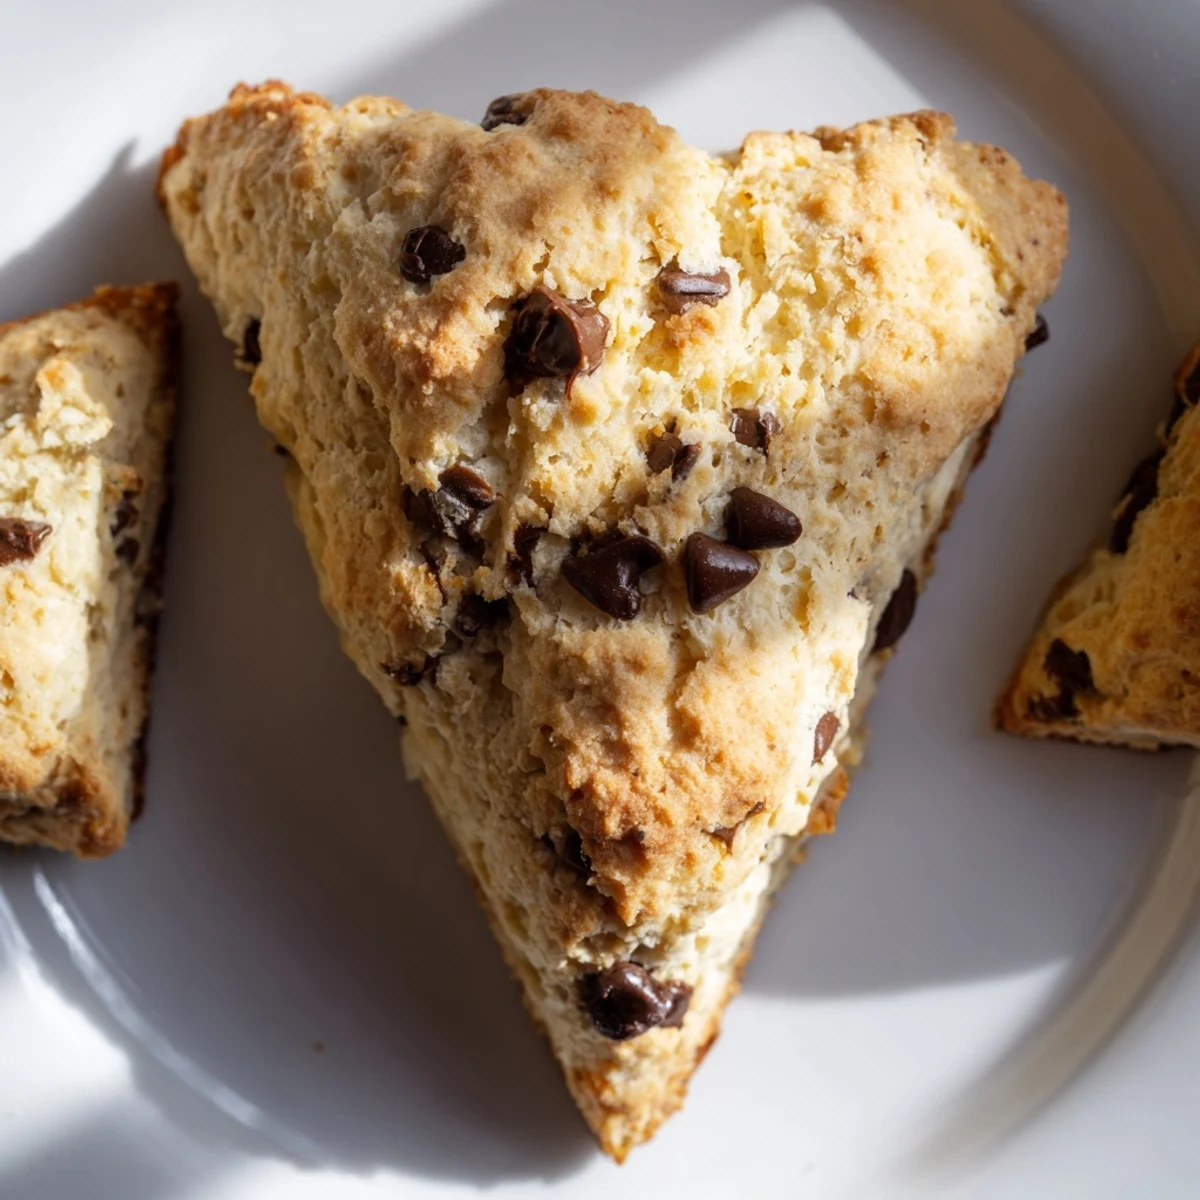
Save These chocolate chip scones combine a tender, buttery base with rich chocolate chips for a delightful breakfast or afternoon snack. Made with simple pantry ingredients, the dough comes together in just 15 minutes before baking to golden perfection. The secret to their flaky texture is using cold butter and minimal handling of the dough. Serve them warm with clotted cream or butter for an elevated experience that pairs perfectly with tea or coffee.
The first time I made chocolate chip scones, the kitchen filled with a buttery vanilla aroma that drew my sleepy teenage son downstairs on a Sunday morning. He stumbled in with messy hair and bleary eyes, but the scent of freshly baked scones revived him instantly. We sat by the window, watching rain patter against the glass as we broke open warm scones, the chocolate still melty and perfect.
Last winter, I brought these to our neighborhood holiday potluck and watched with quiet satisfaction as people kept returning to the dessert table for just one more piece. My neighbor Susan, who claims to dislike anything too sweet, ate two whole scones before confessing she needed the recipe immediately. The modest British teatime treat had somehow charmed even the staunchest pastry critics.
Ingredients
- Cold butter: The secret to flaky scones lies in keeping your butter cold until the very last moment, I even pop mine in the freezer for five minutes before cutting it into cubes.
- Heavy cream: After experimenting with milk and half-and-half, heavy cream consistently produces the richest, most tender crumb you can imagine.
- All-purpose flour: The standard flour works perfectly here, but I learned that measuring by weight rather than volume makes a world of difference in consistency.
- Chocolate chips: I like using a mix of mini and regular-sized semi-sweet chips so you get chocolate in every bite without overwhelming the delicate scone texture.
Instructions
- Prep your station:
- Preheat your oven to 400°F and line a baking sheet with parchment paper. Having everything ready makes the process so much smoother since we want to work quickly to keep the butter cold.
- Mix the dry ingredients:
- Whisk together your flour, sugar, baking powder, and salt in a large bowl. The whisking actually aerates the dry ingredients, contributing to a lighter scone.
- Cut in the butter:
- Add those ice-cold butter cubes and cut them into the flour using a pastry cutter or your fingertips until you see coarse crumbs. I find the warmth from fingertips adds just enough heat to create the perfect texture.
- Combine wet ingredients:
- In a separate bowl, whisk together your cream, egg, and vanilla until smooth. The vanilla might seem minor, but it creates an aromatic base that makes these scones truly special.
- Create the dough:
- Pour your wet ingredients into the flour mixture, stirring gently just until combined. You should still see streaks of flour when you fold in the chocolate chips.
- Shape and cut:
- Turn the dough onto a lightly floured surface and gently pat it into a 1-inch thick disc. Cut into 8 wedges like youre slicing a pizza.
- Brush and bake:
- Transfer your wedges to the baking sheet, leaving space between them, and brush the tops with a little extra cream. This creates that gorgeous golden color that makes them irresistible.
- Bake to perfection:
- Bake for 16-18 minutes until beautifully golden brown. The kitchen will fill with a buttery aroma that tells you theyre nearly done.
 Save
Save My daughter and I have made these scones part of our special weekend tradition whenever she visits from college. We stand side by side at the counter, measuring and mixing without speaking much, just enjoying the simple rhythm of baking together. Last spring, as we shared warm scones on the patio, she told me these mornings were what she missed most while away, and I realized food really can be the thread that keeps us connected across time and distance.
Make-Ahead Options
One Sunday morning when guests were coming but I had zero time, I discovered you can freeze the unbaked scone wedges overnight and bake them straight from frozen. Just add 3-4 minutes to the baking time, and nobody will ever guess they werent freshly made that morning. The butter stays perfectly cold in the freezer, which actually creates an even flakier texture sometimes better than fresh dough.
Flavor Variations
After making these scones dozens of times, Ive played with countless variations that work beautifully with this base recipe. My winter favorite adds a tablespoon of orange zest and a handful of dried cranberries alongside the chocolate chips, creating this bright, festive flavor that somehow tastes like the holidays. In summer, a teaspoon of cinnamon and some chopped fresh peaches instead of chocolate makes for the most amazing breakfast treat.
Serving Suggestions
While these chocolate chip scones are certainly perfect on their own, Ive found a few pairings that elevate them to something truly special. A dollop of lightly sweetened whipped cream alongside fresh berries makes them feel like a proper dessert, while a smear of salted butter highlights the contrast between the sweet chocolate and the savory scone base.
- For tea lovers, a strong Earl Grey or English Breakfast tea cuts through the richness perfectly.
- Coffee drinkers will find these pair beautifully with a cappuccino or latte, the milk complementing the buttery texture.
- For special occasions, serve with a small glass of dessert wine after dinner instead of a heavy dessert.
 Save
Save These chocolate chip scones have become more than just a recipe in my household, theyve become a language of care and comfort. Whether youre making them for yourself with a quiet cup of tea or sharing them with loved ones on a busy morning, I hope they bring the same simple joy to your kitchen.
Recipe FAQs
- → How do I know when my chocolate chip scones are done baking?
-
Your scones are done when they've turned golden brown on top and around the edges, typically after 16-18 minutes at 400°F (200°C). If you're unsure, you can insert a toothpick into the center of a scone—it should come out clean with perhaps a few melted chocolate smudges, but no wet dough.
- → Can I freeze chocolate chip scones?
-
Yes! You can freeze these scones either before or after baking. To freeze unbaked scones, place cut wedges on a baking sheet until frozen solid, then transfer to a freezer bag. Bake directly from frozen, adding 3-5 minutes to the baking time. For baked scones, cool completely before freezing and reheat in a 300°F oven for 10 minutes when ready to enjoy.
- → Why is it important to use cold butter?
-
Cold butter is crucial for creating flaky, tender scones. As the cold butter melts during baking, it creates steam pockets that result in that distinctive scone texture. If your butter is too warm, it will incorporate too thoroughly into the dough, resulting in a more cake-like texture rather than flaky layers.
- → Can I substitute the heavy cream?
-
While heavy cream produces the richest results, you can substitute with half-and-half or whole milk for a slightly less rich scone. Plant-based alternatives like full-fat coconut milk can work, though the texture and flavor will be somewhat different. Avoid low-fat milk options as they won't provide enough fat for proper texture.
- → What's the best way to reheat leftover scones?
-
For the best texture when reheating, warm scones in a 300°F (150°C) oven for about 5-8 minutes. This revives their exterior crispness while warming the center. Microwaving is quicker (15-20 seconds) but will result in a softer texture throughout. Toasting split scones is another delicious option that creates nice crisp edges.
