 Save
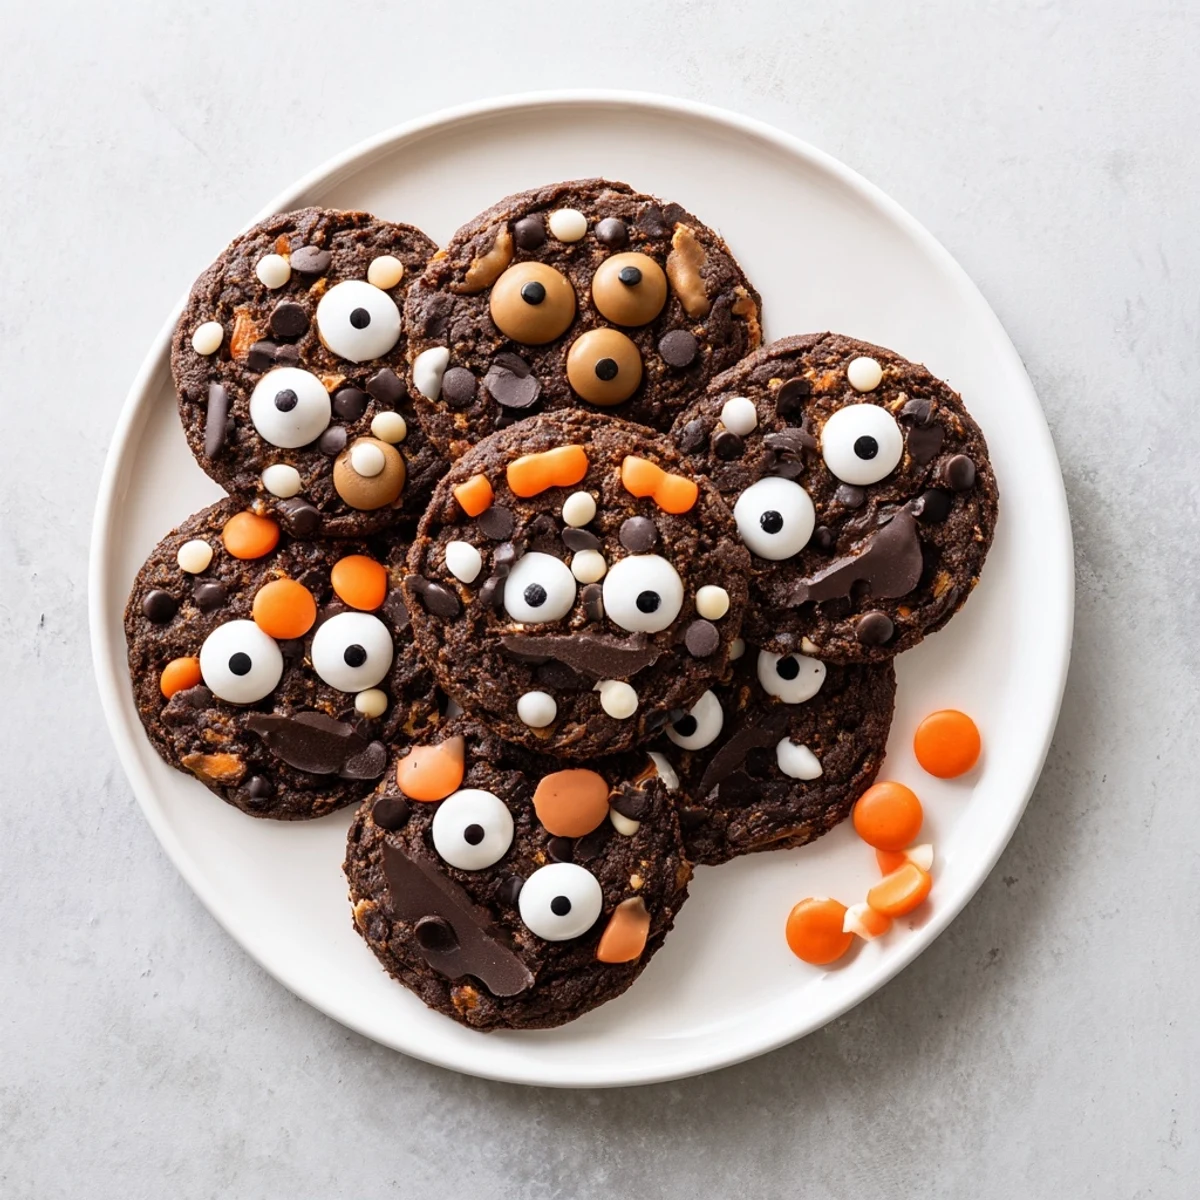
Save Create delightfully spooky chocolate orange cookies that combine rich cocoa with bright citrus notes. These soft-baked treats feature a tender chocolate dough infused with fresh orange zest and juice, loaded with semisweet chocolate chips. The magic happens during decorating—transform simple rounds into freaky faces using candy eyeballs, colorful sprinkles, and melted chocolate details. Perfect for Halloween gatherings or creative kitchen time with children.
The dough comes together quickly and bakes in just 12 minutes, producing cookies with set edges and irresistibly soft centers. Kids will love customizing their own unique faces while adults appreciate the sophisticated orange-chocolate flavor profile.
My kitchen smelled like an orange grove that got hit by a chocolate thunderstorm when I first tested these cookies. I'd been experimenting with chocolate orange combinations for months, but something about adding those candy eyeballs made my neighbor's kids actually scream with delight. Now it's not Halloween until someone asks if the freaky faces are making an appearance again this year.
Last October my daughter decided our cookie faces needed personalities so she gave each one a different expression using leftover icing. The batch disappeared faster than any ghosts I've ever seen and now every cookie needs a backstory before it gets eaten.
Ingredients
- 2 cups all purpose flour: The foundation that holds all that chocolatey orange chaos together
- 1/2 cup unsweetened cocoa powder: This is what gives them that hauntingly dark color and deep chocolate intensity
- 1 teaspoon baking soda: Essential for the perfect slightly chewy texture that makes these cookies so addictive
- 1/4 teaspoon salt: A tiny pinch that wakes up all the other flavors especially that orange zest
- 3/4 cup unsalted butter softened: Room temperature butter creates the perfect tender crumb
- 1 cup granulated sugar: For that irresistible crispy edge on every cookie
- 1/2 cup packed light brown sugar: The secret to keeping centers soft and fudgy
- 2 large eggs: Bind everything together while adding structure
- 1 teaspoon vanilla extract: Pure extract always worth the extra dollar for the depth it brings
- Zest of 2 large oranges: Freshly grated zest releases those aromatic oils that dried orange can never replicate
- 2 tablespoons fresh orange juice: Adds moisture and reinforces that citrus brightness
- 1 cup semisweet chocolate chips: Little pockets of melty joy in every bite
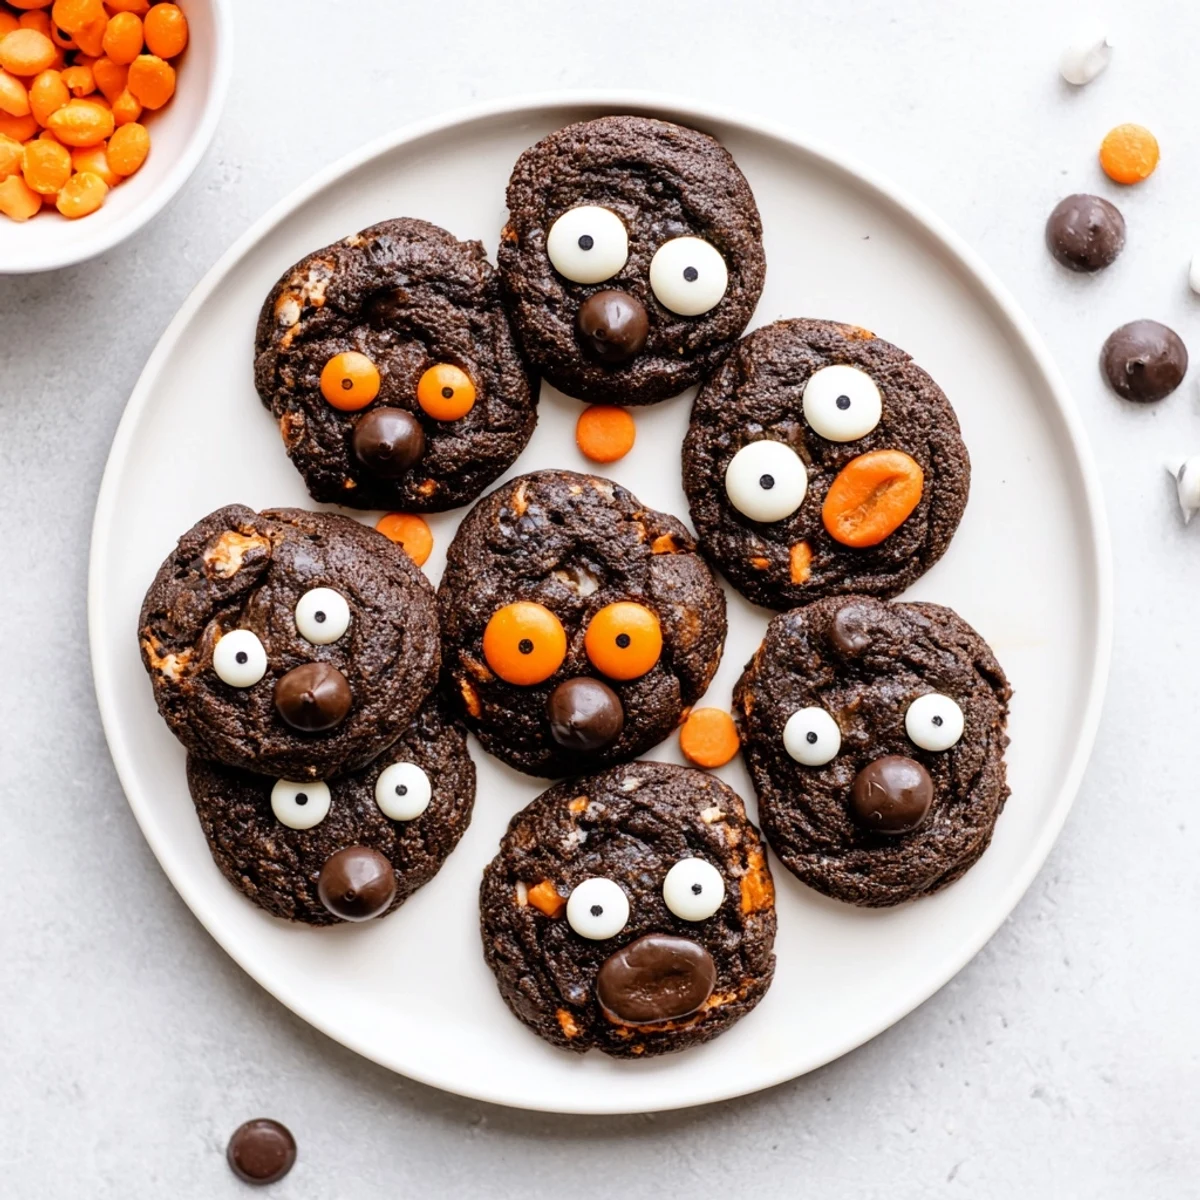
- Candy eyeballs colored sprinkles or gel icing: This is where the magic happens and your creativity shines
- White and dark chocolate melts optional: For those who want to take their spooky designs to the next level
Instructions
- Get your oven ready:
- Preheat to 350°F and line two baking sheets with parchment paper so nothing sticks and cleanup becomes ridiculously easy
- Whisk the dry team:
- In a medium bowl combine flour cocoa powder baking soda and salt until everything looks uniformly dark and chocolate scented
- Cream the butter and sugars:
- Beat softened butter with both sugars until the mixture turns pale and fluffy about 3 minutes of serious mixing
- Add the wet ingredients:
- Beat in eggs one at a time then stir in vanilla orange zest and juice until your kitchen smells incredible
- Combine everything:
- Gradually add those dry ingredients mixing only until you no longer see white streaks overmixing makes tough cookies
- Fold in the chocolate chips:
- Gently incorporate the chips by hand so every cookie gets studded with chocolate pockets
- Scoop and space:
- Drop tablespoon sized dough balls onto prepared sheets leaving about 2 inches between each one because they spread beautifully
- Bake until barely set:
- Pop in the oven for 10 to 12 minutes until edges are firm but centers still look slightly underbaked
- The patience part:
- Let them cool on the baking sheets for 5 minutes before moving them to wire racks where they finish setting up perfectly
- Create your freaky faces:
- Once completely cool let your imagination run wild with candy eyeballs sprinkles and melted chocolate to make each cookie uniquely spooky
 Save
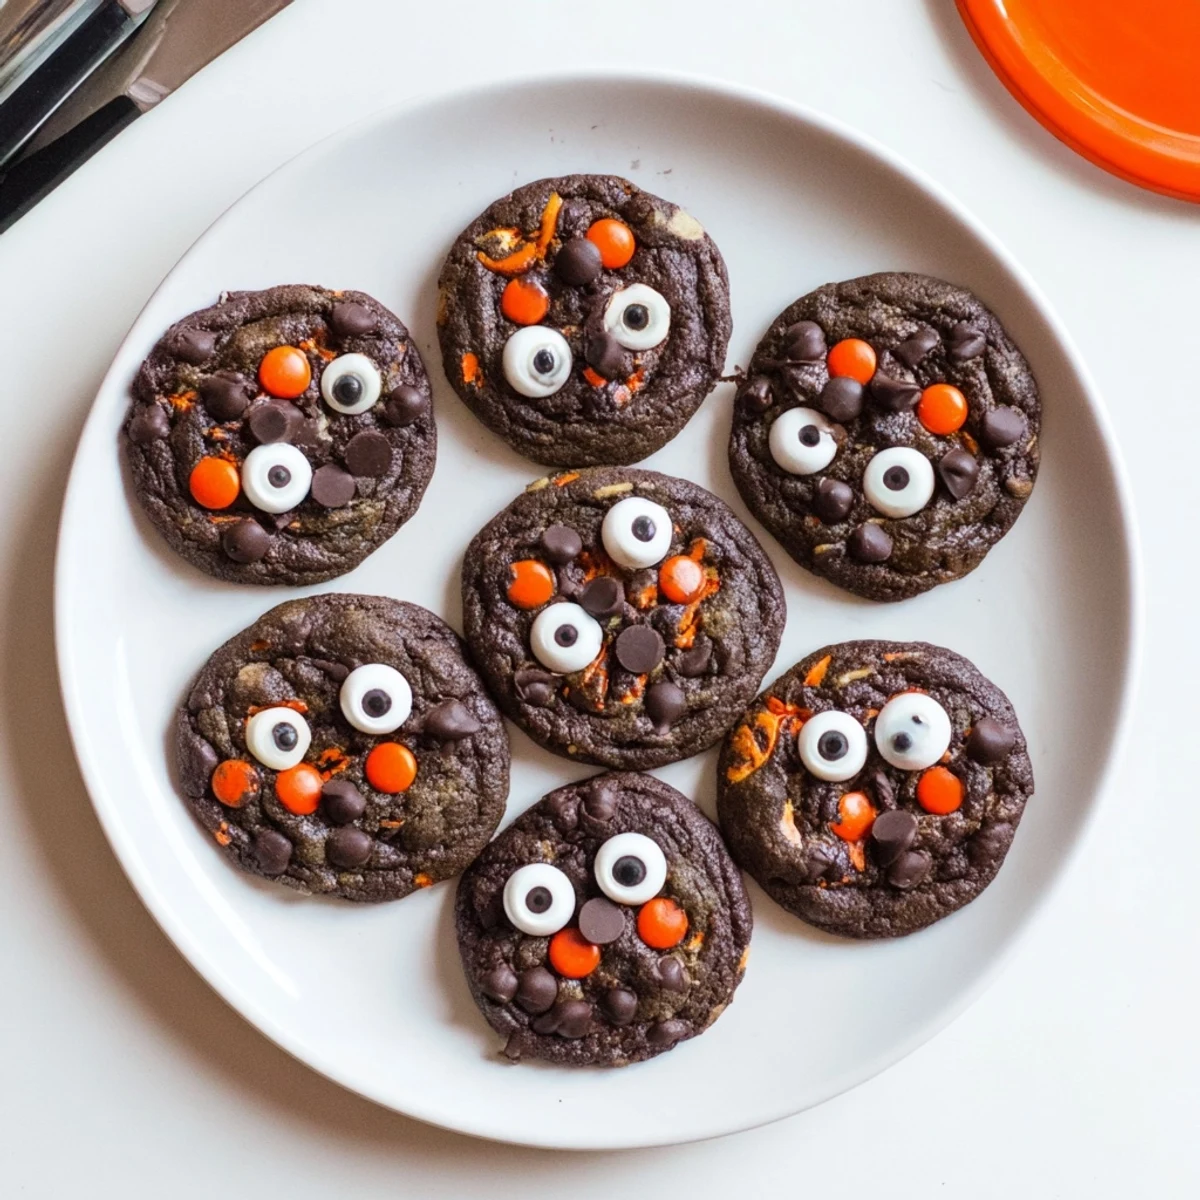
Save My nephew declared the cookie with three eyes was the king of the batch and refused to eat any other ones. Sometimes the imperfect silly faces become the most memorable part of the whole baking adventure.
Making Them Ahead
Scoop the dough balls onto a parchment lined baking sheet and freeze until solid then transfer to a freezer bag for instant fresh baked cookies anytime you need them.
Decoration Ideas
Melt some white chocolate and pipe it onto the cooled cookies as crazy hair or spider webs. The contrast of white chocolate against the dark cookie makes your designs pop even more.
Baking With Kids
Set up a decorating station with small bowls of different toppings and let each child create their own spooky masterpiece. The mess is absolutely worth watching their faces light up when they see their creations.
- Keep wet wipes nearby for sticky orange scented fingers
- Take pictures of the best faces before they disappear
- Let kids taste test the ugly ones first quality control is important
 Save
Save Hope these spooky cookies bring as many grins to your kitchen as they have to mine.
Recipe FAQs
- → How long do these keep fresh?
-
Store in an airtight container at room temperature for up to 4 days. The orange flavor remains vibrant and the texture stays pleasantly soft.
- → Can I freeze the dough?
-
Yes, scoop dough into balls and freeze on a baking sheet before transferring to a freezer bag. Bake from frozen, adding 1-2 minutes to the baking time.
- → What decorations work best?
-
Candy eyeballs create instant spooky expressions. Colored sprinkles, gel icing, and melted white or dark chocolate allow for detailed custom faces and features.
- → Can I make them more orange-flavored?
-
Add half a teaspoon of orange extract to the wet ingredients. You can also increase the fresh orange zest to three oranges for stronger citrus notes.
- → Why are the centers still soft after baking?
-
The cookies continue cooking on the hot baking sheet during the 5-minute cooling period. This technique ensures perfectly chewy centers with crisp edges.
- → Can I make these ahead for a party?
-
Bake and cool cookies completely, then decorate up to two days before your event. Store layered between parchment paper in a sealed container.
