 Save
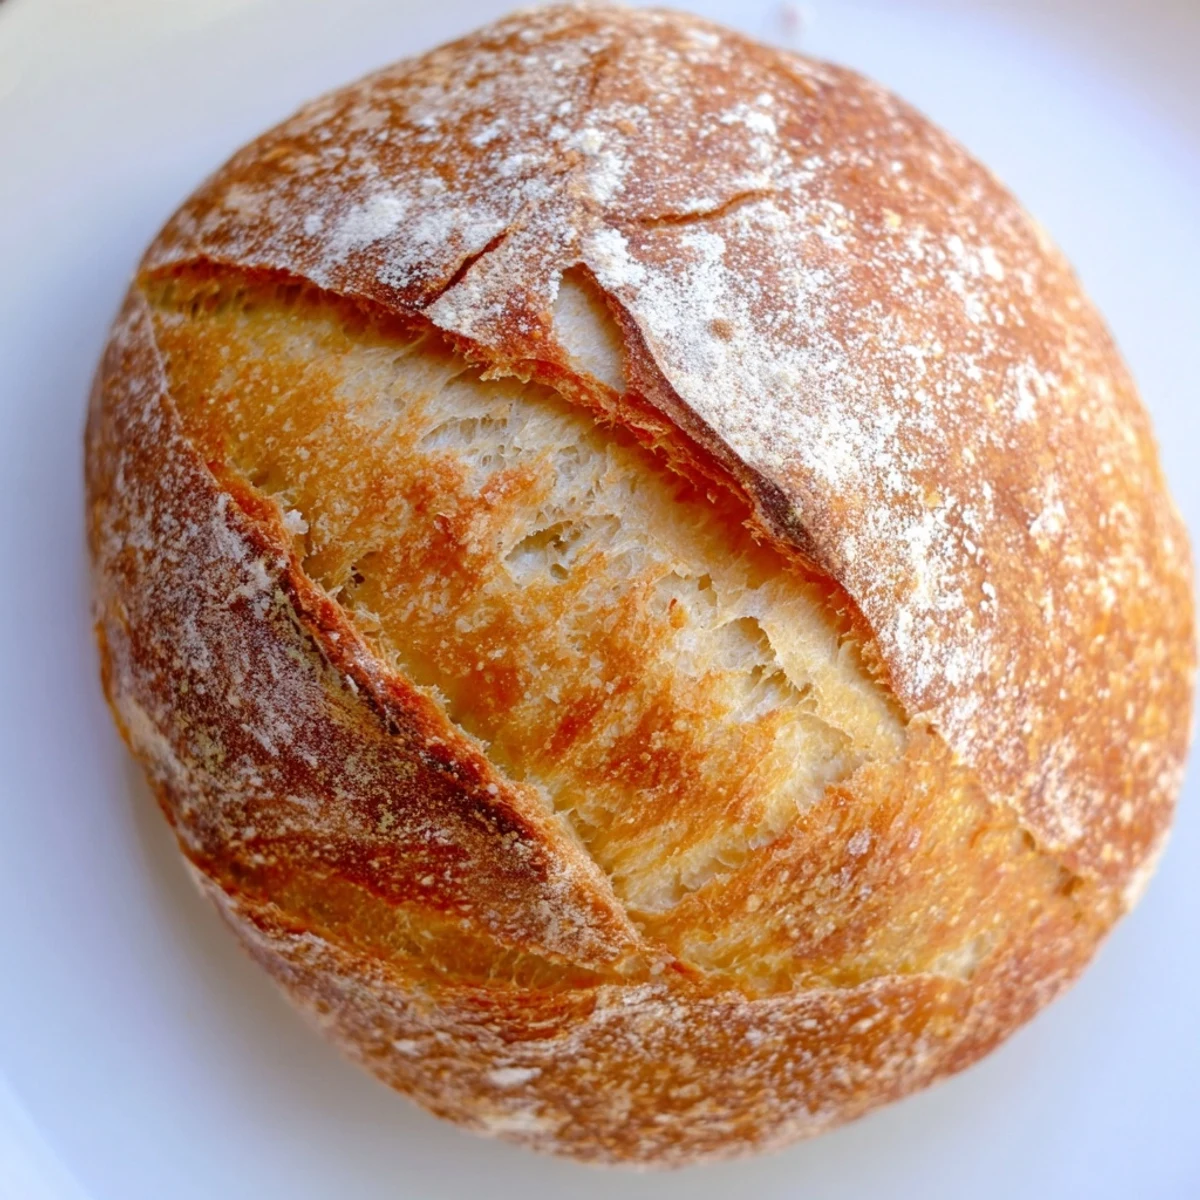
Save Bake authentic French bread rolls with a golden, crackly crust and soft tender interior. These classic rolls deliver bakery-quality results right from your home oven.
The secret lies in creating steam during baking and proper dough fermentation. This traditional technique produces that signature crispy exterior while keeping the inside light and airy.
Perfect warm with melting butter, alongside hearty soups and fresh salads, or sliced for sandwiches. Each batch yields eight beautiful rolls that freeze beautifully for future meals.
The apartment smelled like a Parisian bakery at dawn, and my roommate stumbled out of her bedroom rubbing her eyes, asking if I had secretly started a bread business overnight. That was actually my third attempt at these rolls, and the first time the yeast actually bubbled the way it was supposed to.
I served them at a dinner party once, still warm from the oven, and watched my normally reserved friend reach for a third roll, butter melting into the crevices. Sometimes the simplest things are what people remember most.
Ingredients
- Bread flour: Higher protein content than all-purpose gives you that chewy interior and structure
- Lukewarm water: Too hot kills the yeast, too cold makes it sluggish, think bathwater temperature
- Active dry yeast: Let it foam up first so you know its alive before you commit to the flour
- Salt: Do not add this directly to the yeast or it will inhibit the fermentation
- Sugar: Just enough to wake up the yeast without making these taste sweet
Instructions
- Wake up the yeast:
- Stir the sugar into lukewarm water, sprinkle the yeast on top, and walk away for ten minutes. You want to see bubbles forming and a foamy layer developing.
- Build the dough:
- Add the flour and salt to your yeast mixture, mixing until it comes together, then knead on a floured surface. The dough should feel smooth and slightly tacky, like a babies skin, and bounce back when you poke it.
- First rise:
- Place the dough in a bowl greased with oil, cover with a damp cloth, and find the warmest spot in your kitchen. An hour later, press your finger into the dough and if the indentation stays, it is ready.
- Shape the rolls:
- Divide the dough into eight equal pieces, tucking the edges underneath to create tight balls. Place them on a parchment-lined baking sheet with enough space to double in size.
- Second rise:
- Cover loosely with a towel and let them rest for thirty to forty minutes. They should look puffy and slightly jiggly when you gently shake the pan.
- Get ready to bake:
- Preheat your oven to 450°F and place a tray of water on the bottom rack. The steam is what gives you that shattering crust.
- Score and bake:
- Dust the tops with flour and use a sharp knife to make shallow cuts. Bake for twenty to twenty-five minutes until deeply golden, then cool on a wire rack.
 Save
Save My grandmother would say that good bread is patient, and she was right. These rolls have taught me more about timing and observation than any cookbook ever could.
Creating Steam for the Perfect Crust
Professional bakeries use steam injectors, but a simple tray of water on your bottom rack works surprisingly well. The steam keeps the exterior soft longer, allowing the rolls to expand fully before the crust sets. I have tried throwing ice cubes into a hot pan too, which creates an instant burst of steam.
Shaping for Even Rising
The secret to uniform rolls is weighing your dough portions, but dividing into eight by eye works if you are consistent. Create surface tension by tucking the dough underneath itself, creating a smooth top. This tension helps the rolls hold their shape and rise upward instead of spreading out.
Making These Your Own
Once you have mastered the basic recipe, the variations are endless. I have added chopped rosemary and roasted garlic, or swapped some water for milk to create a softer interior. The slashing pattern on top is also your signature, each baker has their own style.
- Try replacing a quarter cup of water with milk for a tender crumb
- Brush with melted butter immediately after baking for a softer crust
- These freeze beautifully, just reheat in a 350°F oven for ten minutes
 Save
Save There is nothing quite like tearing into a warm roll you made yourself, steam rising and butter melting into all those little air pockets. Happy baking.
Recipe FAQs
- → What makes bread rolls crusty?
-
Creating steam in the oven by placing a water tray on the bottom rack is the key. The moisture keeps the dough surface flexible initially, allowing it to expand fully before developing that signature crunchy, golden crust during the final baking stage.
- → How do I know when the dough has risen enough?
-
The dough is ready when it has doubled in size, typically after about one hour in a warm spot. Gently press two fingers into the dough - if the indentation remains, your dough has properly risen and is ready for shaping.
- → Can I make these rolls ahead of time?
-
Absolutely. Once baked and cooled, store in an airtight bag for up to two days. For longer storage, freeze individually wrapped and reheat in a 350°F oven for 5-10 minutes. You can also refrigerate the shaped, unbaked rolls overnight and bake fresh in the morning.
- → Why do I need to slash the tops before baking?
-
Scoring the dough with a sharp knife creates controlled weak points that allow steam to escape during baking. This gives the rolls their characteristic burst appearance and prevents uneven splitting, ensuring an attractive final shape.
- → What's the best way to store these rolls?
-
For the first day, keep in a paper bag to maintain the crust. After that, transfer to a plastic bag to prevent drying out, though the crust will soften. Never refrigerate bread as it actually speeds up staling. Freeze for longer-term storage.
- → Can I use all-purpose flour instead of bread flour?
-
While bread flour's higher protein content creates better structure and chewiness, all-purpose flour works in a pinch. Expect slightly softer, less chewy results. For best results with AP flour, reduce water slightly by about 2 tablespoons.
