 Save
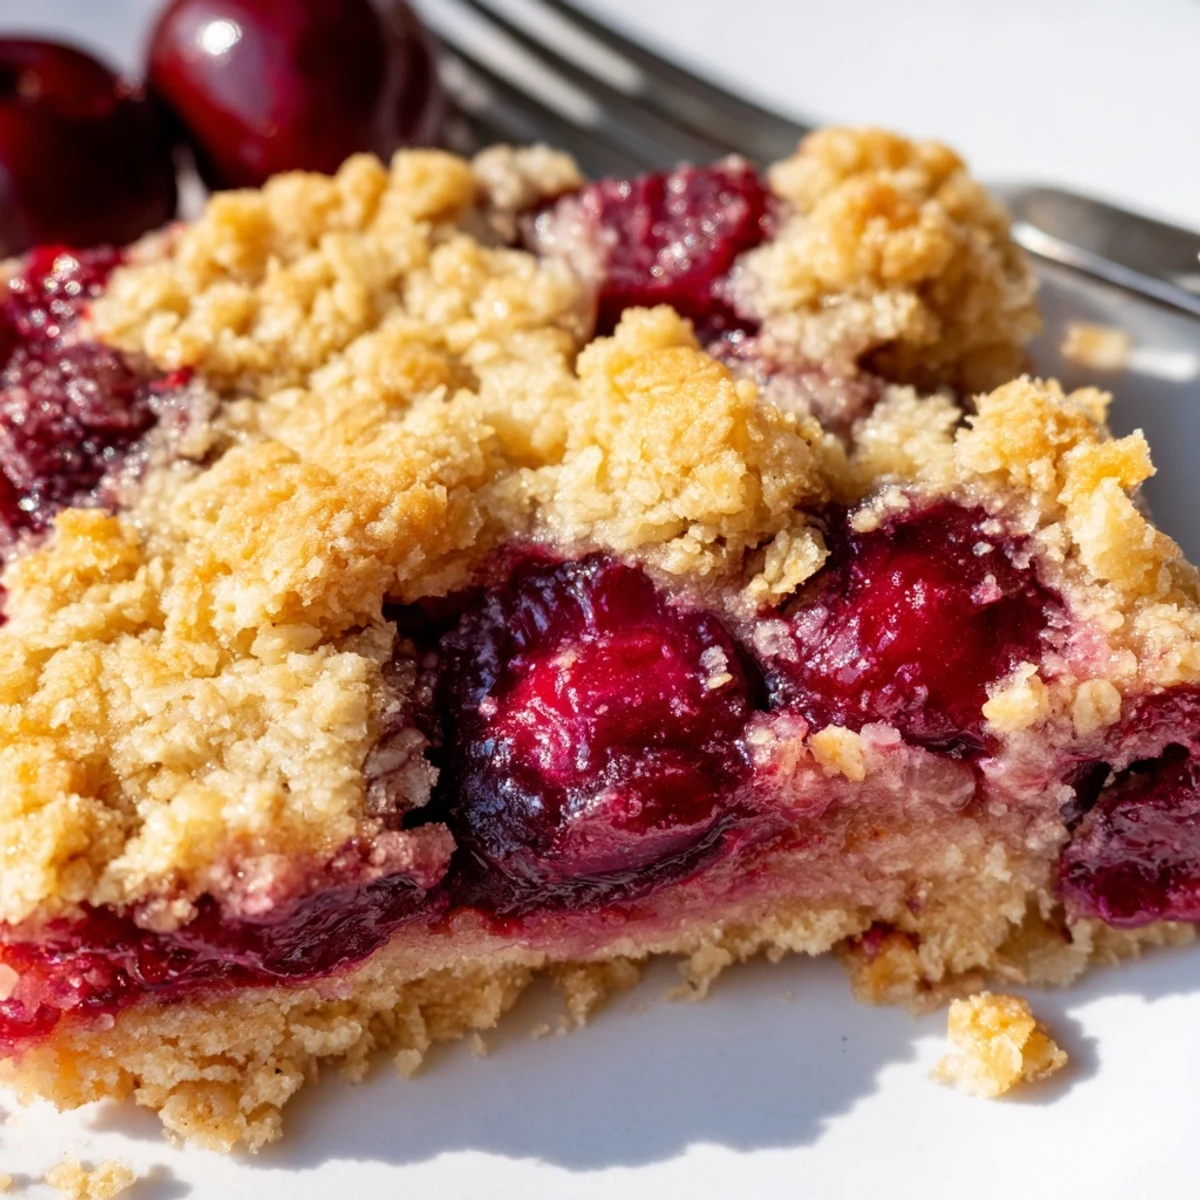
Save These delightful cherry crumble bars feature a buttery, oat-based crust and topping that crumbles perfectly in every bite. The sweet-tart cherry filling, made with fresh or frozen cherries, creates a luscious layer that balances the richness of the buttery crumble. The combination of old-fashioned rolled oats, brown sugar, and vanilla creates depth of flavor while keeping the texture wonderfully crisp and tender.
What makes these bars special is their simplicity—no special techniques required, just mix, layer, and bake. The result is a handheld dessert that captures all the comfort of a classic cherry crumble with the convenience of a bar. They're ideal for picnics, potlucks, or whenever you need a crowd-pleasing treat that looks impressive but comes together quickly.
Last summer, my neighbor brought over a basket of cherries from her tree, and I stood there staring at them, unsure what to make. Bars seemed easier than a pie, and honestly, I was craving something I could eat with my hands while watching movies on the couch. The first batch disappeared so fast that I made another the next day, and now they're my go-to whenever cherries go on sale.
I brought these to a potluck last month, and someone literally chased me down as I was leaving to ask for the recipe. Watching people's eyes light up when they bit through that golden crust into the tart, sweet filling made me realize this isn't just dessert—it's the kind of treat that makes people pause their conversations and go back for seconds.
Ingredients
- 1 ½ cups all-purpose flour: This creates the structure for both your bottom crust and crumbly topping, so don't skip it or substitute with whole wheat unless you want a heartier, denser bar
- 1 ½ cups old-fashioned rolled oats: Use the thick, old-fashioned kind rather than instant oats—they hold their texture better during baking and give you that satisfying chewy crunch
- ¾ cup granulated sugar and ½ cup brown sugar: The combination gives you sweetness plus depth and caramel notes from the brown sugar's molasses
- 1 tsp baking powder and ½ tsp salt: These might seem minor, but they're what lift the crust slightly and balance all that sugar so it doesn't taste cloying
- 1 cup unsalted butter, melted: Melted butter coats every flour and oat particle more evenly than softened butter, creating those perfect tender crumbs you're looking for
- 1 tsp vanilla extract: Pure vanilla makes everything taste better, and in this recipe, it bridges the gap between the buttery crust and bright cherries
- 3 cups fresh or frozen pitted cherries, halved: Fresh cherries bake up slightly firmer, but frozen work beautifully too—just toss them frozen, no thawing needed
- ⅓ cup granulated sugar: This sweetens the cherries just enough without masking their natural tartness
- 2 tbsp cornstarch: This thickens the cherry juices as they bake, transforming them from a soupy mess into a luscious, jammy filling that holds its shape when you cut bars
- 1 tbsp lemon juice: Acid brightens all the flavors and makes the cherries taste more intensely like themselves
- ½ tsp almond extract: Optional, but cherry and almond are best friends—a tiny amount amplifies the cherry flavor without tasting like marzipan
Instructions
- Prep your pan and oven:
- Preheat your oven to 350°F and line a 9x13-inch baking pan with parchment paper, letting the edges hang over the sides like handles—this is going to save you so much trouble later when you're lifting the bars out.
- Mix the crumble base:
- In a large bowl, combine the flour, oats, both sugars, baking powder, and salt, stirring everything together until evenly distributed.
- Add the butter and vanilla:
- Pour in the melted butter and vanilla, then stir until the mixture looks like damp crumbs—some larger clumps are totally fine and actually desirable here.
- Form the crust:
- Scoop out 1 ½ cups of the crumble mixture and set it aside for your topping, then press the remaining mixture firmly and evenly into the bottom of your prepared pan.
- Prepare the cherry filling:
- In a separate bowl, toss the cherries with sugar, cornstarch, lemon juice, and almond extract until every piece is coated.
- Layer the filling:
- Spread the cherry mixture evenly over the crust, using a spoon to distribute the fruit if some areas look bare.
- Top with reserved crumbs:
- Sprinkle the reserved crumble mixture over the cherries in an even layer, pressing gently so it adheres but not so hard that it compact.
- Bake until golden:
- Bake for 35 to 40 minutes, until the top is golden brown and you can see the cherry filling bubbling up through the crumble in spots.
- Cool completely before cutting:
- Let the bars cool completely in the pan, then use the parchment overhang to lift them out and cut into squares—warm bars will crumble apart, so patience really pays off here.
 Save
Save My sister texted me at midnight after trying these, saying she'd eaten three bars standing at the counter and wasn't even sorry. That's when I knew these weren't just good—they were the kind of dessert that breaks all your rules about portion control and late-night snacking.
Making These Year-Round
Frozen cherries work beautifully here and actually release more juices as they bake, creating an even jammer filling. I always keep a few bags in my freezer for when the craving strikes in January, and honestly, I can barely tell the difference from fresh except maybe a slightly softer texture.
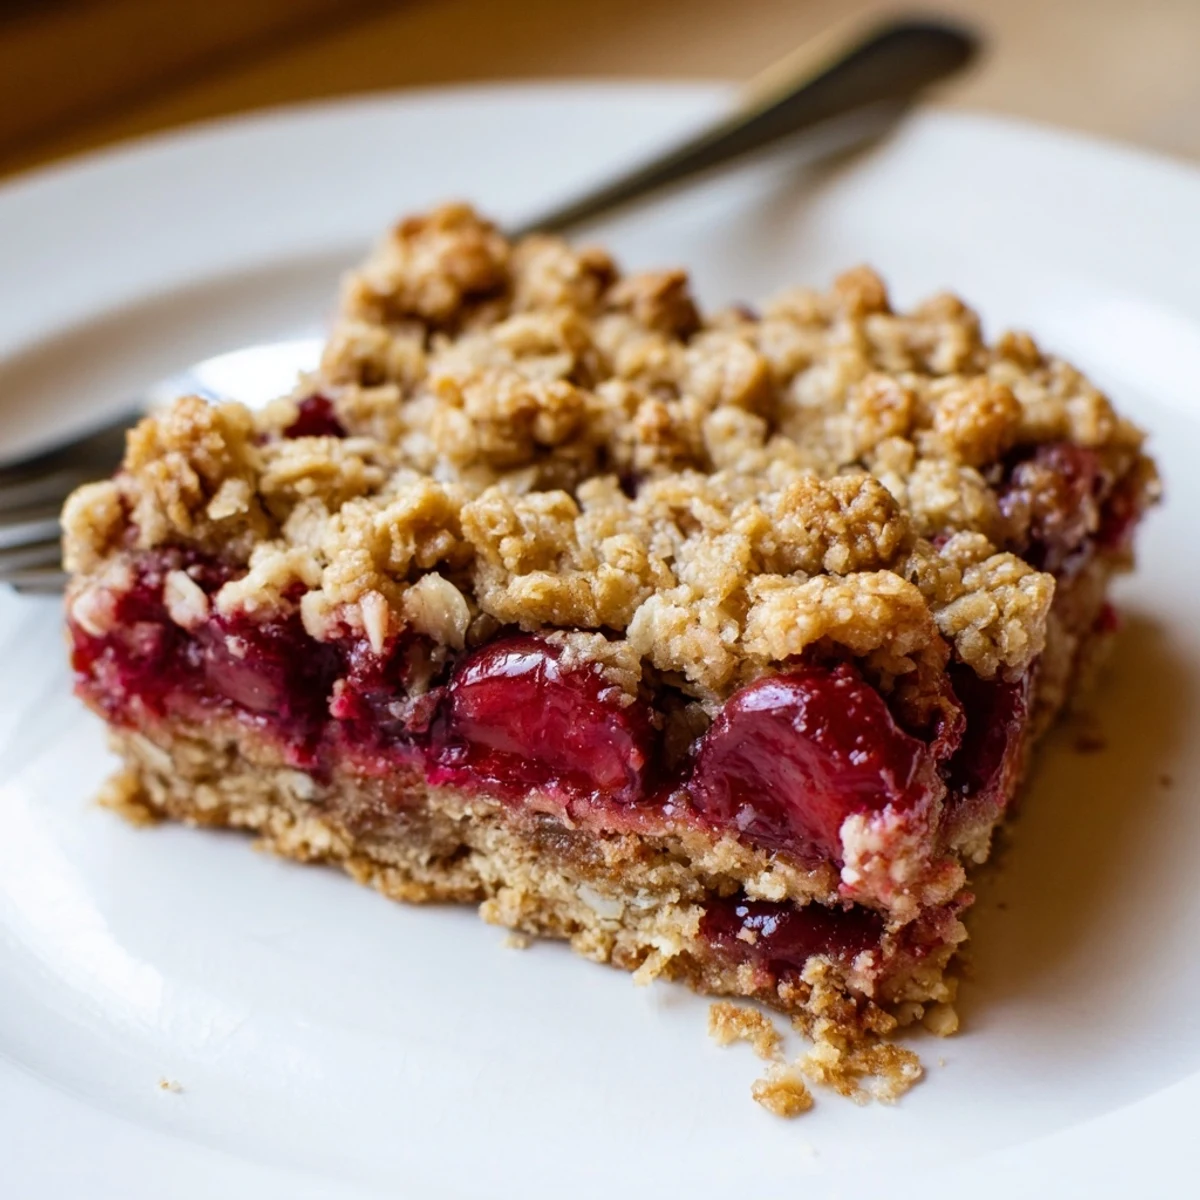
Getting That Perfect Crumble Texture
The secret to those irresistible big crumbs on top is not overworking the mixture when you add the melted butter—stir just until everything is moistened and some pea-sized clumps remain. Those clumps bake into the crispy, buttery bits everyone fights over, so resist the urge to break them down.
Storage and Serving Tips
These bars keep at room temperature for two days, but after that, I'd refrigerate them since the fruit filling can ferment in warm weather. They actually freeze incredibly well—wrap individual bars in plastic and freeze for up to three months, then thaw at room temperature for an instant homemade dessert.
- Warm individual bars in the microwave for 15 seconds before serving—it brings back that fresh-baked texture
- Serve with vanilla ice cream and you have the world's easiest cherry crisp
- Package a few bars in a pretty box with waxed paper between layers for an impressive homemade gift
 Save
Save There's something deeply satisfying about a dessert that looks impressive but comes together with such minimal fuss. These bars have become my answer to everything from last-minute potlucks to midnight cravings, and I hope they find a regular rotation in your kitchen too.
Recipe FAQs
- → Can I use frozen cherries instead of fresh?
-
Yes, frozen cherries work beautifully in these bars. There's no need to thaw them first—just toss them directly with the sugar and cornstarch mixture. You may need to add about 5 minutes to the baking time to ensure the filling bubbles properly.
- → How should I store these cherry bars?
-
Store the cooled bars in an airtight container at room temperature for up to 3 days. For longer storage, refrigerate them for up to a week. You can also freeze individually wrapped bars for up to 3 months—thaw at room temperature before serving.
- → Can I make these bars gluten-free?
-
Absolutely! Substitute the all-purpose flour with a 1:1 gluten-free flour blend that contains xanthan gum. The oats should also be certified gluten-free to ensure they haven't been cross-contaminated during processing. The texture and taste will remain delicious.
- → What other fruits can I use in this recipe?
-
These bars are versatile and work well with many stone fruits. Try substituting cherries with pitted fresh or frozen peaches, plums, berries, or a combination. Just keep the total fruit amount at 3 cups and adjust the sugar slightly based on the fruit's natural sweetness.
- → Why is my crumble topping not golden brown?
-
If your topping isn't browning, it might be due to oven temperature variation. Check that your oven is properly calibrated with an oven thermometer. You can also broil for the last 1-2 minutes for extra color, but watch carefully to prevent burning. The natural sugars in the brown sugar should create a lovely golden hue.
- → Can I reduce the sugar in this recipe?
-
You can reduce the granulated sugar in both the crust and filling by about 25% without significantly affecting texture. However, keep in mind that sugar contributes to the crumble's tenderness and helps the cherry filling achieve the right consistency. Using very ripe, sweet cherries may allow for slightly less sugar.
