 Save
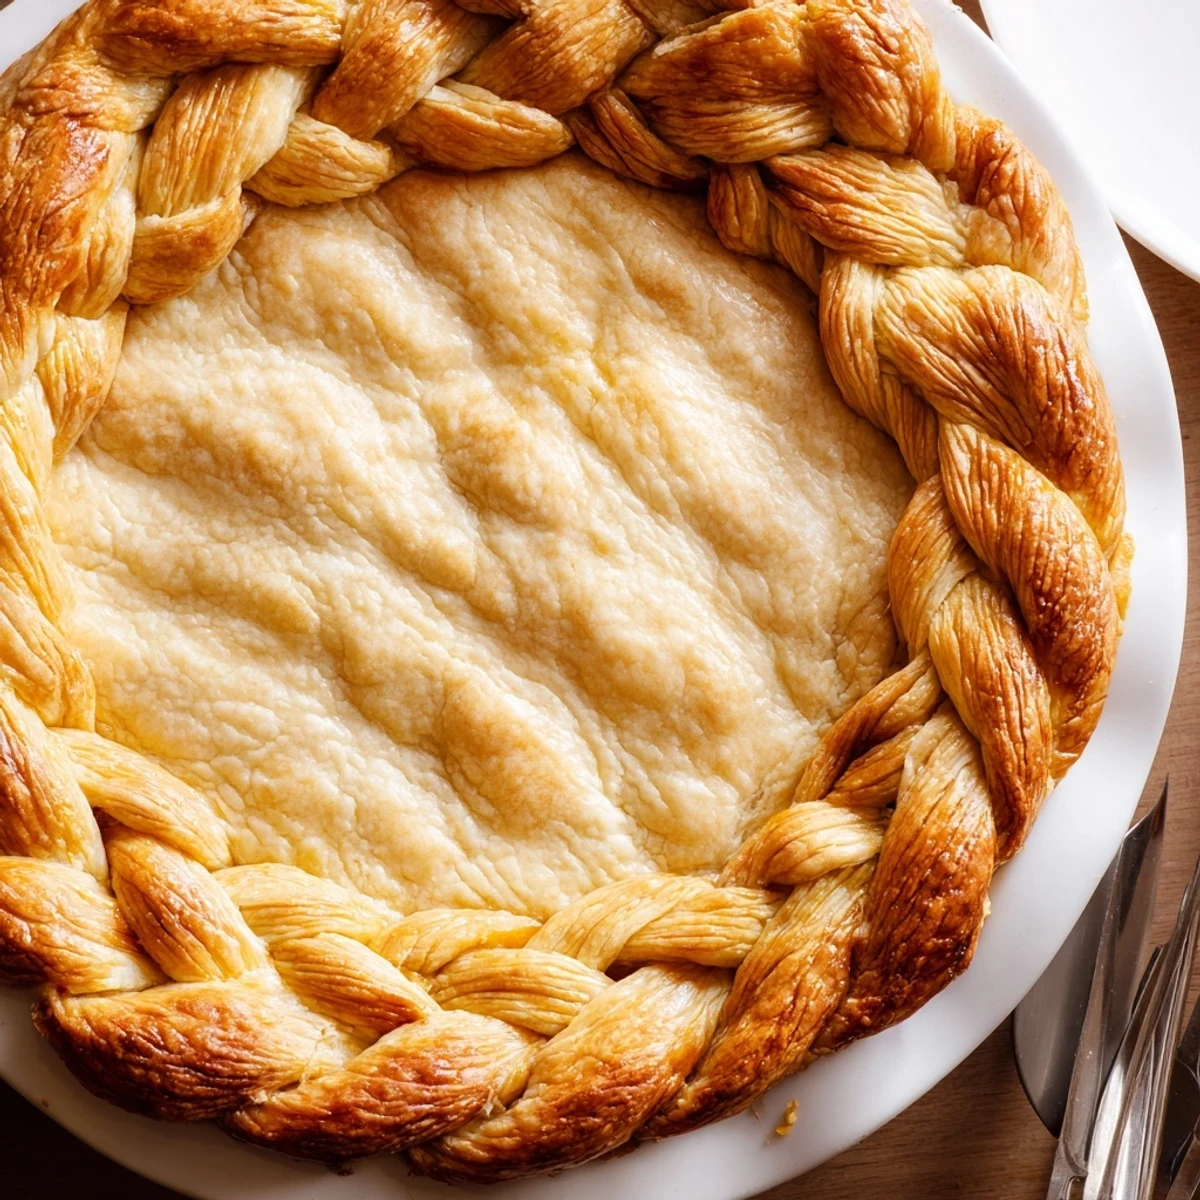
Save Master the art of creating an elegant fishtail braid pie crust that transforms ordinary pies into showstopping desserts. This decorative technique involves weaving four strips of pastry dough in a cascading braid pattern around the pie edge, resulting in a bakery-quality presentation that impresses guests. The process requires basic pie dough ingredients, patience for braiding, and proper chilling to maintain the intricate design during baking.
Suitable for both sweet fruit pies and savory quiches, this versatile crust decoration works with any standard 9-inch pie. The braiding technique creates a tight, even pattern that holds its shape beautifully in the oven, while the egg wash finish ensures a golden, professional appearance. Perfect for holidays, dinner parties, or elevating everyday baking.
The first time I attempted a braided pie crust, I was hosting Thanksgiving and feeling overly ambitious. My kitchen was already chaos, but there was something mesmerizing about weaving those strips of dough like edible hair. It took three tries to get the rhythm right, and by the time I slid that pie into the oven, my hands were covered in flour and my patience had officially run thin. But when it emerged golden and intricately woven, the collective gasp around the table made every fussy minute worth it.
Last summer, I made this for a neighbors porch dinner with fresh peach filling. The braided edge charred slightly in spots, giving it this rustic bakery vibe that looked entirely intentional. Someone asked if I could teach them how, and we ended up with flour all over their patio furniture while three of us hunched over strips of dough, laughing at our messy first attempts.
Ingredients
- 2 1/2 cups all-purpose flour: The structure holding everything together, so do not pack it down when measuring
- 1 cup cold unsalted butter: Cold is nonnegotiable here, warm butter means tough disappointing crust
- 1 tsp salt: Even sweet pies need this to wake up all the flavors
- 1 tbsp sugar: Just enough to help the crust brown without making it taste like a cookie
- 6 to 8 tbsp ice water: Add it slowly and stop when the dough holds together, better too little than too much
- 1 egg beaten: The secret to that gorgeous burnished finish that makes people think you bought it
Instructions
- Make the pie dough:
- Whisk flour, salt, and sugar in a large bowl, then cut in cold butter until the mixture looks like coarse crumbs with some pea-sized bits remaining. Drizzle in ice water a tablespoon at a time, mixing gently with your hands just until the dough comes together when squeezed. Divide in half, form into discs, wrap tightly, and chill for at least one hour.
- Prep your base:
- Roll one disc on a lightly floured surface to fit your 9-inch pie plate, press it in gently, trim the edges, and return it to the fridge while you work on the braids.
- Cut your strips:
- Roll the second disc to about 1/4 inch thickness and cut twelve long even strips, roughly 1/2 inch wide. Group them into three sets of four strips each, pinching the tops together to secure.
- Master the fishtail:
- Label your strips left to right as 1, 2, 3, 4. Take strip 1 over 2, under 3, then over 4, and repeat always starting with the new leftmost strip. Do not pull too tight or you will lose that gorgeous relaxed bakery look.
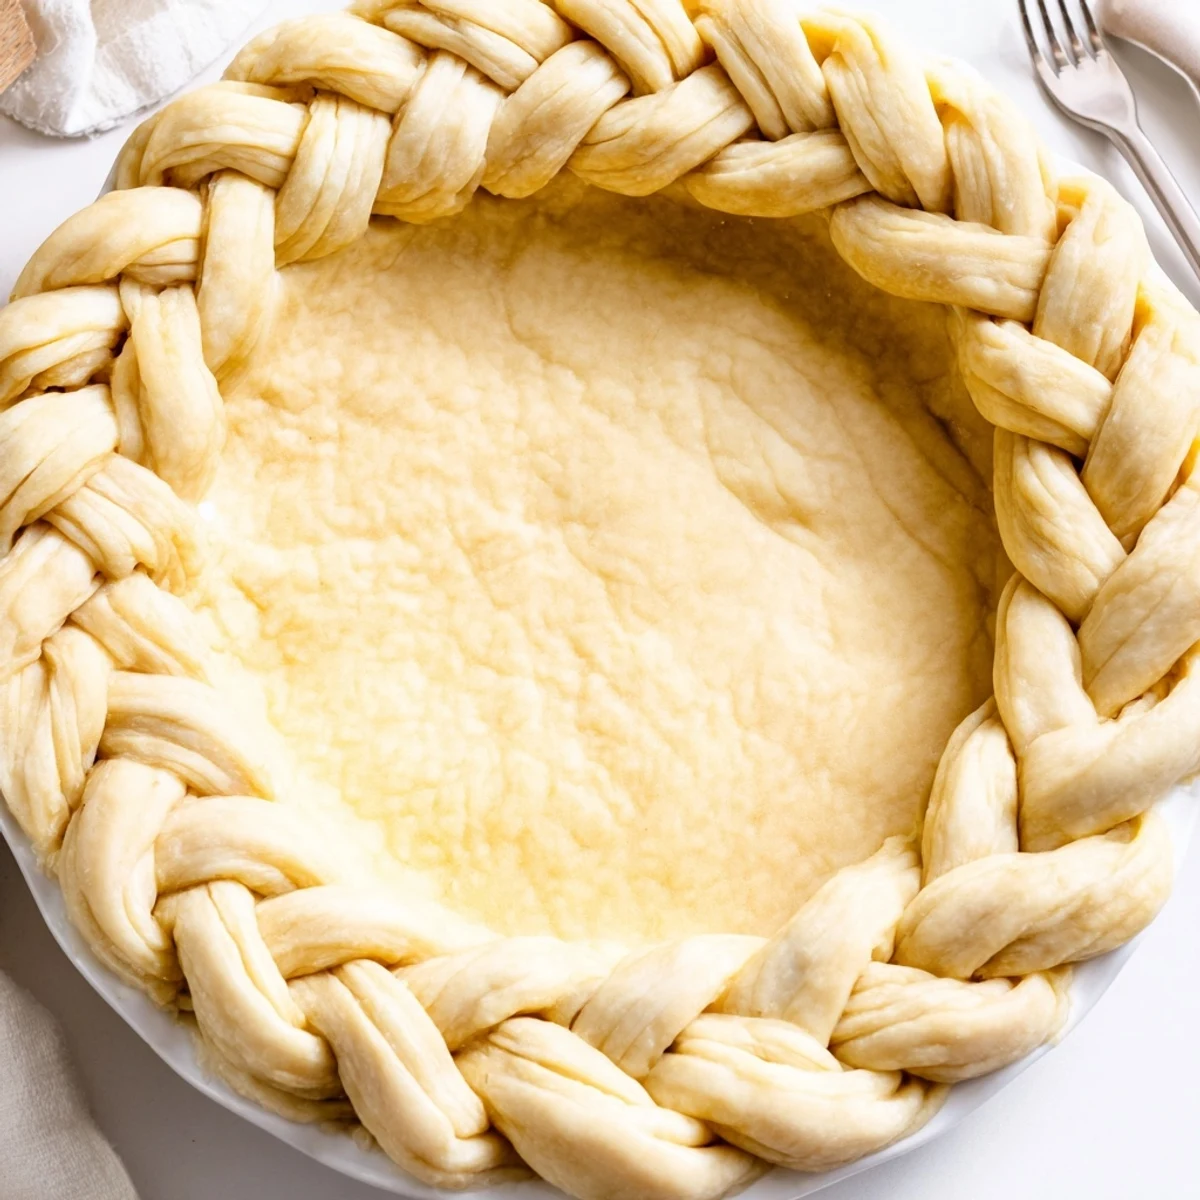
- Assembly and chill:
- Carefully transfer each finished braid to the chilled pie crust edge, pressing gently to adhere and trimming any excess. Use a tiny bit of water as glue if needed, then chill the whole pie for 15 minutes before baking.
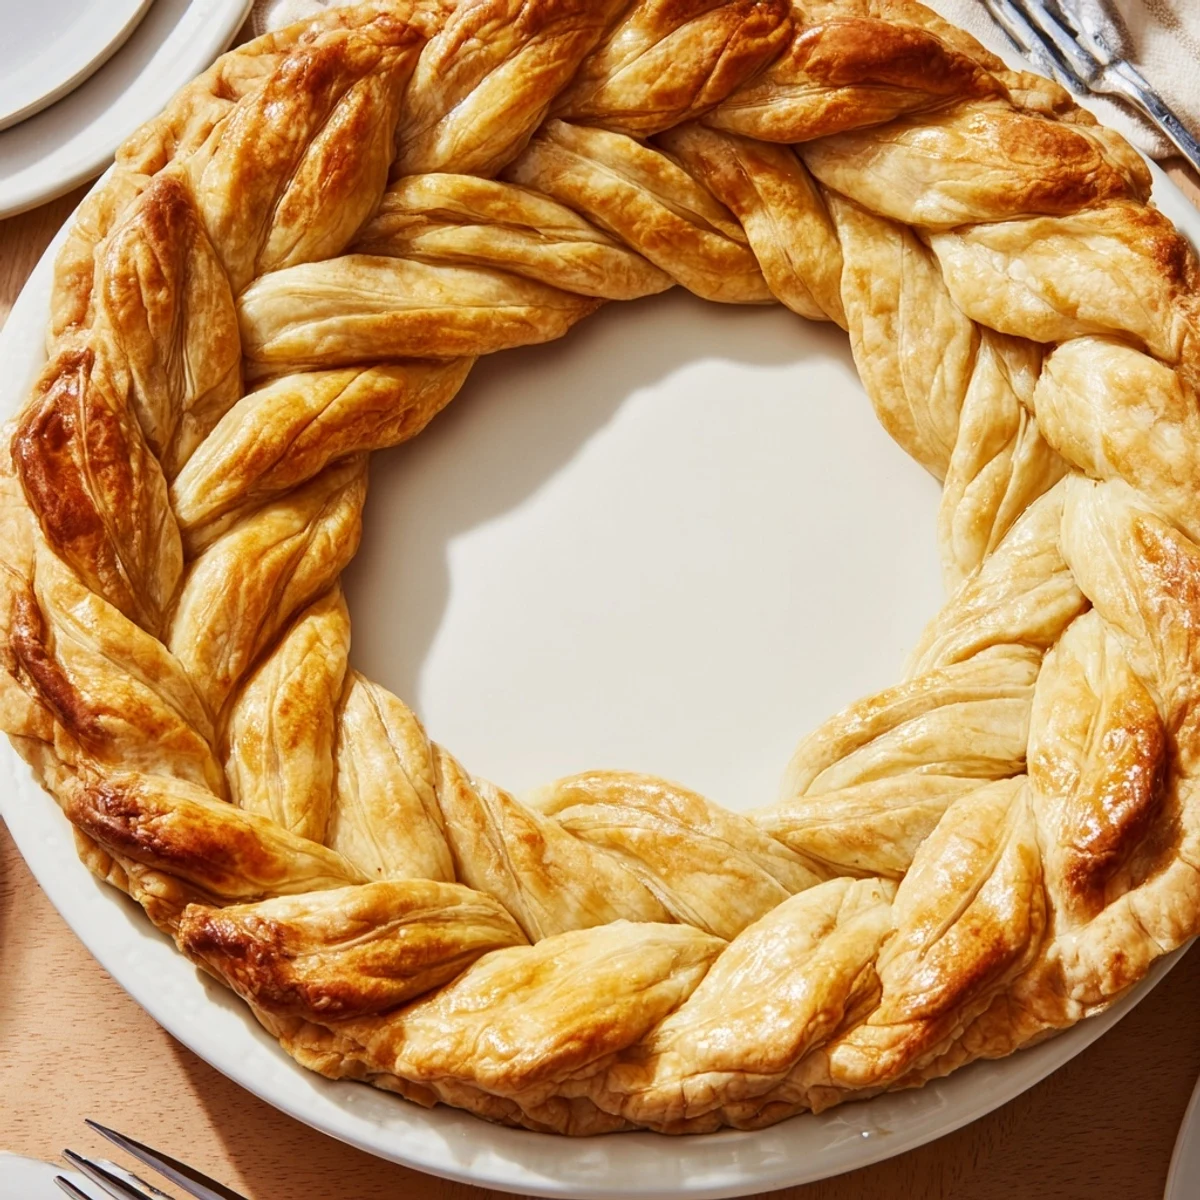
- Bake to golden:
- Brush the braids with beaten egg mixed with a splash of milk, then bake at 400°F for 12 to 15 minutes until deeply golden. If blind baking, line with parchment and fill with weights first.
 Save
Save My daughter now requests this crust for her birthday pie every year, and watching her small hands carefully work the braid has become its own kind of memory. Last year she added her own twist, weaving fresh herbs into the braid for a savory chicken pot pie that honestly might have been better than my original version.
Temperature Is Everything
I learned this lesson the hard way during a summer bake when my kitchen hovered near 80 degrees. The dough turned into a frustrating sticky mess, and my once neat braids sagged into sad irregular waves. Now I work in bursts, returning dough to the fridge every few minutes, and sometimes I even chill my rolling pin in the freezer before starting.
Choosing Your Filling
This crust plays beautifully with almost anything, but wet fillings can make the bottom soggy if you do not blind bake first. For fruit pies, I par bake the crust completely, while custard pies do better with a weighted blind bake that leaves the bottom slightly underdone. Savory fillings like quiche can go directly into the raw crust since they cook longer.
Making It Ahead
You can assemble the entire braided crust, freeze it solid on the pie plate, then wrap it tightly and store for up to a month. Bake from frozen, adding a few extra minutes to ensure the center cooks through. This has saved me more than once when I want to bring something impressive to a gathering but do not want to start from scratch the day of.
- Freeze the unbaked braided crust flat to prevent misshaping
- Wrap in at least two layers of plastic and one of foil to prevent freezer burn
- Thaw in the refrigerator overnight before baking, never at room temperature
 Save
Save There is something deeply satisfying about serving a pie that looks like it came from a professional bakery, even if you made it in your pajamas with flour in your hair. The first slice might ruin the pattern, but the memory of that woven edge stays with everyone long after the last crumb is gone.
Recipe FAQs
- → What is a fishtail braid pie crust?
-
A fishtail braid pie crust is a decorative pastry technique where strips of dough are woven in an overlapping pattern around the edge of a pie. This creates an elegant, braided appearance similar to a fishtail hair braid, adding visual sophistication to any pie presentation.
- → How many dough strips are needed for the braid?
-
You'll need twelve long, even strips cut to approximately 1/2 inch wide. Group these into three sets of four strips each. Each set of four strips creates one fishtail braid section that you'll attach to the pie edge.
- → Why must the dough be chilled before braiding?
-
Chilling the dough ensures the butter remains cold, which prevents the strips from becoming too soft or sticky during handling. Cold dough maintains its shape better while braiding and helps the decorative edge hold its form during baking without spreading or losing definition.
- → Can this technique be used with store-bought dough?
-
Yes, refrigerated pie dough from the grocery store works well for this technique. Ensure it's thoroughly chilled before cutting into strips, and work quickly to keep the dough cold. You may need to chill briefly between steps if the dough becomes too soft to handle.
- → How do you attach the braids to the pie edge?
-
Press the braided strips gently onto the chilled pie crust edge, using a small amount of water as adhesive if needed. Trim any excess dough, then chill the assembled pie for 15 minutes before baking to help the braids set and maintain their shape.
- → What fillings work best with this decorative crust?
-
This versatile decoration complements both sweet and savory fillings. Fruit pies like apple, cherry, or berry showcase the beautiful braiding beautifully. It also works wonderfully with quiches, chicken pot pies, and savory vegetable tarts for an impressive presentation at any meal.
