 Save
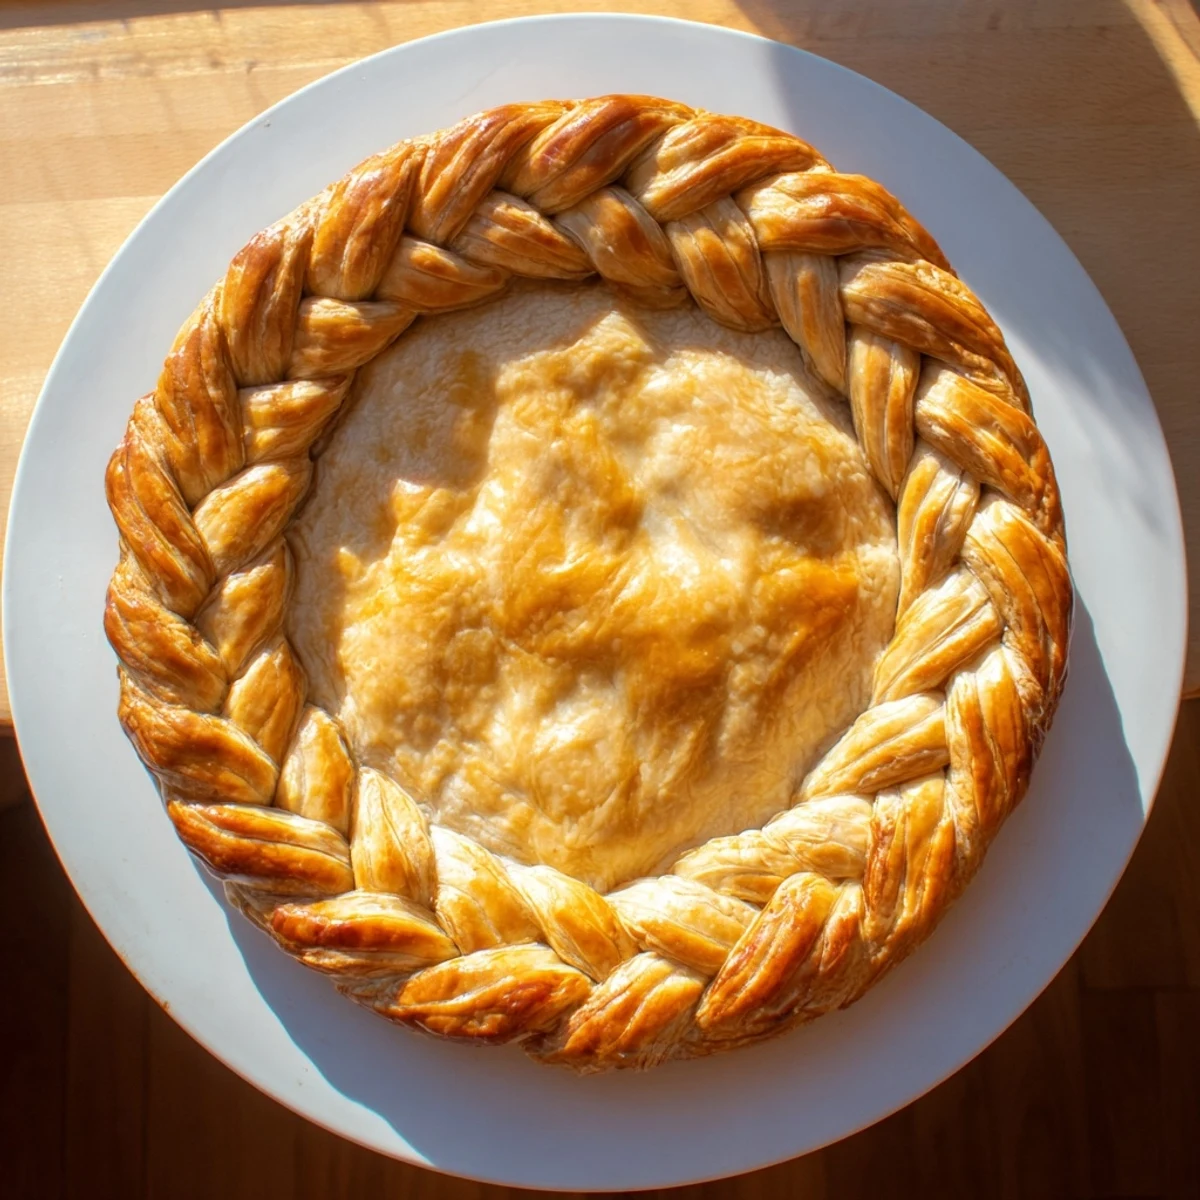
Save Transform ordinary pies into stunning centerpieces with this decorative fishtail braid crust technique. The method involves rolling out your favorite pie dough, cutting it into even strips, and weaving them using a specialized cross-over pattern that creates an intricate braided edge. This showstopping finish works beautifully with fruit pies, quiches, chicken pot pies, and any filled pastry that could use an elegant touch. The key is keeping your dough thoroughly chilled throughout the process, working quickly to prevent butter from melting, and using even, consistent strips for the most professional appearance. A simple egg wash brushed over the finished braid creates a gorgeous golden sheen that makes your creation truly shine.
The first time I attempted a braided pie crust, my kitchen looked like a flour bomb had gone off. I was trying to impress dinner guests with what I thought would be an elegant touch, but I ended up with a lopsided mess that my husband kindly called "rustic charm." That disaster taught me more about patience and temperature control than any cookbook could have.
Last Thanksgiving, I made three pecan pies with these braided crusts. My sister-in-law actually gasped when she saw them, and I felt like a kitchen magician. The best part was watching everyone hesitating to cut into something so beautiful, until that first bite proved that pretty can also be incredibly delicious.
Ingredients
- All-purpose flour: The backbone of your crust, providing structure while still yielding to your rolling pin
- Cold unsalted butter: Those visible butter pieces create flaky layers that make people swoon
- Salt: Just enough to wake up the flour without making your dessert taste savory
- Sugar: Optional but lovely for sweet pies, adding a subtle sweetness to the crust
- Ice water: The magic that brings everything together without activating gluten too much
- Egg wash: Gives your finished braid that professional golden glow
Instructions
- Prepare your workspace:
- Clear your counter and get everything ready before touching the dough, because once you start working with cold butter, every second counts
- Mix the dry ingredients:
- Whisk together your flour, salt, and sugar in a large bowl until theyre perfectly combined
- Cut in the butter:
- Work those cold cubes into the flour until you see pea-sized pieces scattered throughout like edible confetti
- Add ice water gradually:
- Pour in just enough water to make the dough cling together when squeezed, remembering that slightly crumbly is better than sticky
- Chill the dough:
- Shape your dough into two flat disks, wrap them tightly, and let them rest in the refrigerator for at least an hour
- Roll and cut strips:
- Roll one chilled disk into a thin rectangle and cut at least six even strips, about twelve inches long and half an inch wide
- Create the fishtail braid:
- Start with a regular braid pattern, then switch to crossing the outermost strips toward the center, always working from the outside edges
- Prepare your pie:
- Trim any excess dough from your filled pie and brush the rim with water to help the braid adhere
- Apply the braid:
- Gently lift and position your braid around the pie edge, pressing lightly to secure it in place
- Add the finishing touch:
- Brush the entire braid with egg wash for that gorgeous golden shine when it emerges from the oven
 Save
Save My daughter now asks to help with the braiding every time we make pie. Her small hands actually work better than mine for the delicate center sections, and those slightly uneven braids have become my favorite part of our baking tradition. There is something profound about creating something so carefully with someone you love.
Temperature Secrets
Keep everything cold throughout the process. I actually put my rolling pin in the freezer for fifteen minutes before starting, and I work on a marble slab if possible. The colder your ingredients and tools, the flakier your final crust will be.
Braid Variations
Once you master the basic fishtail, try mixing in strips colored with beet juice or spinach puree for a stunning effect. I have also braided in fresh herbs like rosemary or thyme for savory pies, which looks incredible and tastes even better.
Timing Your Assembly
Make your braids while your pie filling is cooling, then wrap them carefully on a baking sheet in the refrigerator. This way, when you are ready to assemble, everything is perfectly chilled and ready to go.
- Work quickly once dough leaves the refrigerator
- Have your egg wash mixed and ready before you start braiding
- If dough becomes unmanageable, walk away and return in ten minutes
 Save
Save These braided crusts have transformed ordinary pies into conversation starters at every gathering. The extra effort is minimal compared to the joy they bring to the table.
Recipe FAQs
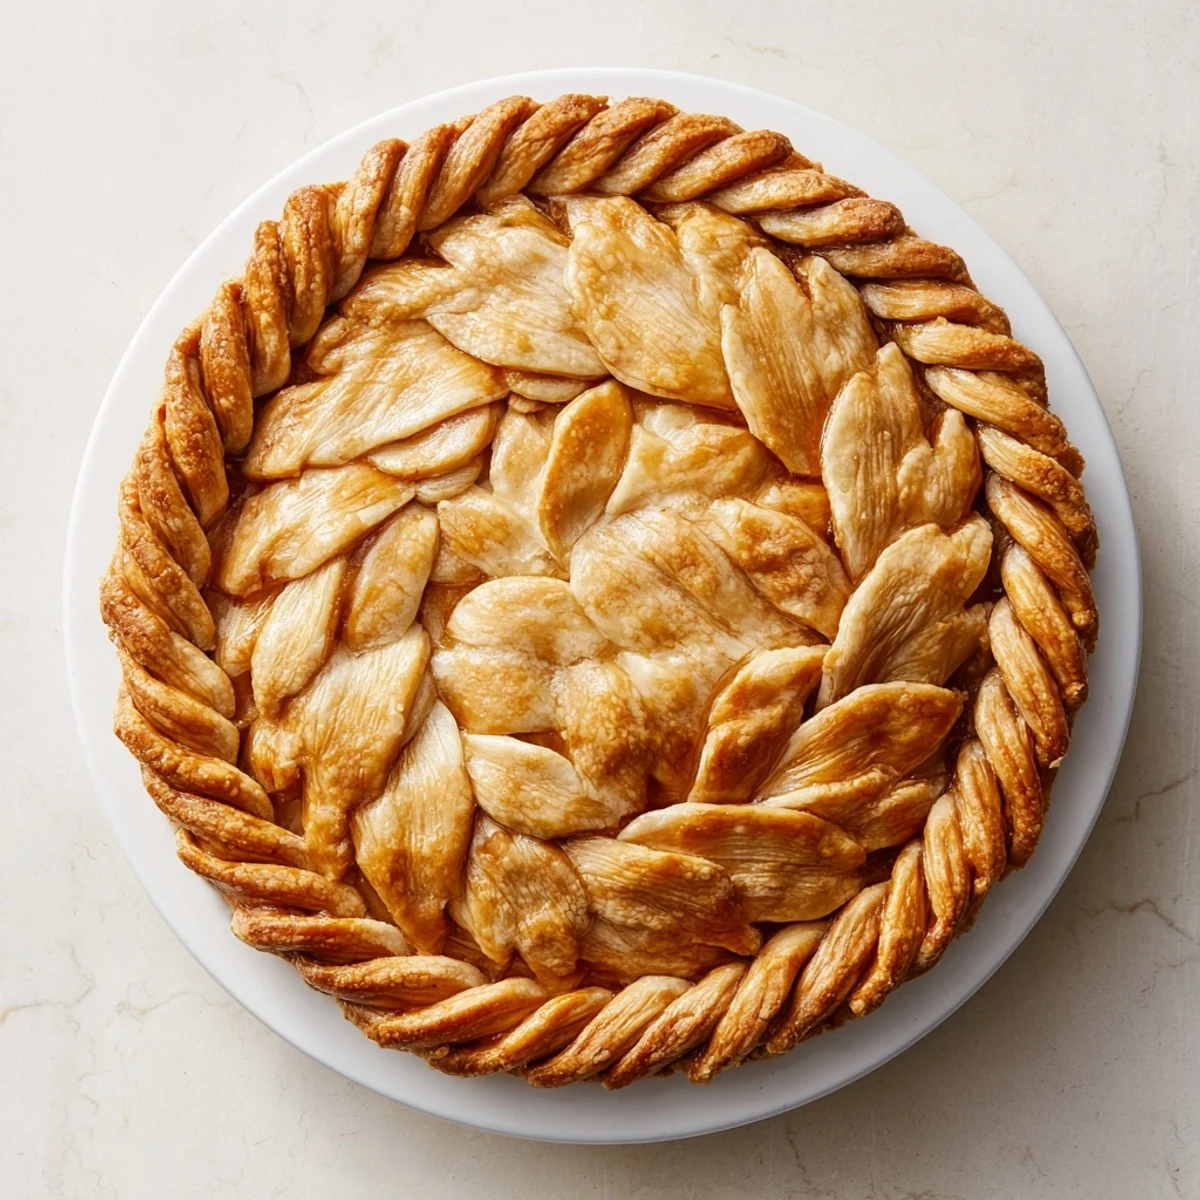
- → What makes fishtail braiding different from regular braiding?
-
Fishtail braiding crosses strips from the outer edges inward, rather than weaving three sections continuously. This creates a flatter, wider pattern that resembles a fish skeleton and lays beautifully against pie edges.
- → Can I make this crust ahead of time?
-
Absolutely. Prepare the braided strips up to 24 hours in advance, wrap them carefully, and store in the refrigerator. You can also freeze unbraided strips for up to 3 months, then thaw and braid when ready to use.
- → Why does my dough get soft and difficult to work with?
-
Warm dough causes butter to melt, making strips stretchy and fragile. Keep everything chilled—work in a cool kitchen, return dough to the refrigerator frequently, and use cold hands or an ice pack to maintain temperature.
- → What fillings work best with a decorative braided crust?
-
This versatile edge complements both sweet and savory creations. Try it with apple, cherry, or berry pies, vegetable quiches, chicken pot pies, or even savory tarts. The braid adds elegance regardless of filling.
- → How do I prevent the braid from burning or over-browning?
-
Watch closely during the last 10 minutes of baking. If the braid colors too quickly, tent loosely with aluminum foil. An egg wash promotes even browning, while brushing with milk creates a softer, paler finish.
- → Can I use store-bought pie dough?
-
Yes, refrigerated pie dough works perfectly for this technique. Let it thaw according to package directions, then proceed with rolling and cutting. Homemade dough offers more control over thickness and flavor.
