 Save
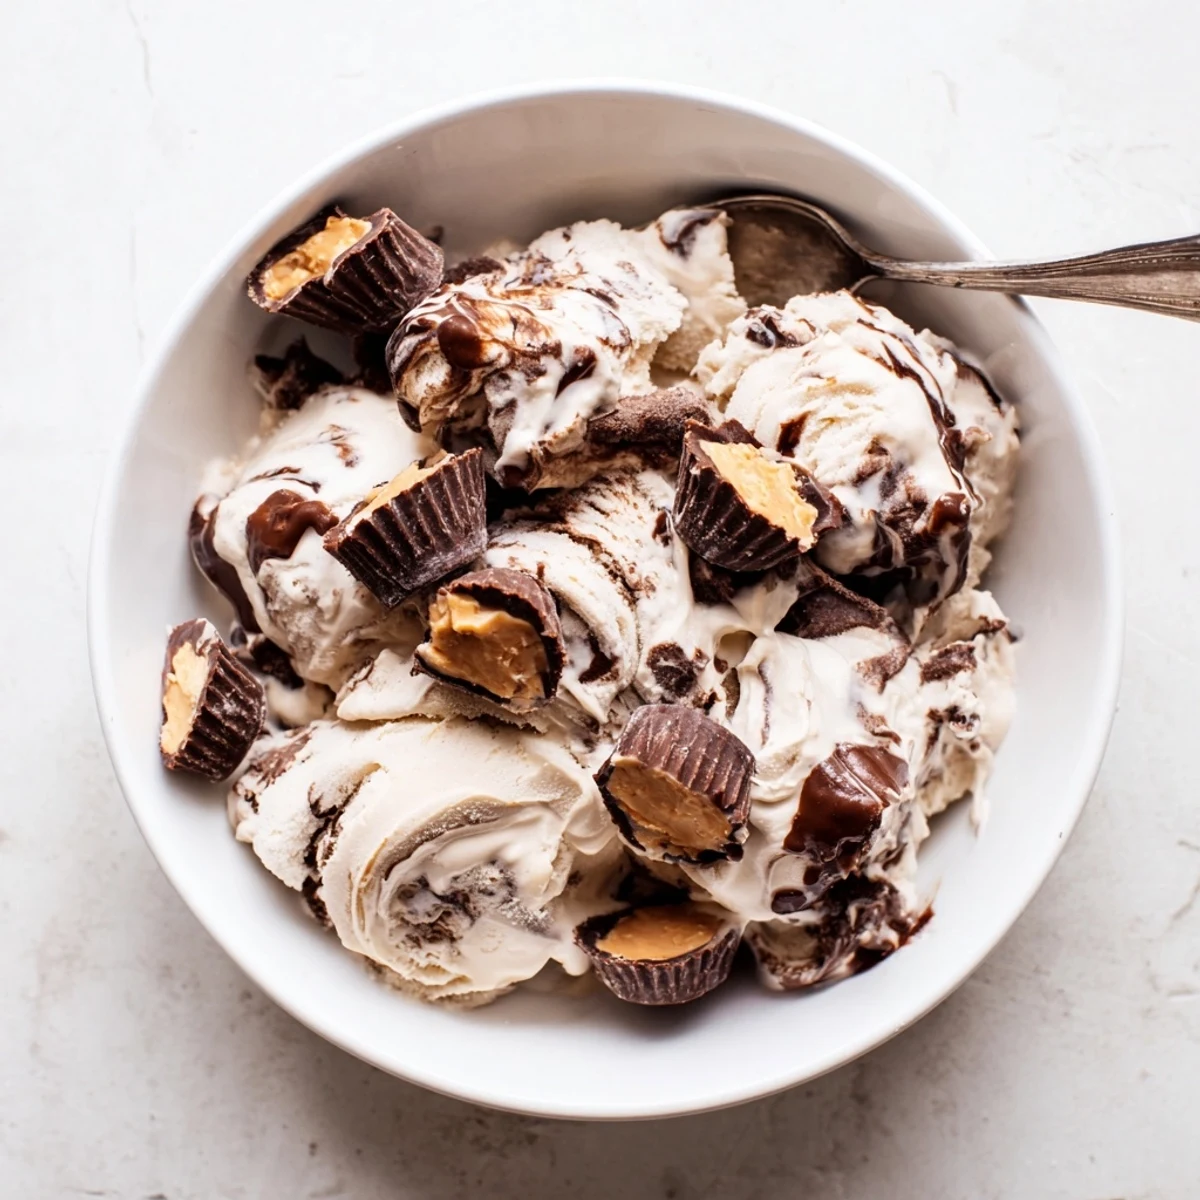
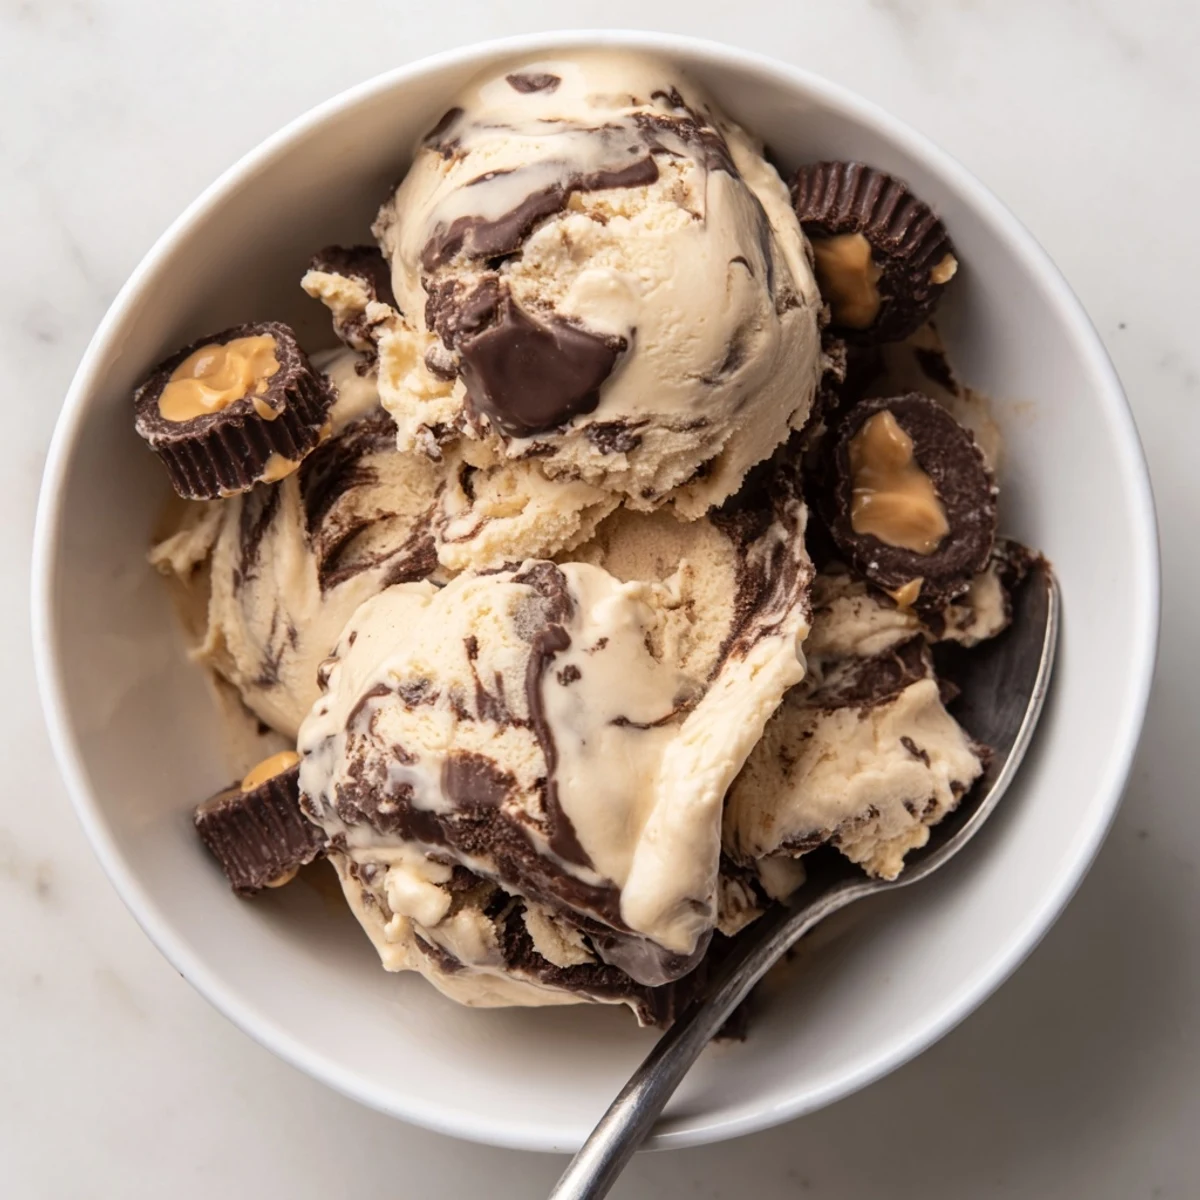
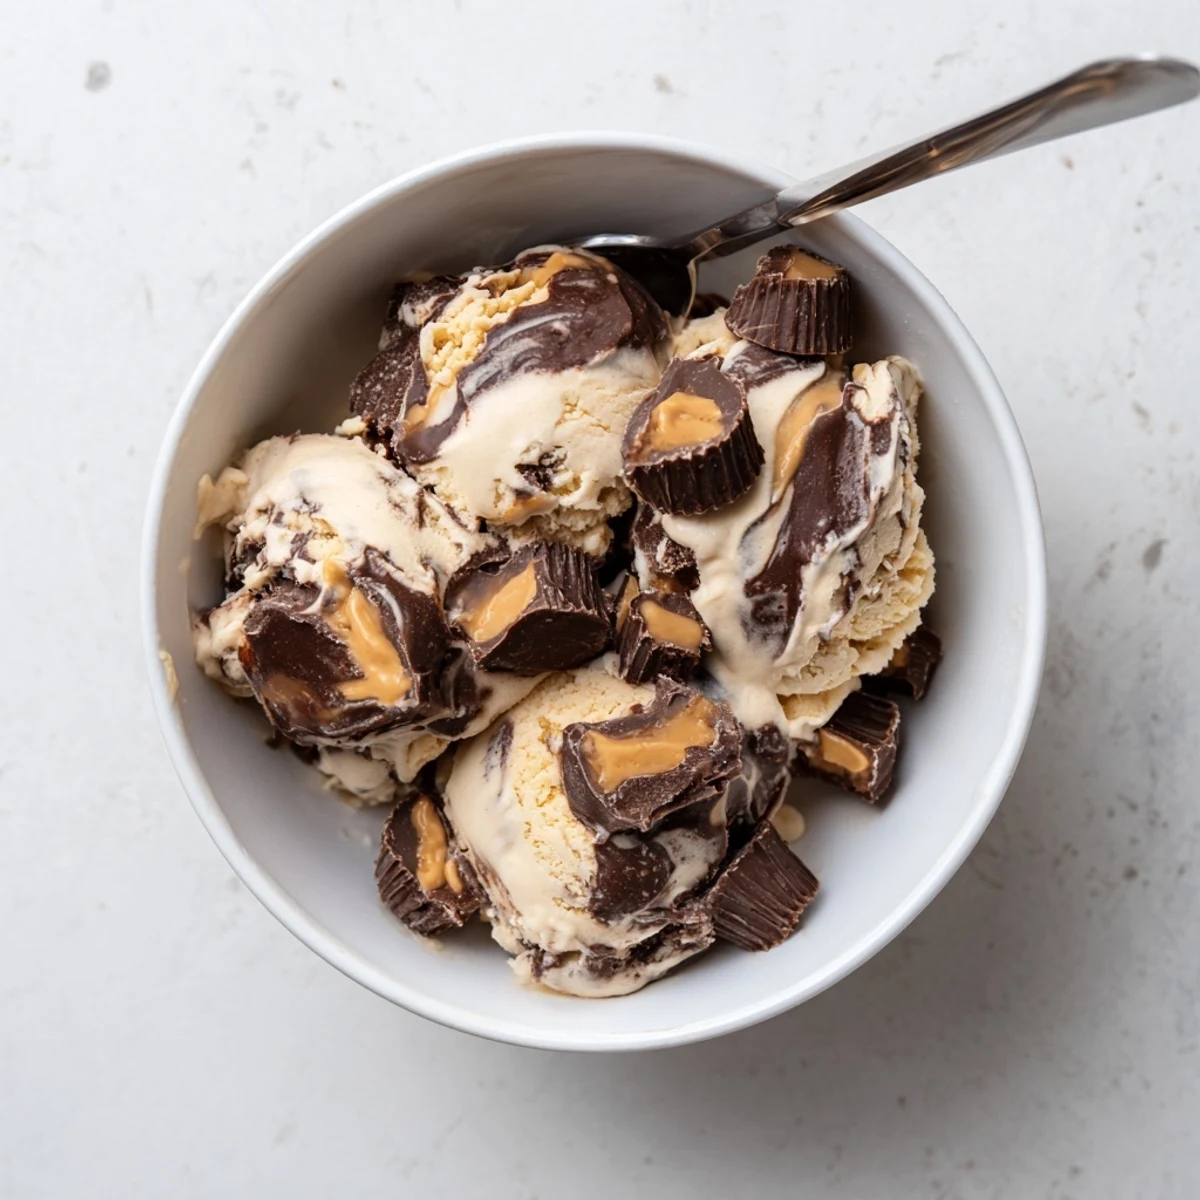
Save Create an indulgent frozen dessert featuring a silky vanilla base with ribbons of homemade chocolate fudge and chunks of chocolate peanut butter cups throughout. The churning process delivers an incredibly smooth texture while the fudge swirl creates those signature moose tracks patterns everyone loves. Perfect for summer gatherings or whenever cravings strike.
The winter I convinced myself homemade ice cream was a perfectly reasonable hobby happened to be the same winter my kitchen clocked in at a steady sixty degrees. My boyfriend came home from work to find me hovering over the ice cream maker wearing three sweaters, absolutely convinced the chilled base needed my body heat to freeze properly. We ate that batch slightly soft and laughed through brain freeze, but the fudge ribbon was exactly right.
My sister-in-law requested this for her birthday instead of cake, which felt like a personal victory. I made a double batch and we stood around the kitchen island eating it straight from the container, everyone taking turns with the same spoon, nobody even mentioning that some bites had more fudge than others.
Ingredients
- Heavy cream: The higher fat content makes all the difference between creamy and icy, so please do not attempt any substitutions here
- Whole milk: Skim milk will leave you with a disappointingly crystallized texture that nobody wants
- Granulated sugar: Dissolves beautifully into the cold base and creates that smooth consistency we are chasing
- Salt: Just enough to make the vanilla pop without tasting salty
- Pure vanilla extract: Do not use imitation here because the difference is actually noticeable in something this simple
- Semisweet chocolate chips: Melt down into a glossy fudge that creates those perfect ribbons throughout
- Unsalted butter: Adds richness to the fudge swirl and helps it set without getting too hard
- Light corn syrup: Keeps the fudge ribbon soft and spoonable even after hours in the freezer
- Mini chocolate peanut butter cups: Halve them so every bite gets a little piece instead of occasional giant chunks
Instructions
- Whisk the base:
- Combine the heavy cream, whole milk, sugar, salt, and vanilla extract in a medium bowl, whisking until the sugar completely disappears into the liquid
- Chill your base:
- Let the mixture rest in the refrigerator for at least an hour, or until it feels thoroughly cold to the touch
- Start churning:
- Pour everything into your ice cream maker and let it run for twenty to twenty-five minutes until the texture looks like soft serve
- Make the fudge:
- While the machine does its work, warm the cream, chocolate chips, butter, corn syrup, and pinch of salt in a small saucepan over low heat, stirring until melted and glossy, then cool to room temperature
- Fold in the peanut butter cups:
- Gently scatter the halved cups into the churned ice cream and fold them through with a spatula
- Layer it up:
- Spoon one third of the ice cream into your freezer container, drizzle with one third of the fudge, and repeat twice more
- Swirl and freeze:
- Run a knife through the layers once to create ribbons, then cover and freeze for at least six hours until firm enough to scoop
 Save
Save This recipe turned into my go-to for summer dinner parties because I can make it ahead and actually enjoy my guests instead of frantically plating desserts. Last July we served it in waffle cones and my usually stoic father-in-law went back for thirds.
The Temperature Sweet Spot
I have learned that ten to fifteen minutes on the counter before serving makes all the difference between rock-hard disappointment and perfect scoopability. My grandmother always said ice cream tastes better when you have to wait for it, and I am finally starting to understand what she meant.
Make It Your Own
Sometimes I swap dark chocolate into the fudge when I want something less sweet, and once I used chopped peanut butter cups instead of halved mini ones and honestly could not tell the difference. The nut-free variation with chocolate caramel candies has saved multiple dinner parties when someone mentioned allergies at the last second.
Storage Secrets
Press parchment paper directly onto the surface before freezing to prevent ice crystals from forming on top. I usually keep a roll specifically for ice cream making because it has transformed my leftovers game completely.
- Use a container with a tight lid to prevent freezer burn from sneaking in
- The fudge swirl stays soft for about two weeks before starting to get grainy
- Let your scooper warm under hot water for thirty seconds before diving in
 Save
Save There is something deeply satisfying about pulling a container of homemade ice cream from the freezer and watching everyone forget whatever polite table manners they arrived with. Hope this becomes your summer signature too.
Recipe FAQs
- → How long does homemade moose tracks ice cream need to freeze?
-
Plan for at least 6 hours in the freezer to achieve the perfect scoopable consistency. The base churns in about 20-25 minutes, but the extended freezing time allows the flavors to meld and the texture to set properly.
- → Can I make this without an ice cream maker?
-
While an ice cream maker produces the smoothest results, you can pour the chilled base into a shallow dish and freeze, stirring every 30 minutes for the first 3 hours to break up ice crystals. The texture will be slightly denser but still delicious.
- → What creates the signature moose tracks appearance?
-
The distinctive pattern comes from layering churned ice cream with drizzled fudge sauce, then swirling gently with a knife. This creates beautiful ribbons of chocolate throughout the vanilla base, mimicking the appearance of animal tracks in snow.
- → How should I store leftover ice cream?
-
Keep in an airtight freezer-safe container with parchment paper pressed directly against the surface to prevent ice crystals. For optimal texture and flavor, enjoy within 2-3 weeks of freezing.
- → Can I customize the mix-ins?
-
Absolutely! Swap peanut butter cups for chopped peanut butter cups, chocolate-covered pretzels for added crunch, or crushed Oreos for a cookies and cream variation. Just keep the total mix-in volume around one cup for the best texture balance.
- → Why is corn syrup used in the fudge swirl?
-
Corn syrup prevents the chocolate from seizing and ensures the fudge remains smooth and pourable even when frozen. This creates those perfect ribbons that stay soft and creamy throughout the finished dessert.
