 Save
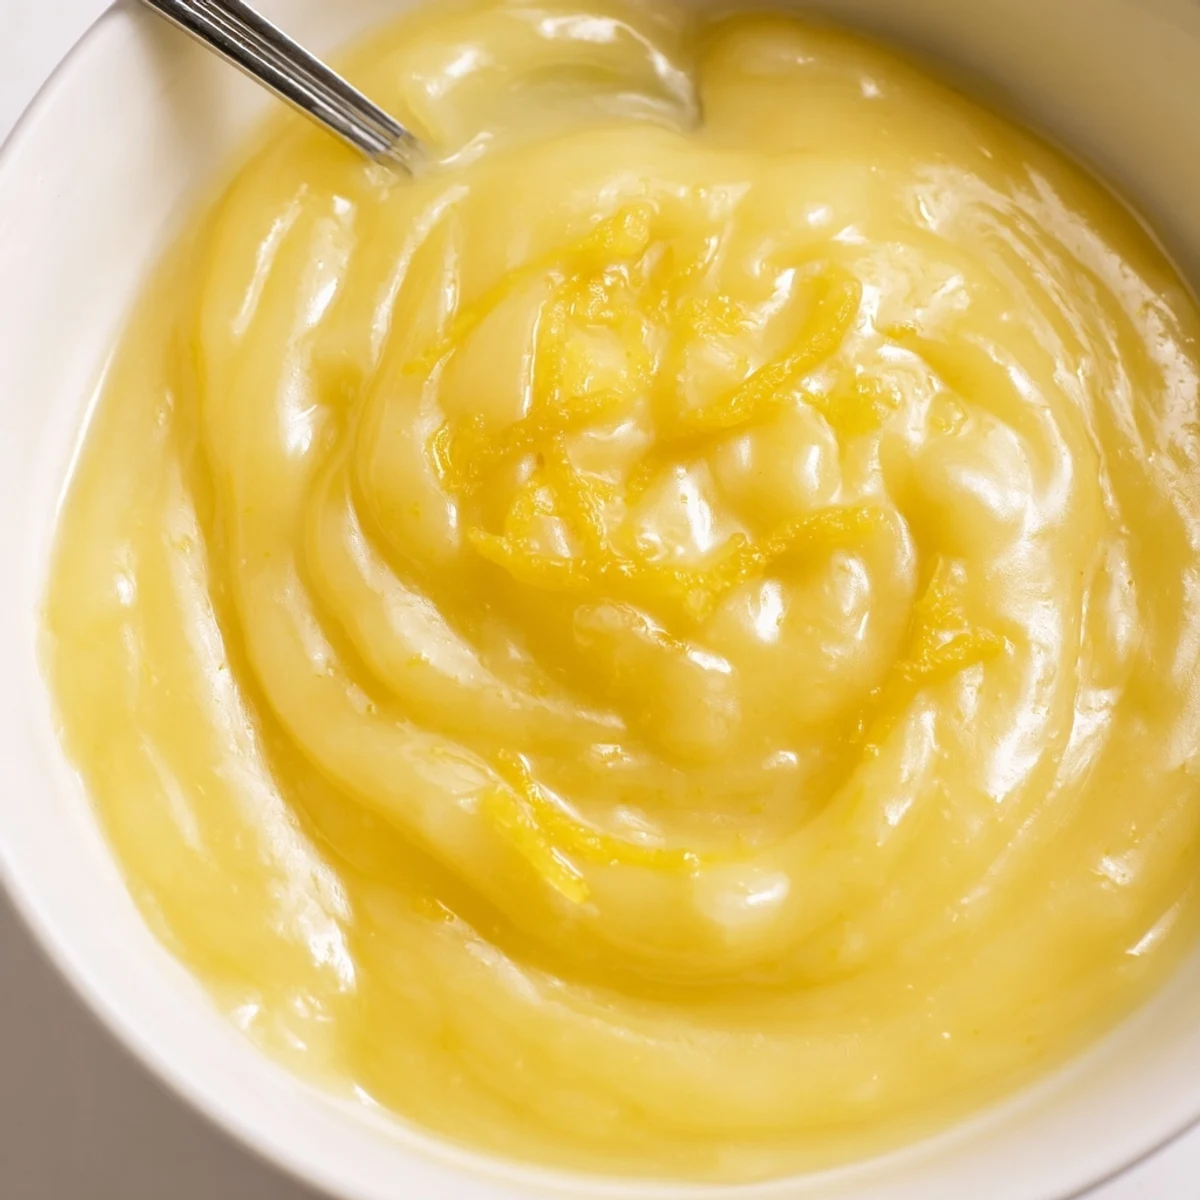
Save Make a silky lemon curd by whisking eggs and sugar, then stirring in fresh lemon zest and juice. Set the bowl over gently simmering water and whisk constantly until the mixture thickly coats the back of a spoon, about 8–10 minutes. Remove from heat and whisk in cubed butter until completely smooth, then strain for extra silkiness.
Cool before transferring to sterilized jars; chilled, it keeps up to two weeks. For dairy-free, use plant-based butter.
When the first sharp scent of freshly grated lemon zest wrapped around my kitchen one rainy afternoon, I knew there was no going back. Lemon curd seemed intimidating, but the simple alchemy of citrus, butter, and eggs quickly turned that doubt into bright, spoonable magic. I still remember the gentle tapping of the whisk in the bowl and the anticipation that something heavenly would thicken before my eyes. That unmistakable, sunshiny aroma bursting from a bubbling pot is enough to make anyone linger over their stove.
I prepped a batch on a sunny Sunday to surprise my partner for our weekly tea ritual. The kitchen glowed with lemon-scented steam, and we ended up dipping spoons straight into the bowl before it even hit the toast. That day, a supposed gift for others shamelessly became an impromptu treat just for us. Sometimes, the “best served shared” rule is gleefully broken.
Ingredients
- 4 large eggs: Fresh eggs lend the curd its silken texture—let them come to room temperature for easier whisking.
- 4 tablespoons unsalted butter, cubed: Cold, cubed butter melts in gradually, making the curd glossy and thick—unsalted keeps flavors bright.
- 3 large lemons (zest and juice; about 1 tablespoon zest, 120 ml juice): Juicy, unwaxed lemons are the heroes here—zest them first before squeezing to capture all that vibrant oil.
- 200 g (1 cup) granulated sugar: Just enough sweetness to offset the tang, but not so much that it masks the lemons’ sparkle.
Instructions
- Mix the Base:
- Whisk the eggs and sugar in a heatproof bowl until they lose their graininess, feeling the mixture lighten under your wrist.
- Add Lemon:
- Stir in the lemon zest and juice, watching the mixture become a zesty, pale gold.
- Gently Heat:
- Set the bowl over gently simmering water, making sure it hovers above, not in, the steam; keep whisking—don’t stop or you’ll risk scrambled bits.
- Thicken with Care:
- Whisk patiently for about 8–10 minutes until it thickens and clings to the back of a spoon, and you can almost smell the tangy transformation.
- Butter for Gloss:
- Remove from heat, drop in the butter cubes, and whisk until every golden bit is absorbed and the curd turns satiny-smooth.
- Sieve for Silkiness:
- Pour the curd through a fine-mesh sieve into a clean bowl to remove zest or any flecks of cooked egg.
- Cool & Store:
- Let it cool before transferring to sterilized jars; tuck them in the fridge and promise not to eat it all at once.
 Save
Save The first time I swirled lemon curd into yogurt at a brunch with friends, someone grinned and asked for the recipe before the meal was even over. It was the type of small, sweet victory that makes you beam each time you make it again.
Making It Your Own
Once you’re comfortable with the basics, try folding in a pinch of vanilla or stirring in finely chopped herbs like basil for an aromatic twist. My housemate once dared a Meyer lemon-blood orange blend, which completely changed the mood—sweeter, almost rosy. Each batch gives you a new palette to play with.
Serving Suggestions You May Not Expect
Besides toast or scone duty, lemon curd slides between cake layers or perks up simple muffins. I’ve even drizzled it over pancakes or used it as a tangy layer in trifles. Everyone’s always surprised when a spoonful shows up atop ice cream, brightening dessert with a zippy finish.
A Few Final Thoughts for the Lemon-Lover
Keep your lemons at room temp before juicing for maximum yield, and always zest before cutting. Sterilize jars just before filling so your curd stays fresh and fragrant for longer. Don’t forget to label the jars—you’ll thank yourself when you reach for the last one.
- Let the curd cool completely before sealing the jars.
- Stir gently if a skin forms on top in the fridge.
- A squeeze of extra lemon at the end can double the wow factor!
 Save
Save This curd never lasts long in my fridge, yet every spoonful tastes like bottled sunshine. Let your next batch brighten up everything from breakfast to afternoon tea.
Recipe FAQs
- → What creates the silky texture in lemon curd?
-
The silkiness comes from the egg yolks and butter emulsifying with the lemon juice, plus gentle, constant whisking over low heat. Straining the finished curd removes any cooked egg bits or zest for a smoother finish.
- → Can I make this without dairy?
-
Yes. Substitute plant-based butter for a dairy-free version. The texture may be slightly different, so choose a high-fat spread and whisk it in off the heat for a smooth finish.
- → How long will lemon curd keep in the fridge?
-
Properly jarred and chilled, lemon curd will keep in the refrigerator for up to two weeks. For longer storage, freeze in airtight containers for up to three months.
- → How do I prevent the curd from curdling or becoming grainy?
-
Cook over gentle, indirect heat (double boiler) and whisk constantly. Remove from the heat as soon as it thickly coats a spoon and immediately whisk in the butter to smooth the mixture. Straining helps remove any overcooked bits.
- → What are common uses for lemon curd?
-
Use it as a spread for scones and toast, a filling for cakes and tarts, or swirled into yogurt and desserts. It also pairs nicely with black teas like Earl Grey or Darjeeling.
- → Can I adjust the sweetness or tartness?
-
Yes. Reduce or increase the sugar to taste, or add a little more lemon juice for extra brightness. Adjustments may slightly change texture, so taste as you go and monitor thickening time.
