 Save
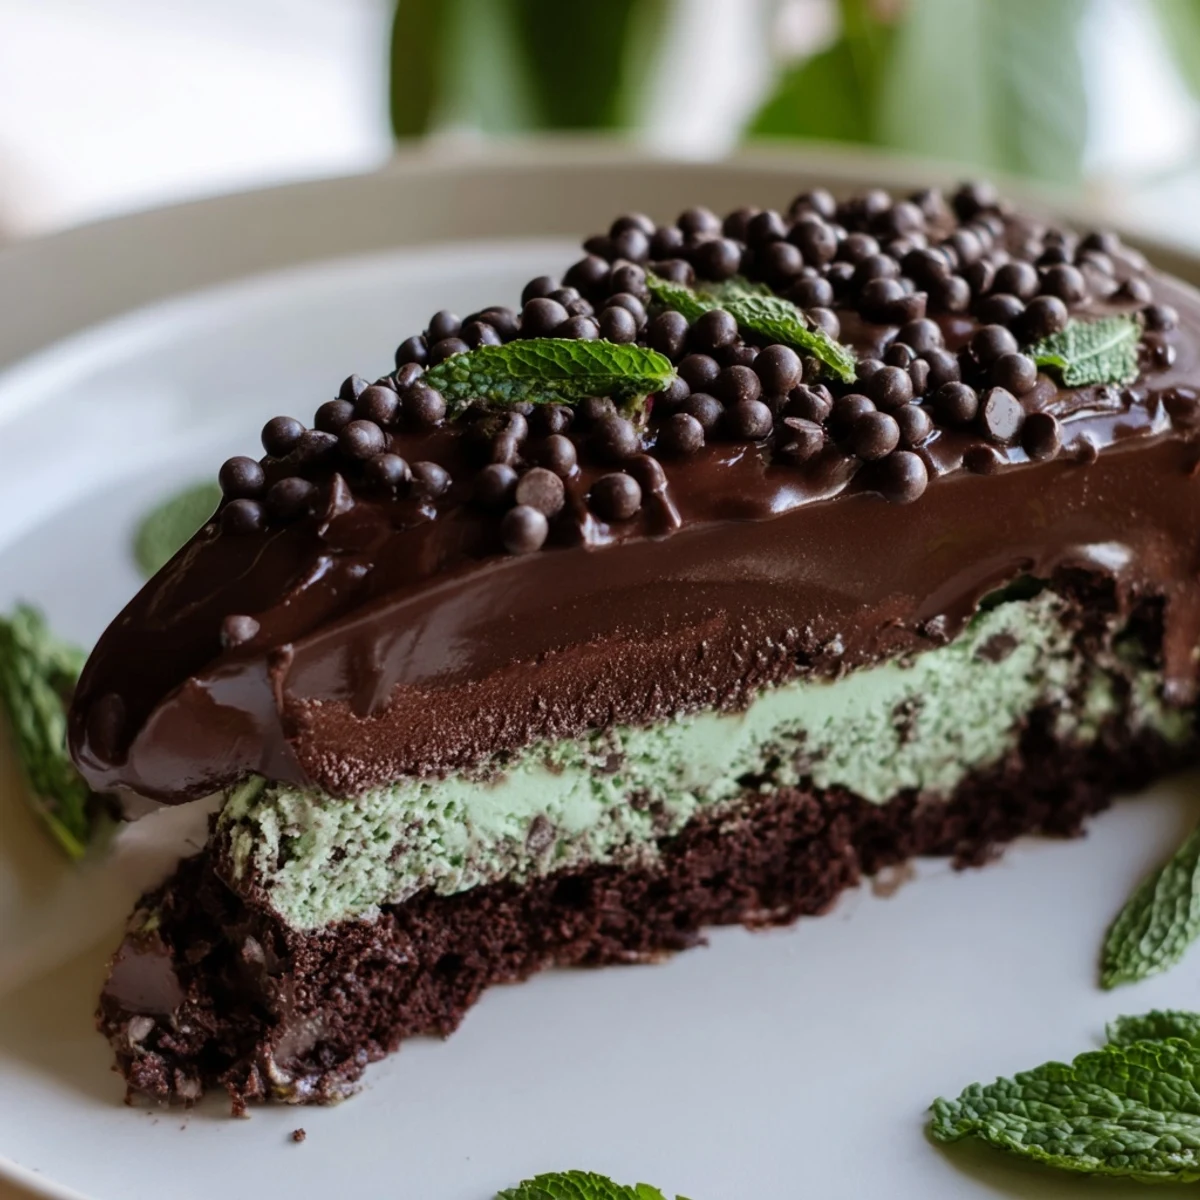
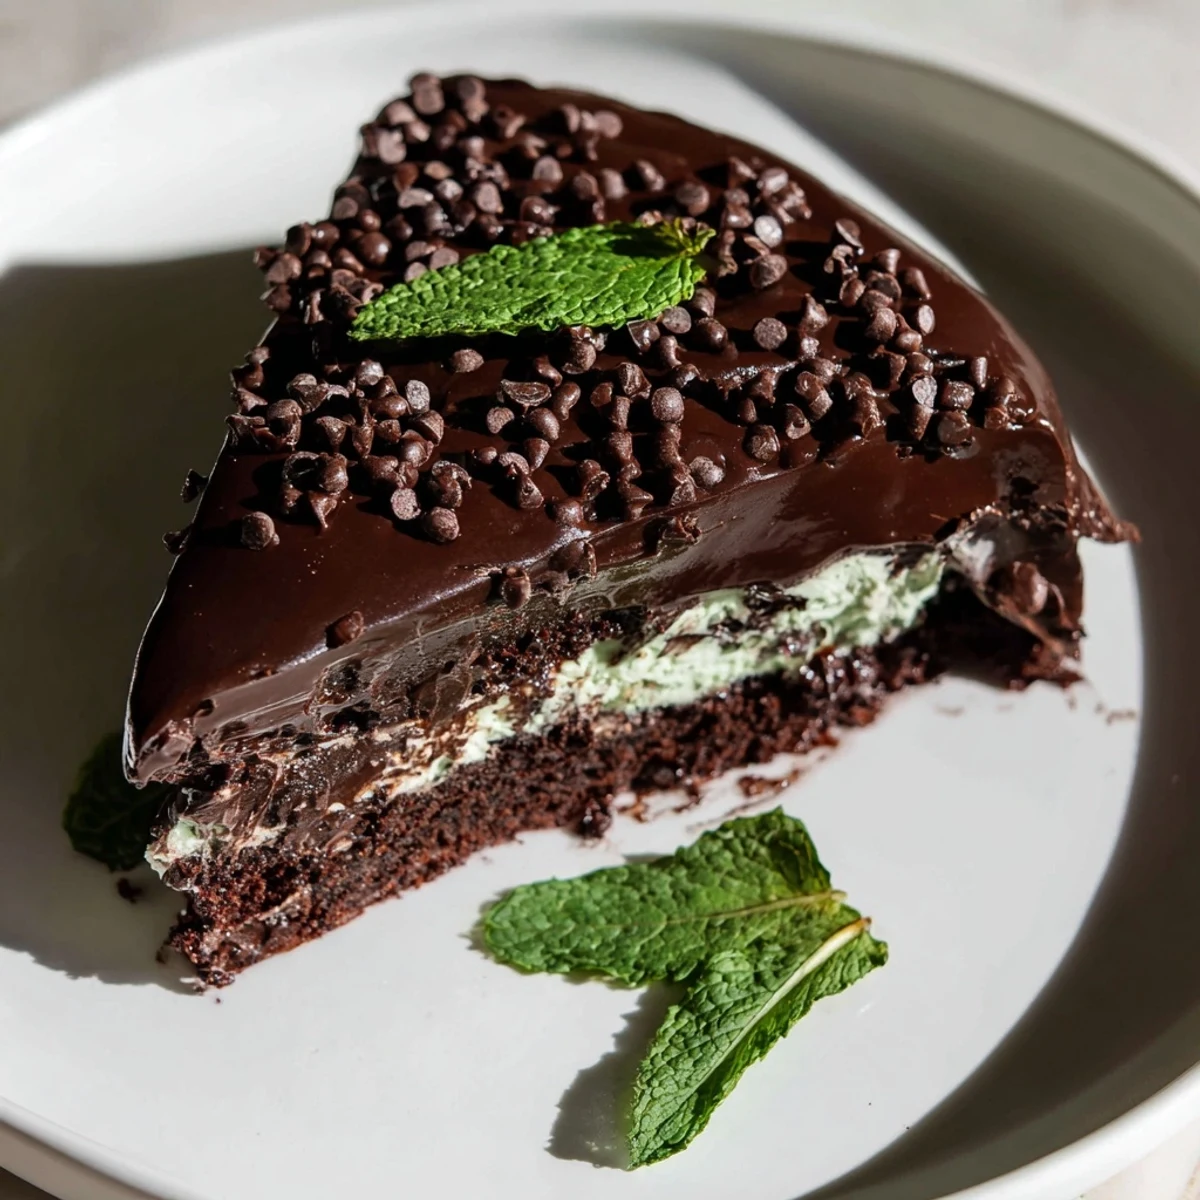
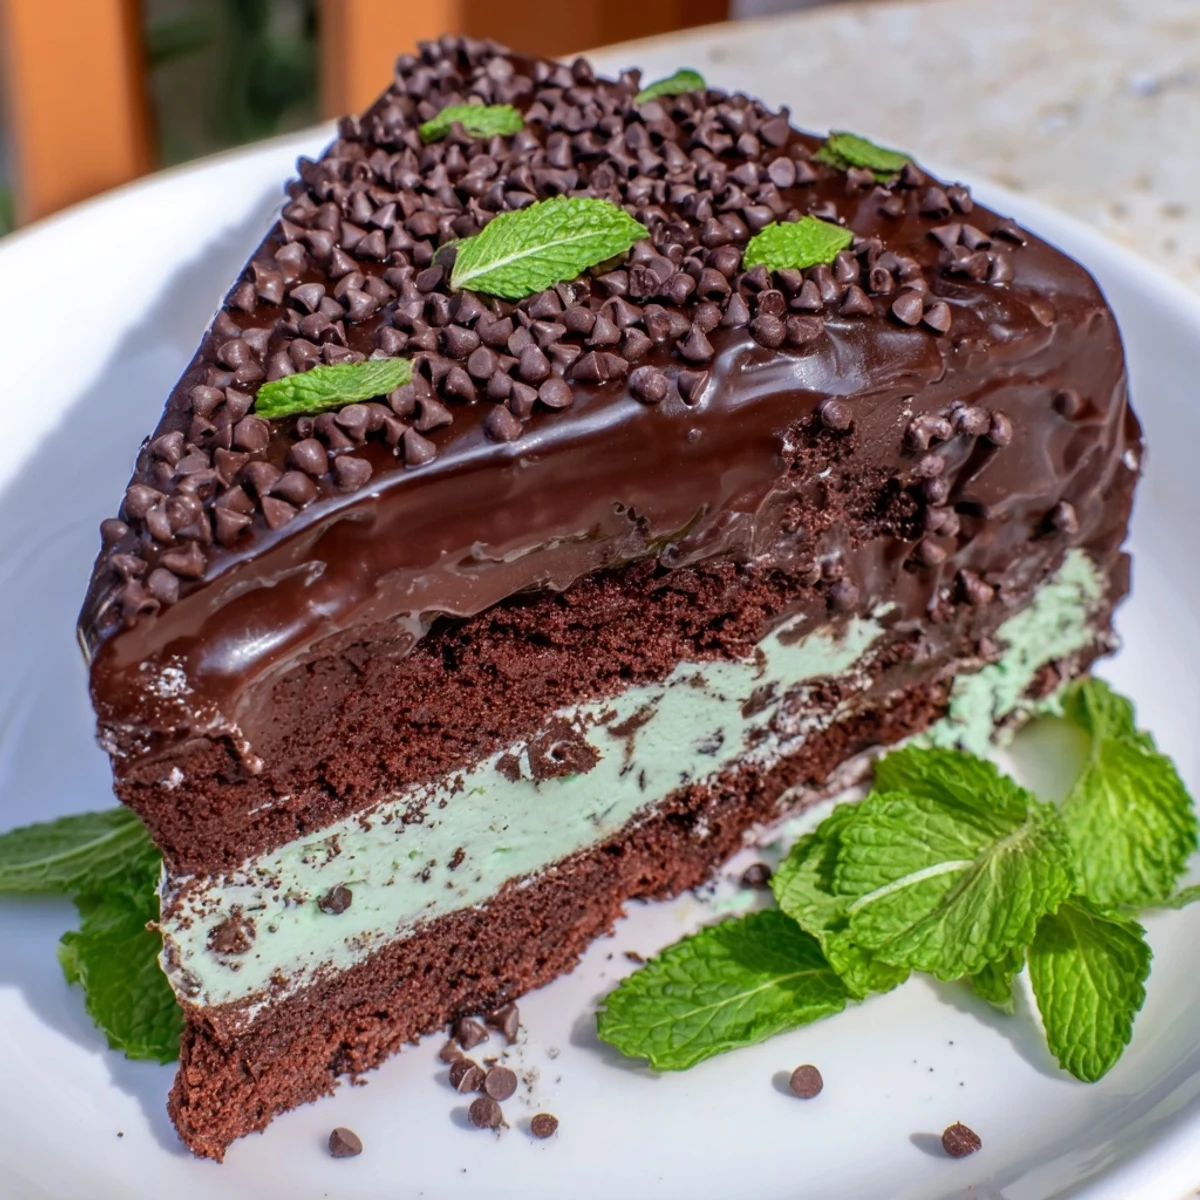
Save This layered dessert brings together moist chocolate cake and creamy mint chocolate chip ice cream for a refreshing treat. A silky chocolate ganache crowns the top, creating a rich finish complemented by a garnish of mini chips and fresh mint. After baking and assembling, it requires freezing to achieve perfect texture and flavor balance. Perfect for gatherings and a cool indulgence during warmer days.
The heatwave had been relentless for three days straight, and my kitchen felt like an oven even with the windows thrown open. My youngest daughter kept asking if we could bake something, anything, but I couldn't bear turning on the oven. Then it hit me—a cake that needs freezing time, perfect for melting afternoons. Now it's become our go-to celebration dessert, requested for everything from birthdays to end-of-school-year parties.
I remember making this for my sister's summer birthday last year. The kids had been running through the sprinkler all afternoon, cheeks flushed and grass-stained knees, when I brought out the cake. Something about that cold mint hitting their overheated systems made everyone go quiet for exactly three seconds before they started begging for seconds. My sister said it was the perfect birthday cake for July—celebratory enough to feel special, refreshing enough to actually enjoy in the heat.
Ingredients
- 1 cup (130 g) all-purpose flour: The foundation that gives structure to all that creamy goodness above it
- 1 cup (200 g) granulated sugar: Sweetens both the cake and helps create that tender crumb we want
- 1/2 cup (50 g) unsweetened cocoa powder: Dutch-processed gives the deepest chocolate flavor
- 1 tsp baking powder: Helps the cake rise just enough to support the ice cream layer
- 1/2 tsp baking soda: Works with the acidic cocoa for proper lift
- 1/2 tsp salt: Intensifies the chocolate flavors
- 1/2 cup (120 ml) whole milk: Creates moisture and tenderness
- 1/2 cup (120 ml) vegetable oil: Keeps the cake moist even after freezing
- 2 large eggs: Structure and richness
- 1 tsp vanilla extract: Rounds out the chocolate flavor
- 1/2 cup (120 ml) hot water: Blooms the cocoa powder for intense chocolate taste
- 1.5 quarts (about 1.4 L) mint chocolate chip ice cream: Slightly softened so it spreads without melting completely
- 1 cup (170 g) semi-sweet chocolate chips: Forms the glossy ganache crown
- 1/2 cup (120 ml) heavy cream: Creates that luxurious pourable ganache
- 2 tbsp mini chocolate chips: For that extra chocolate crunch on top
- Fresh mint leaves: Makes it look like you tried really hard
Instructions
- Prepare your canvas:
- Preheat oven to 350°F (175°C) and grease a 9-inch springform pan with parchment paper. This pan choice is crucial because you'll need to release the frozen cake later without destroying it.
- Whisk the dry team:
- In a large bowl, combine flour, sugar, cocoa powder, baking powder, baking soda, and salt until everything looks uniformly dark and chocolatey.
- Bring in the wet ingredients:
- Add milk, oil, eggs, and vanilla extract. Mix until combined, then stir in that hot water until the batter transforms into something silky and thin.
- Bake your foundation:
- Pour batter into the prepared pan and bake for 22–25 minutes until a toothpick comes out clean. Cool completely right in the pan—this becomes your mold later.
- Layer the mint:
- Spread softened mint chocolate chip ice cream evenly over the cooled cake. Smooth the surface with an offset spatula and freeze for at least 3 hours until firm.
- Create the ganache crown:
- Heat heavy cream until just simmering, then pour over chocolate chips. Let sit 2 minutes, then stir until smooth and glossy.
- Finish with finesse:
- Cool the ganache slightly, then pour over the frozen ice cream layer, spreading evenly. Freeze 30 minutes more, then garnish with mini chips and mint if desired.
 Save
Save This cake taught me that some of the best desserts come from solving problems instead of following tradition. What started as a too-hot-to-bake compromise has become the dessert my family associates with summer's best moments—firefly evenings, backyard birthdays, and that sweet spot between dinner exhaustion and bedtime when everyone's happy enough for seconds.
Making It Your Own
Once you master the basic technique, the flavor combinations are endless. I've made this with cookies and cream ice cream for a cookies and cream version that disappeared faster than I could photograph it. The key is keeping ice cream flavors that won't overwhelm the chocolate cake base.
Timing Your Layers
The most common mistake I see people make is trying to rush the freezing process. Each layer needs time to set completely, or you'll end up with marbled swirls instead of clean distinct layers. I usually start this cake the day before I need it, letting everything freeze overnight for the cleanest slices.
Serving Strategy
This cake needs about 10 minutes at room temperature before serving. Too cold and the ganache cracks, too warm and the ice cream layer starts weeping. I pull it out when I start clearing the dinner table, and by the time we're ready for dessert, it's reached perfect slicing temperature.
- Keep your springform pan's ring handy for serving if you're transporting it
- Leftovers (if you somehow have them) keep well wrapped in the freezer for weeks
- A warmed knife is your secret weapon for restaurant-worthy slices
 Save
Save There's something deeply satisfying about serving a dessert that looks like it came from a fancy bakery but came together in your own kitchen. This cake is proof that sometimes the best recipes come from the most practical problems.
Recipe FAQs
- → How do I ensure the cake layer stays moist?
-
Mix the batter thoroughly and avoid overbaking. Use hot water in the batter to help brighten the cocoa flavor and keep the crumb moist.
- → Can I substitute the mint chocolate chip layer with another flavor?
-
Yes, flavors like chocolate or fudge ripple ice cream work well to complement the chocolate cake base.
- → What is the best way to spread the ice cream layer evenly?
-
Soften the ice cream slightly before spreading to ensure a smooth, uniform layer without tearing the cake.
- → How long should the assembled dessert freeze before serving?
-
Freeze at least 3 hours after adding the ice cream layer and an additional 30 minutes after pouring the ganache for optimal firmness.
- → Any tips for cutting clean slices?
-
Run a sharp, warm knife around the edges before slicing to create clean, smooth pieces.
