 Save
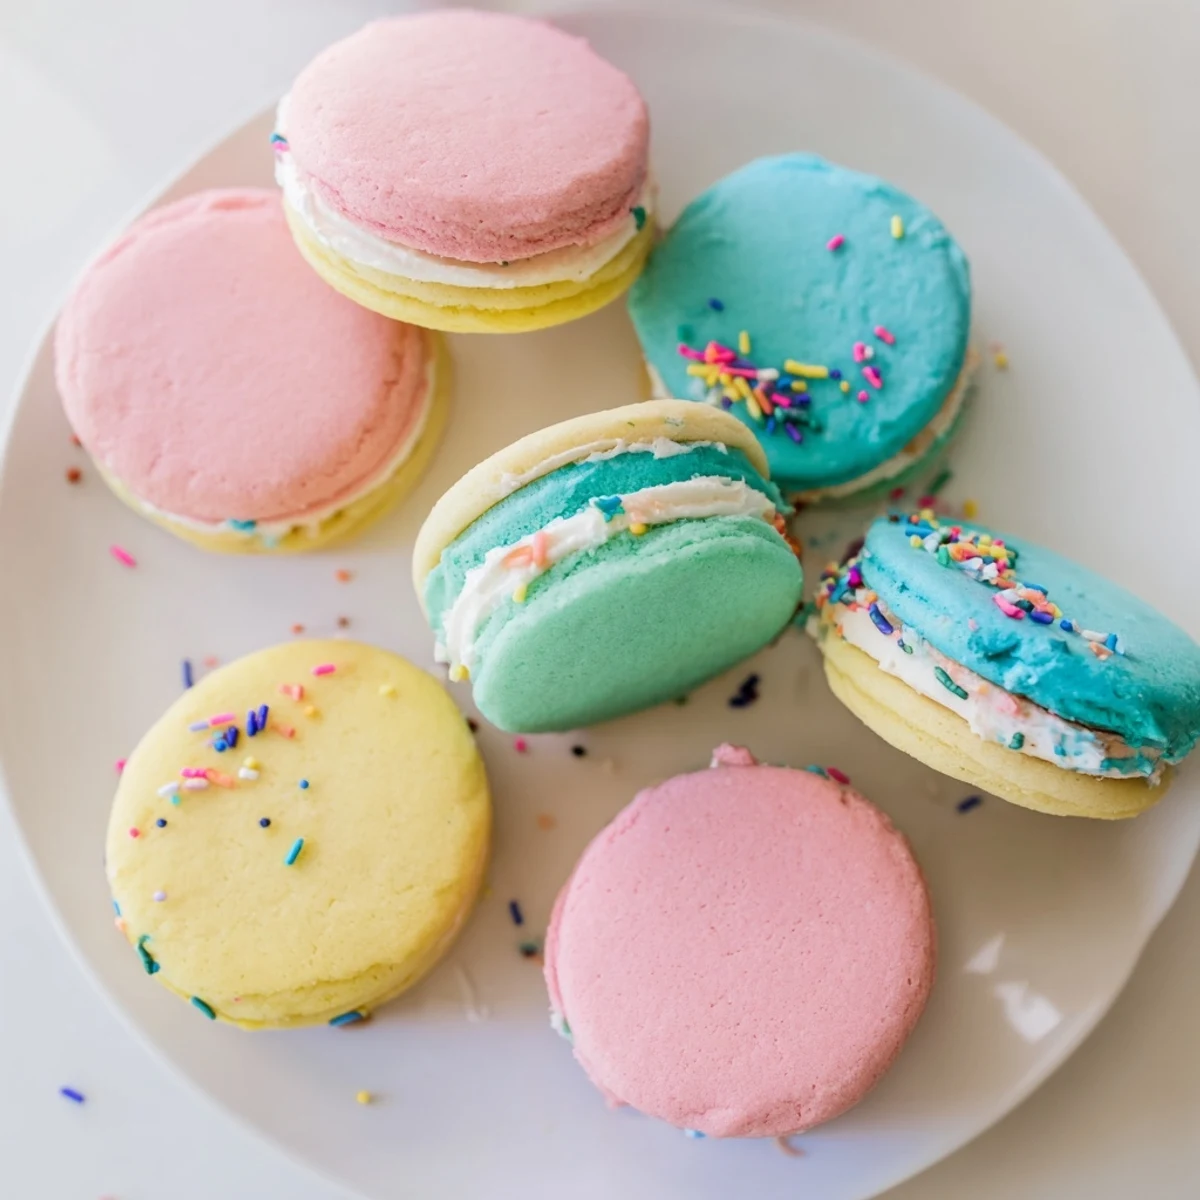
Save These tender sugar cookies bring cheerful color to any spring gathering. The dough divides easily into batches tinted with gel food coloring in soft pink, yellow, blue, green, and purple shades. After baking to golden perfection, the cookies cool completely before being sandwiched together with a luscious vanilla buttercream that balances sweetness with creamy richness.
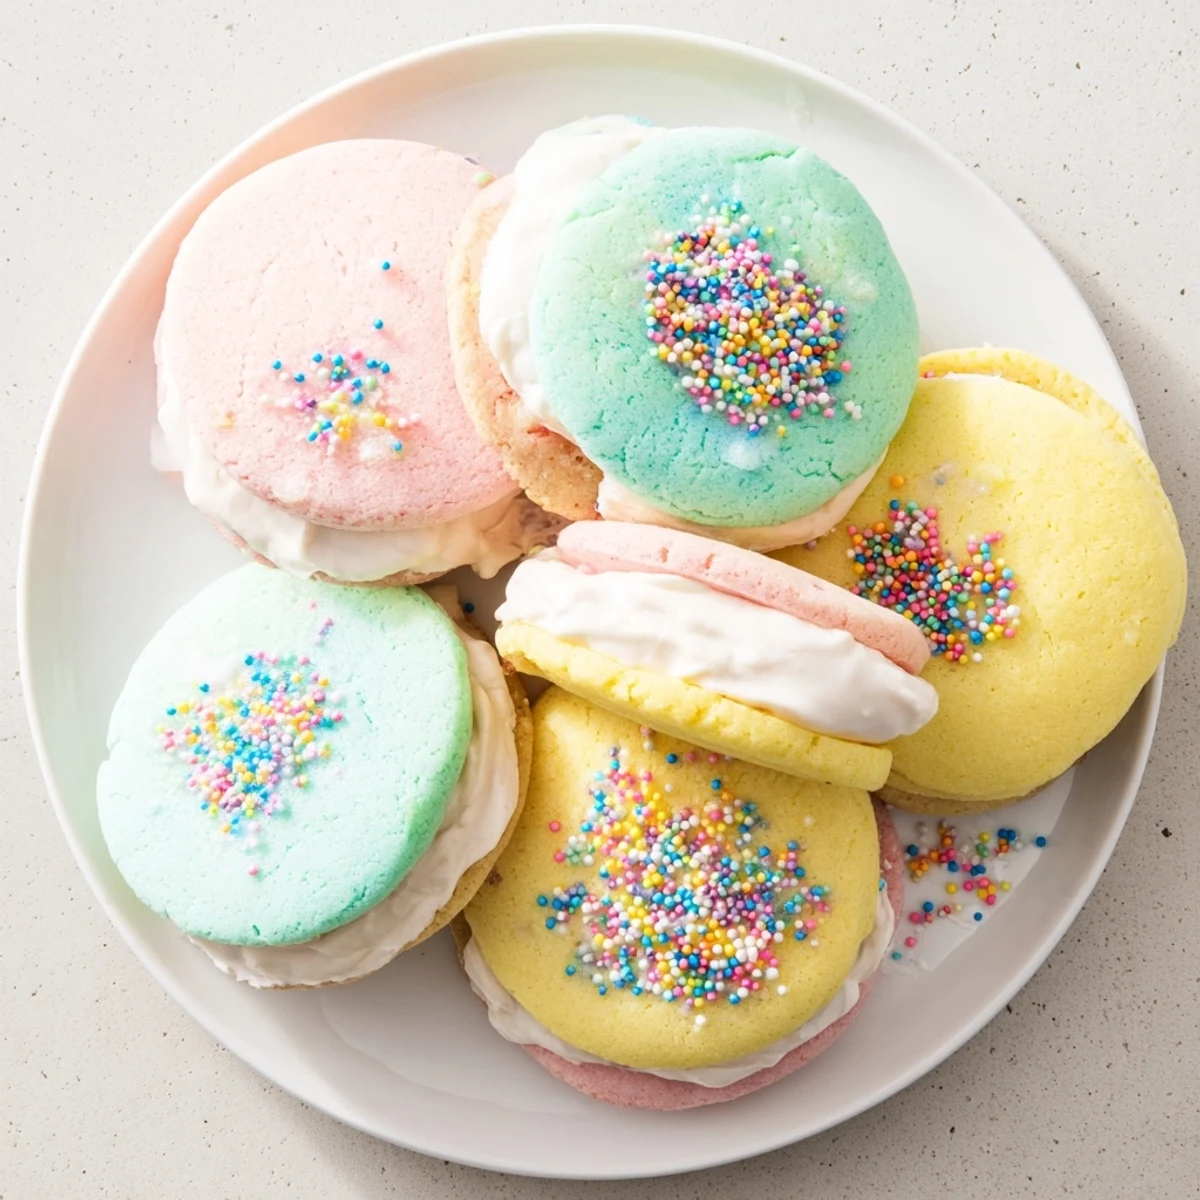
The entire process takes about an hour, including chilling and assembly time. Each sandwich cookie features two pastel rounds with a generous layer of fluffy frosting in between. Optional sprinkles pressed into the edges add an extra festive touch for Easter parties, baby showers, or spring birthdays.
The vanilla-forward base adapts well to citrus zest or alternative frosting flavors like lemon or strawberry. These handheld treats store well for days, making them ideal for preparing ahead of time and assembling just before serving.
The first time I made these pastel sandwich cookies was actually by accident when I was experimenting with leftover Easter egg dye. I ended up with bowls of dough in the softest shades of pink, yellow, and mint green, and when they came out of the oven, my kitchen smelled like a bakery. My roommate walked in and immediately asked if we were having a party.
Last spring I brought a platter to a neighborhood potluck and watched three different people ask for the recipe within ten minutes. Something about the pastel colors just makes people happy, like little edible clouds in Easter egg shades. They disappeared faster than anything else on the dessert table.
Ingredients
- 2 1/2 cups all-purpose flour: The foundation that gives these cookies their perfect tender crumb
- 1/2 tsp baking powder: Just enough lift for that classic sugar cookie puff
- 1/4 tsp salt: Balances the sweetness and brings all flavors forward
- 1 cup unsalted butter, softened: Room temperature is non negotiable here for proper creaming
- 1 cup granulated sugar: Creates that signature sugar cookie sweetness and crisp edge
- 1 large egg: Binds everything together while adding structure
- 2 tsp pure vanilla extract: Use the good stuff since vanilla is the star flavor
- 1/2 tsp almond extract: Optional but adds such a lovely bakery style depth
- Gel food coloring: Pastel shades work best, and gel gives the most vibrant color without thinning the dough
- 1/2 cup unsalted butter, softened: For the buttercream, again make sure it is properly softened
- 2 cups powdered sugar, sifted: Sifting prevents lumps and makes the frosting silky smooth
- 1 tbsp milk or heavy cream: Adjust this to get your perfect spreading consistency
- 1 tsp pure vanilla extract: Echoes the cookie flavor and ties everything together
- Pinch of salt: A tiny bit cuts through the sweetness of the frosting
- Sprinkles: Optional but why not add a little extra joy
Instructions
- Preheat and prepare:
- Preheat your oven to 350F and line two baking sheets with parchment paper. This small step saves you from stubborn cookies later.
- Whisk the dry ingredients:
- In a medium bowl, whisk together the flour, baking powder, and salt until well combined. Set this aside while you work on the wet ingredients.
- Cream the butter and sugar:
- Beat the butter and sugar together for 2 to 3 minutes until the mixture is light and fluffy. Do not rush this step because it creates the cookies perfect texture.
- Add the egg and extracts:
- Add the egg, vanilla extract, and almond extract if you are using it. Mix until everything is beautifully incorporated and the batter looks smooth.
- Combine the dough:
- Gradually add the flour mixture to the wet ingredients, mixing just until you no longer see dry streaks. Over mixing will make your cookies tough.
- Divide and color:
- Split the dough evenly into 4 or 5 bowls and tint each with a different pastel gel food coloring. Mix until the color is completely uniform and looks like a tiny bowl of edible Play-Doh.
- Scoop the cookies:
- Use a tablespoon or cookie scoop to portion dough into balls and place them 2 inches apart on your prepared baking sheets. Give them room to spread.
- Flatten gently:
- Press each ball down slightly with the palm of your hand. This helps them bake evenly and gives them that classic sugar cookie shape.
- Bake to perfection:
- Bake for 10 to 12 minutes until the edges are set but the centers still look slightly soft. Remove them before they look fully cooked or they will harden as they cool.
- Cool completely:
- Let the cookies rest on the trays for 5 minutes then transfer them to a wire rack. They must be 100 percent cool before filling or the buttercream will melt.
- Make the buttercream:
- Beat the butter until creamy then add the powdered sugar, vanilla, salt, and milk. Whip until smooth and fluffy, adding more milk if needed for easy spreading.
- Assemble the sandwiches:
- Spread or pipe buttercream onto the flat side of half the cookies. Top each with another cookie, pressing gently but firmly.
- Add the finishing touches:
- Roll the edges in sprinkles if you want extra festivity. Serve immediately or store in an airtight container.
 Save
Save My niece helped me make a batch last Easter and she was so proud of the rainbow of dough bowls we created. She took such care matching the cookie pairs for filling, and now every time I make them I think of her little hands carefully placing each sandwich together.
Getting The Colors Right
Start with a tiny amount of gel coloring because it is incredibly concentrated. You can always add more, but you cannot take it back. Dip a toothpick into the gel and swirl it into your dough, mixing thoroughly before deciding if you need more.
Making Them Ahead
The unfilled cookies freeze beautifully for up to a month. I like to bake a big batch on Sunday, freeze them, then pull them out and make fresh buttercream when I need a quick dessert for unexpected guests or a last minute party.
Filling Variations
While vanilla buttercream is classic, these cookies are amazing with citrus frosting or even a chocolate ganache filling. The pastel colors work with so many flavor combinations.
- Try lemon zest in the dough and lemon buttercream for spring
- Strawberry filling turns pink cookies into the cutest dessert ever
- Chocolate ganache pairs surprisingly well with the vanilla cookie base
 Save
Save There is something so joyful about biting into these colorful little sandwiches. They are like a celebration in cookie form.
Recipe FAQs
- → How many sandwich cookies does this batch make?
-
This recipe yields approximately 14 finished sandwich cookies when using a tablespoon or standard cookie scoop for portioning.
- → Can I use liquid food coloring instead of gel?
-
Gel food coloring works best as it won't add excess moisture to the dough. Liquid coloring can alter the texture, but if necessary, use minimal drops and compensate by adding a teaspoon of flour.
- → How should I store these cookies?
-
Store assembled sandwich cookies in an airtight container at room temperature for up to 3 days. For longer storage, keep unfilled cookies in a sealed bag and fill them fresh within a week.
- → What type of sprinkles work best for decoration?
-
Nonpareils, jimmies, or pearl sprinkles in coordinating pastel or white colors press gently into the exposed buttercream edges. Avoid large sprinkles that may fall off easily.
- → Can I freeze the dough or baked cookies?
-
Yes, both freeze well. Wrap individual dough balls in plastic and freeze for up to 3 months. Baked unfilled cookies also freeze beautifully; thaw at room temperature before adding buttercream.
- → How do I know when the cookies are done baking?
-
The edges should appear set and slightly golden while the centers remain soft to the touch. They'll firm up during cooling, so avoid overbaking which leads to dry sandwiches.
