 Save
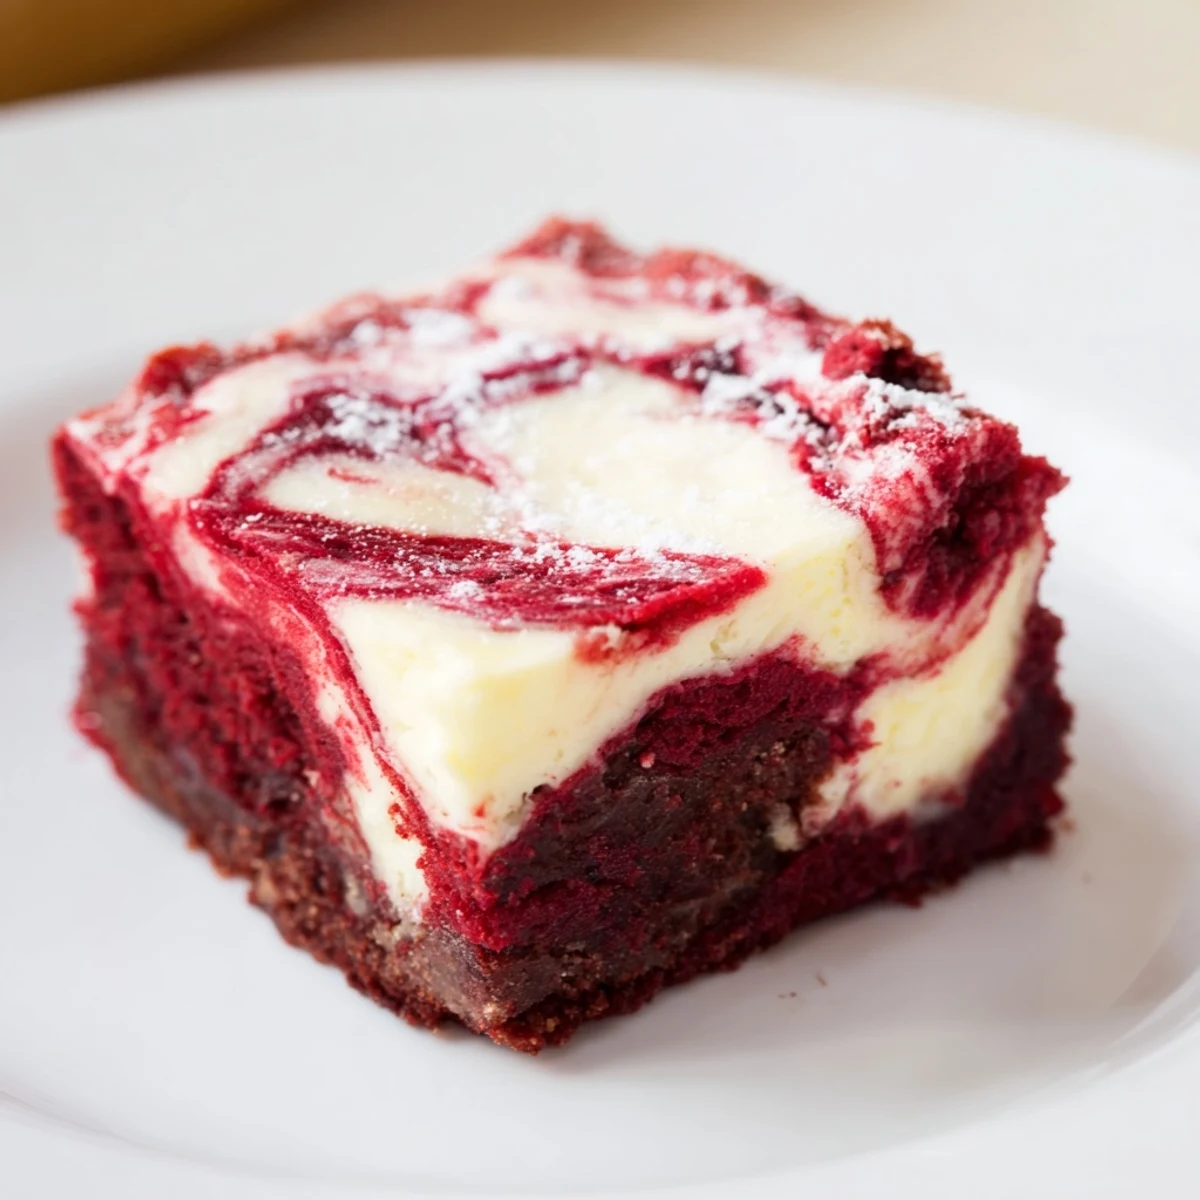
Save These bite-sized delights combine a moist and fudgy red velvet brownie base with a creamy, smooth cheesecake swirl. Carefully crafted and baked in mini muffin tins, each bite offers a balance of rich cocoa, subtle vanilla, and tangy cream cheese notes. Ideal as party treats or indulgent snacks, they bake quickly and can be garnished with chocolate shavings or powdered sugar for a final touch. Store cooled bites in the refrigerator up to five days for lasting freshness.
The first time I made these for a Valentine's Day gathering, my friend Sarah actually hid three in her purse to take home. That vivid red against the creamy white swirl makes them look impossibly fancy, but the real magic happens when you bite through the slightly crisp edge into that fudgy center.
I brought a batch to my nephews birthday party last month, and the kids were absolutely mesmerized by the swirly pattern. My sister-in-law confessed later that she ate three standing at the kitchen counter before the guests even arrived, and honestly, I cant blame her.
Ingredients
- Unsalted butter: Melt it completely and let it cool slightly so it doesnt scramble the egg when you mix everything together
- Granulated sugar: This amount hits the perfect sweet spot without overshadowing the chocolate
- Large egg: Bring it to room temperature first for better emulsification with the butter
- Vanilla extract: Pure vanilla makes a noticeable difference in the final flavor
- Red food coloring: Gel coloring gives you that deeper red without affecting the batter consistency
- All purpose flour: Measure by spooning into the cup and leveling off for accuracy
- Unsweetened cocoa powder: Dutch processed cocoa gives a more intense chocolate flavor
- Salt: A small amount balances the sweetness and intensifies the chocolate
- Cream cheese: Use full fat and let it soften completely for the smoothest swirl
- Egg yolk: Adding just the yolk makes the cheesecake layer extra rich and creamy
Instructions
- Get your oven ready:
- Preheat to 350°F and line your mini muffin tin with liners, spraying them lightly helps the paper peel away cleanly later
- Make the red velvet batter:
- Whisk the melted butter and sugar until smooth, then beat in the egg, vanilla, and food coloring until the color is evenly distributed
- Add the dry ingredients:
- Sift in the flour, cocoa, and salt, then fold gently until just combined, leaving a few streaks of flour is better than overmixing
- Prepare the cheesecake swirl:
- Beat the cream cheese until completely smooth, then add the sugar, egg yolk, and vanilla, mixing until creamy and lump free
- Assemble the bites:
- Spoon about one tablespoon of red velvet batter into each cup, top with a teaspoon of cheesecake mixture, then swirl gently with a toothpick just once or twice
- Bake to perfection:
- Bake for 22 to 25 minutes until the centers are just set and the edges have started pulling away from the liners
- Cool completely:
- Let them rest in the pan for 10 minutes before transferring to a wire rack, the cheesecake layer needs this time to firm up
 Save
Save These became my go-to contribution for every office potluck after my coworker Mike literally begged me for the recipe. Something about that combination of textures and flavors makes people suddenly very protective of their personal stash.
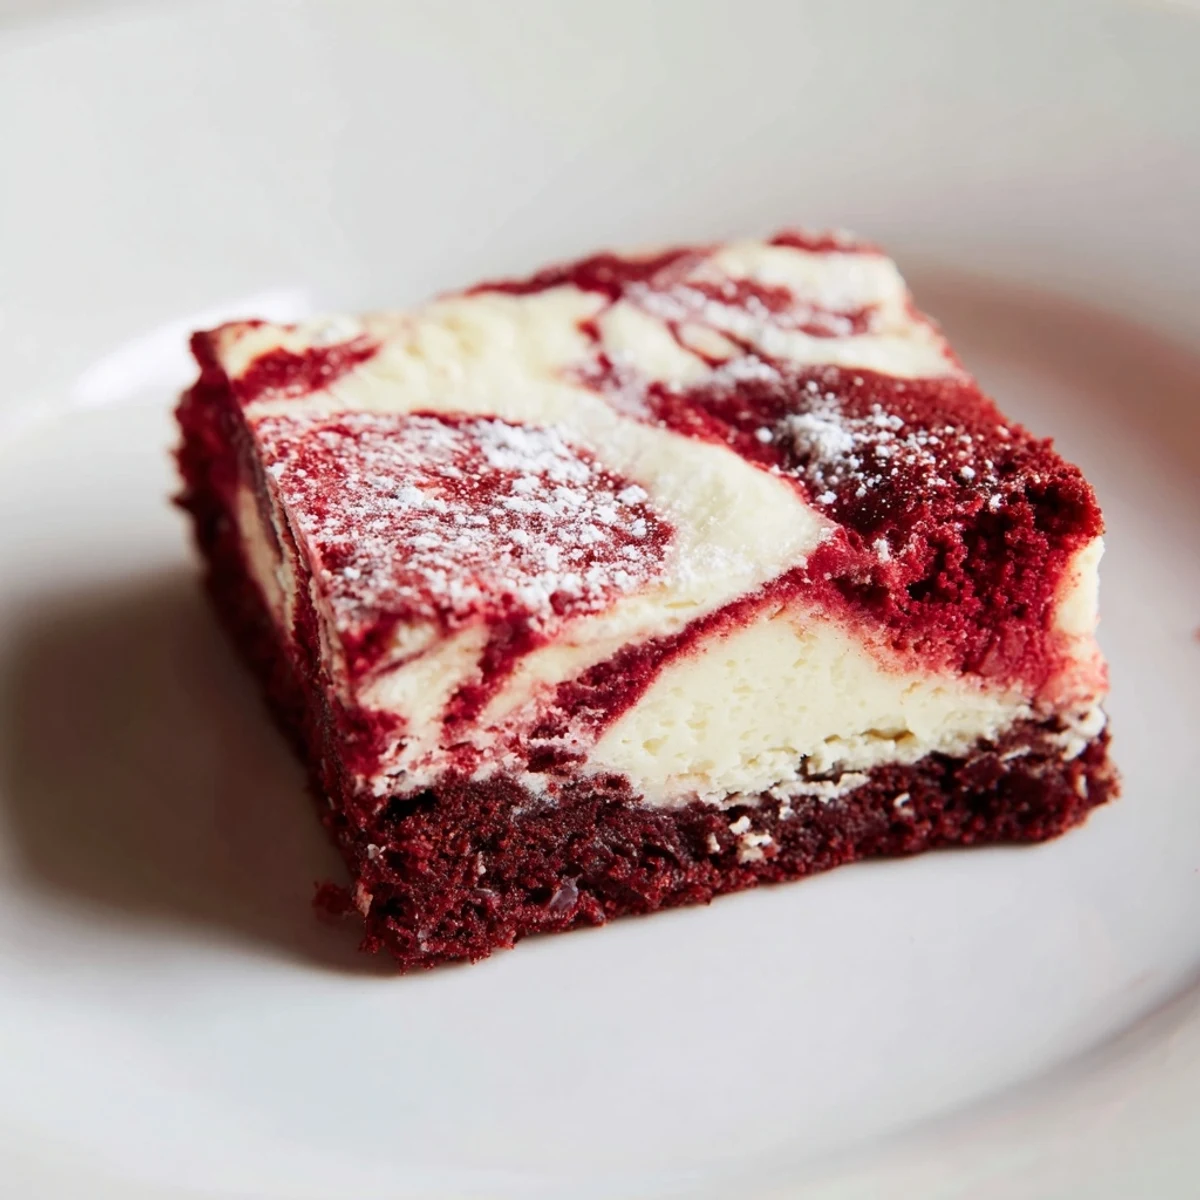
Making The Swirl Look Professional
I learned the hard way that over swirling turns the beautiful red and white into muddy pink. One gentle figure eight motion with your toothpick is enough to create that marble effect, and if you arent confident, you can always dollop the cheesecake mixture in small circles instead of spreading it.
Storage and Make Ahead Tips
These actually taste better the next day when the flavors have had time to meld together. I keep them in the refrigerator and let them come to room temperature for about 15 minutes before serving, the texture transforms from slightly firm to wonderfully fudgy.
Serving Suggestions
A light dusting of powdered sugar right before serving makes these look like they came from a bakery. Chocolate shavings, a tiny drizzle of melted white chocolate, or even a fresh raspberry on top can elevate them for special occasions.
- Arrange them on a tiered stand for an impressive party display
- Pair with coffee or dessert wine for an elegant ending to a meal
- Package them in clear boxes tied with red ribbon for edible gifts
 Save
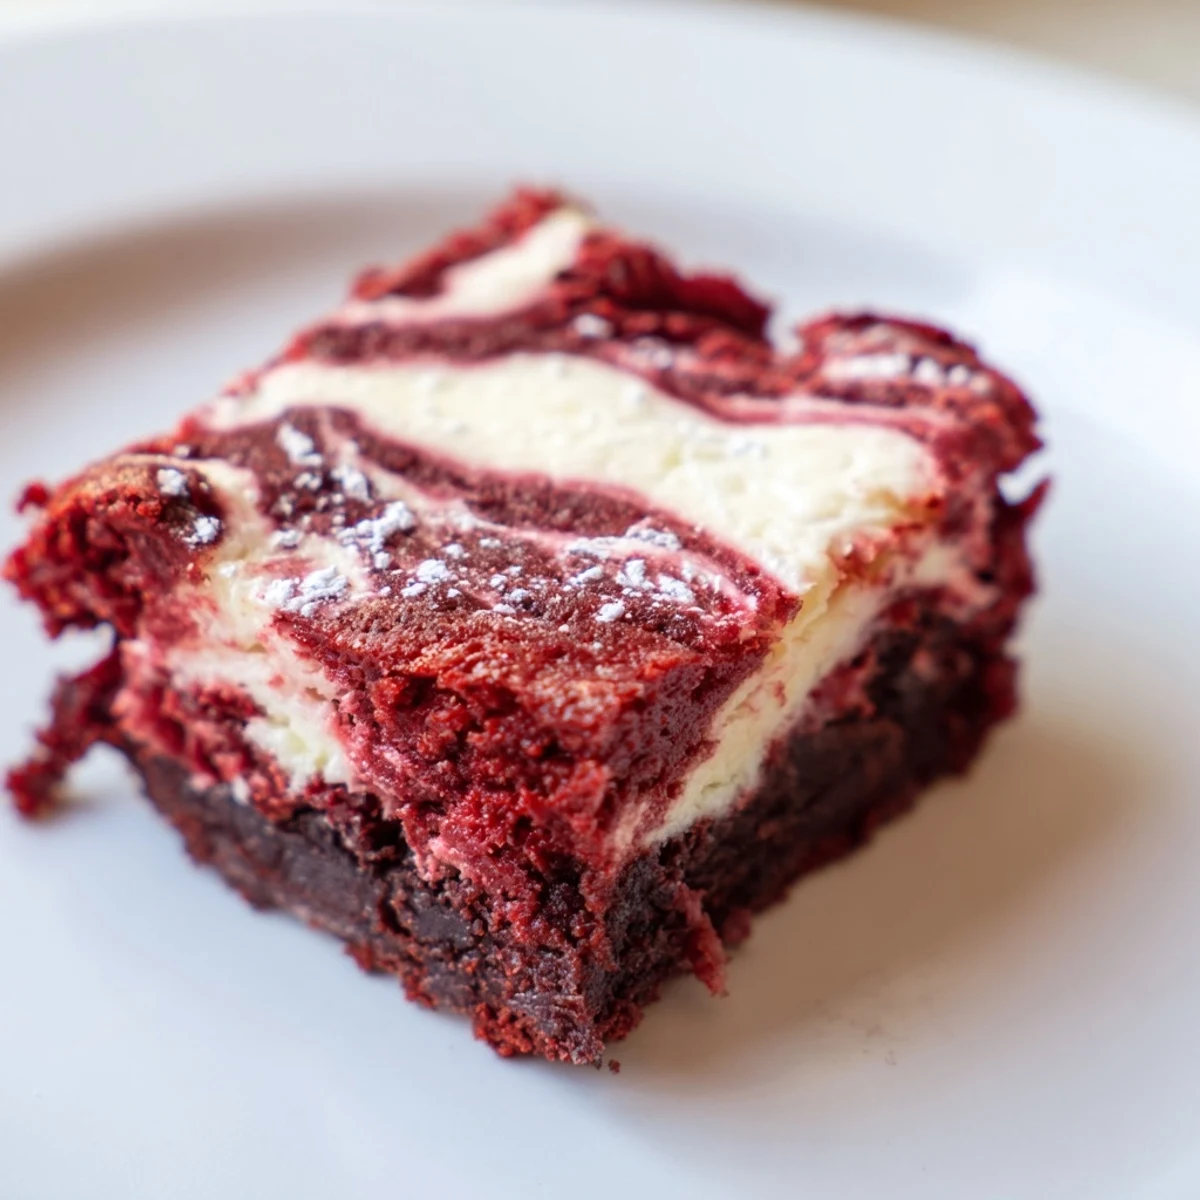
Save Every time I make these, I remember why they are worth the extra effort of the swirl step. That first bite with the layers of chocolate and cream cheese together never gets old.
Recipe FAQs
- → What makes the brownies red velvet?
-
The vibrant red color comes from red food coloring blended into the batter along with cocoa powder, giving a unique flavor and appearance.
- → How is the cheesecake swirl made?
-
A mixture of softened cream cheese, sugar, egg yolk, and vanilla extract is gently spooned over the brownie batter and swirled to create a marbled effect.
- → Can these bites be stored for later?
-
Yes, they keep well in an airtight container refrigerated for up to five days without losing texture or flavor.
- → What equipment is needed for baking these bites?
-
You'll need a mini muffin tin, mixing bowls, an electric mixer or whisk, and a toothpick or skewer to create the swirls.
- → How can I enhance the flavor of the cocoa?
-
Using Dutch-process cocoa powder enriches the chocolate depth, providing a smoother and more intense taste.
- → Are there any common allergens in these bites?
-
They contain eggs, dairy from cream cheese, and wheat flour. Check ingredient sources carefully if allergies are a concern.
