 Save
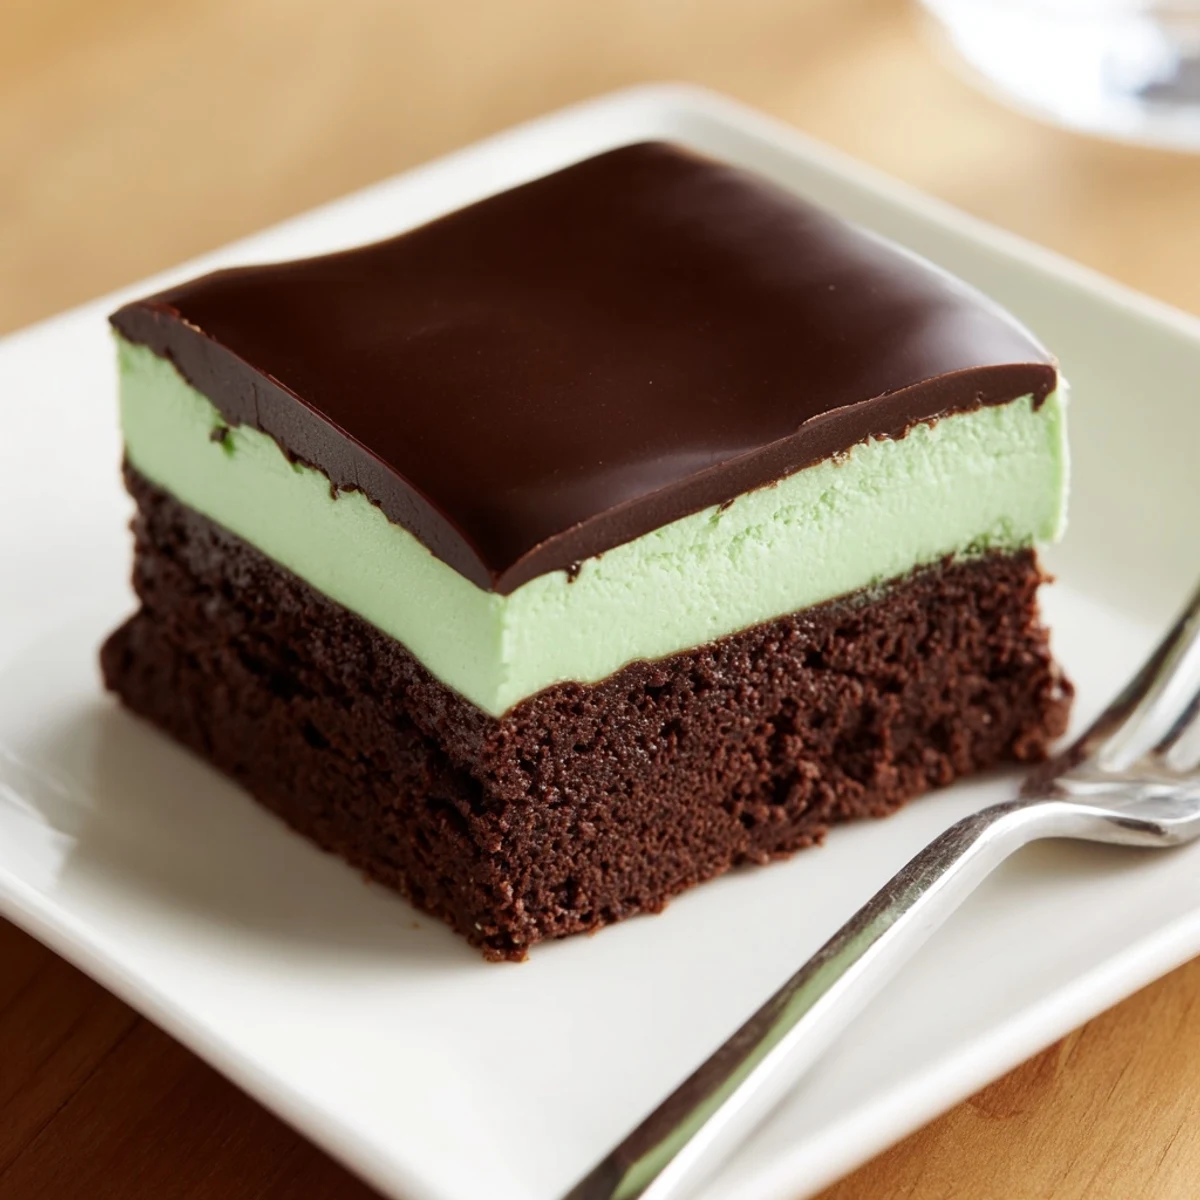
Save These Shamrock Mint Brownies feature a rich, fudgy base infused with chocolate and butter. A creamy mint layer adds a refreshing contrast, topped with smooth chocolate ganache for extra indulgence. Baking involves careful mixing and precise layering, followed by cooling to set each component perfectly. Ideal for festive occasions or whenever a decadent treat is desired, these brownies balance sweetness and mint flavor flawlessly.
The smell of melting chocolate always pulls me into the kitchen, but that first time I made these mint brownies, I literally burnt the butter because I got distracted texting my sister about her new apartment. The smoke detector went off, my cat hid under the bed for an hour, and I had to start completely over. Now I never leave the stove unsupervised when melting chocolate—lesson learned the dramatic way.
Last March, I brought a batch of these to my book club and watched normally reserved adults eye each other across the table, silently negotiating who would get the last square. Someone actually asked if I could make them for her daughters birthday instead of cake. That moment when a dessert transcends being just food and becomes the thing people remember about the gathering.
Ingredients
- Unsalted butter: Use real butter here, not margarine—the flavor difference is noticeable and affects how the chocolate melts
- Semi-sweet chocolate: Chop it yourself instead of using chips for better melting and a smoother texture in the final brownie
- Granulated sugar: This creates that crackly, shiny top on the brownies that looks so professional
- Eggs: Room temperature eggs incorporate better and prevent the chocolate from seizing when you add them
- Vanilla extract: Pure vanilla makes a difference, but imitation works in a pinch
- All-purpose flour: Measure by weight if you can, but if using cups, spoon and level instead of scooping directly
- Unsweetened cocoa powder: Dutch-processed gives a deeper, fudgier chocolate flavor
- Salt: Enhances chocolate flavor without making these taste salty—dont skip it
- Softened butter: Truly softened butter creates that silky, smooth mint layer without any grittiness
- Powdered sugar: Sifting prevents lumps that would ruin the creamy texture of the mint frosting
- Whole milk: Creates the right consistency—cream makes it too thick, water makes it too thin
- Peppermint extract: Start with less than you think, you can always add more but you cant take it back
- Heavy cream: The higher fat content creates that glossy, pourable ganache that sets beautifully
Instructions
- Prepare your pan like a professional:
- Lining with parchment paper and leaving those overhangs feels fussy until you try removing brownies without it and end up with a crumbled mess. Trust me, the extra thirty seconds saves so much frustration later.
- Melt with patience:
- Keep the heat low and stir constantly. Youll see the butter and chocolate transform into something glossy and smooth—when it looks like liquid silk, youre there.
- Whisk with intention:
- Add sugar first and watch it disappear into the warm chocolate mixture. Those eggs need to be incorporated one at a time, really whisking each time until you cant see any yellow streaks.
- Fold, dont beat:
- Sifting the dry ingredients together prevents flour pockets. When you fold, use a spatula and gently turn the mixture over itself—stop the second you dont see dry flour anymore.
- Bake until just right:
- That toothpick test matters—moist crumbs are perfect, wet batter needs more time, clean means youve gone too far. The brownies continue cooking as they cool, so pulling them out slightly underdone is the secret.
- Create the mint magic:
- Beat that butter until its seriously creamy before adding anything else. Add food coloring drop by drop—pastel green looks so much more elegant than that bright artificial shade.
- Chill for success:
- The mint layer needs to set completely before ganache or everything will swirl together. Thirty minutes minimum, but honestly longer is better if you can wait.
- Master the ganache:
- Watch the cream carefully—you want tiny bubbles around the edges, not a rolling boil. Pouring it over the chocolate and waiting those two minutes feels impossible, but stirring too early makes the ganache grainy.
- Set and slice:
- That hour in the fridge feels forever when you want to taste them, but clean cuts require patience. Wipe your knife between every single cut for those sharp, professional-looking edges.
 Save
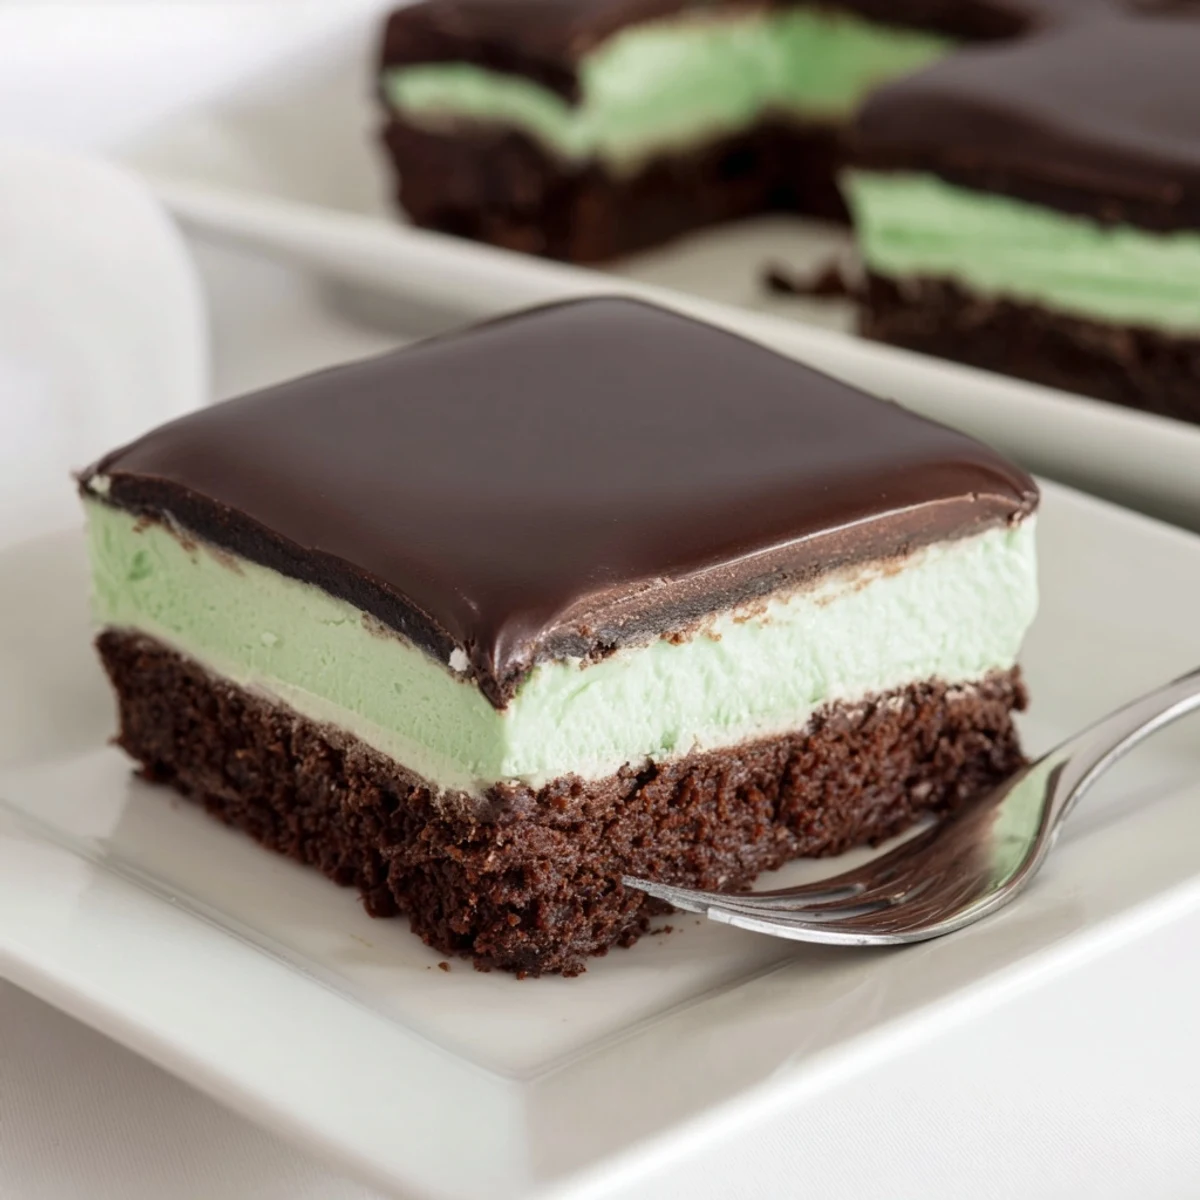
Save My roommate walked in while I was pouring the ganache and literally said she didnt know whether to take a picture or eat the whole pan immediately. That glossy chocolate layer against the mint cream is the kind of thing that makes people pause and really appreciate food as art.
Getting That Perfect Green
Natural food coloring gives a softer, more sophisticated green than the artificial stuff, but use whichever you have on hand. Start with one drop, mix thoroughly, then add more—its so much easier to deepen color than to fix something thats gone too bright.
Make-Ahead Magic
These actually taste better after sitting overnight in the fridge, which makes them perfect for entertaining. The flavors meld together and the texture becomes even more fudgy, so feel free to make them a day before your event.
Serving Suggestions
A slightly warmed brownie with the ganache still melting is absolutely divine, but room temperature lets all three layers shine equally. These are rich enough that small squares satisfy completely.
- Cut them while slightly cold for cleanest edges, then let sit at room temp before serving
- A dusting of cocoa powder over the ganache adds visual interest and extra chocolate depth
- Pair with coffee or milk to balance the intensity of all that chocolate
 Save
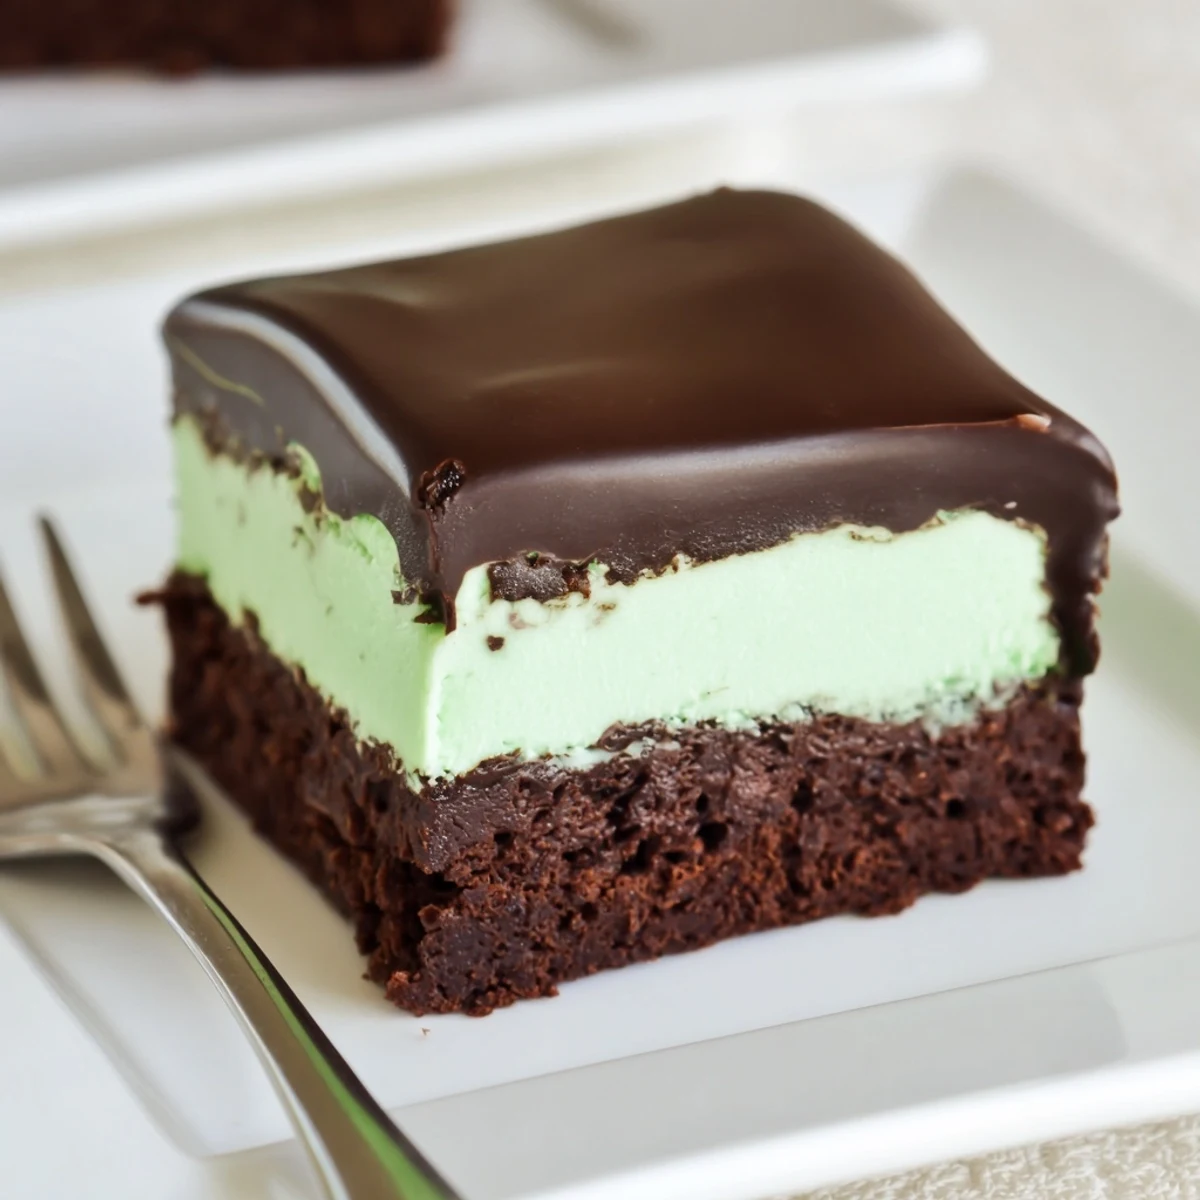
Save Every time I make these, I remember why theyre worth every step—those three distinct layers coming together in one bite is just magic.
Recipe FAQs
- → How do I achieve a fudgy texture in the brownie base?
-
Use a combination of melted butter and semi-sweet chocolate, avoiding overmixing the batter to keep it dense and moist.
- → What is the best way to get a smooth mint cream layer?
-
Beat softened butter until creamy before gradually adding powdered sugar, milk, peppermint extract, and a touch of green coloring to reach a spreadable consistency.
- → How should the chocolate ganache be prepared for a glossy finish?
-
Heat heavy cream just until simmering, then pour over chopped chocolate and butter. Let it sit briefly before stirring to combine until smooth and shiny.
- → Can these brownies be stored, and for how long?
-
Store cooled brownies in an airtight container in the refrigerator for up to 5 days to maintain freshness.
- → How can I enhance the mint flavor intensity?
-
Add an extra quarter teaspoon of peppermint extract to the cream layer to boost the minty aroma without overpowering.
- → Is it possible to use dark chocolate instead of semi-sweet?
-
Yes, substituting dark chocolate in the ganache results in a less sweet but richer finish.
