 Save
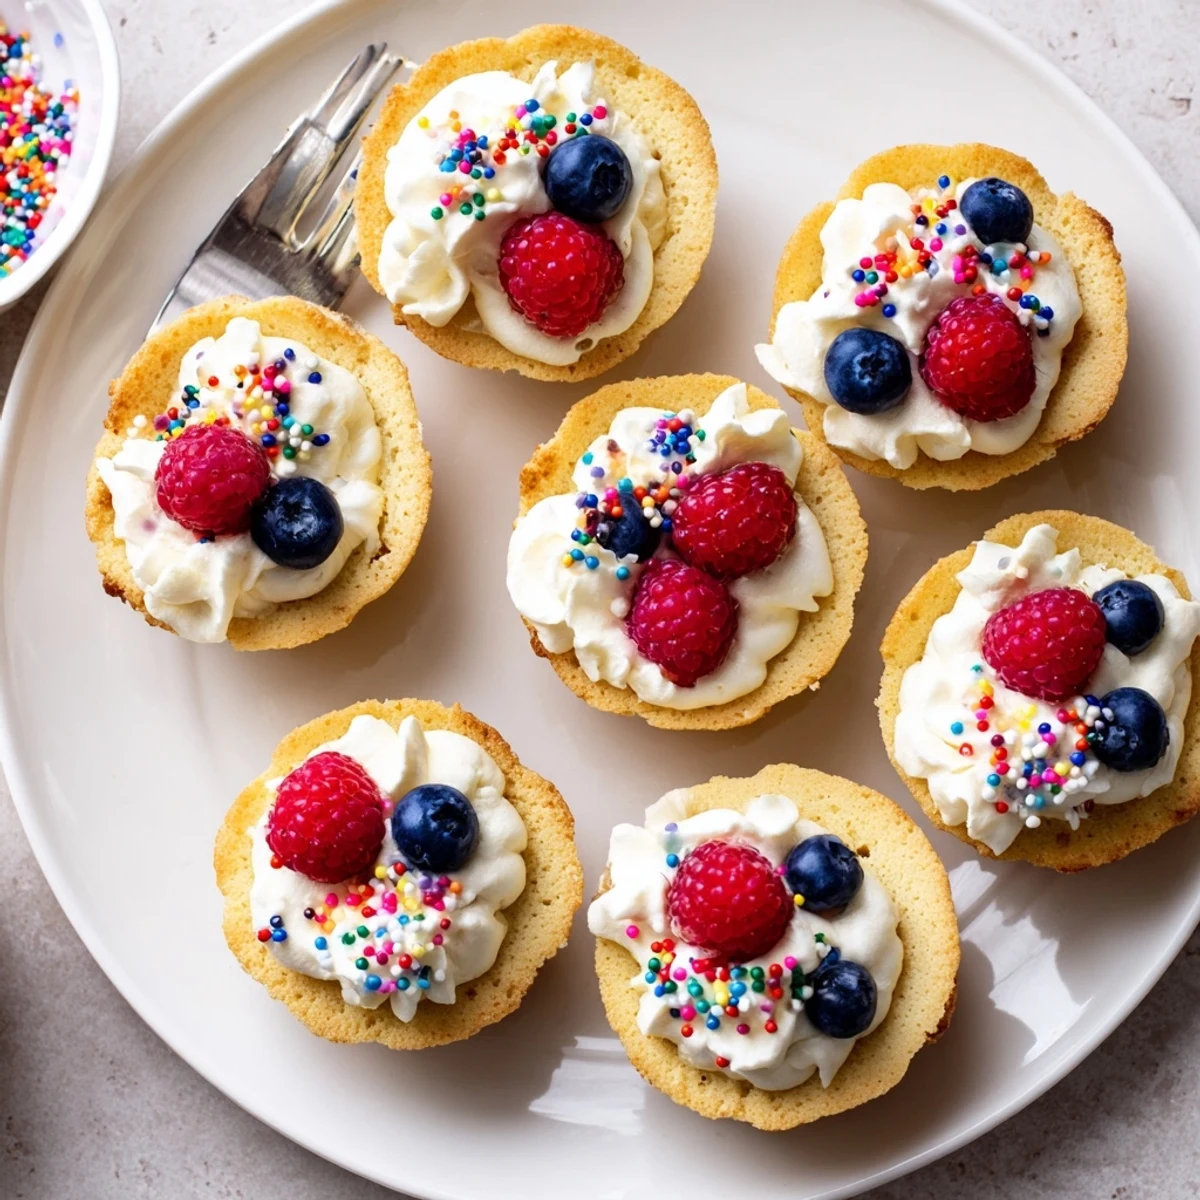
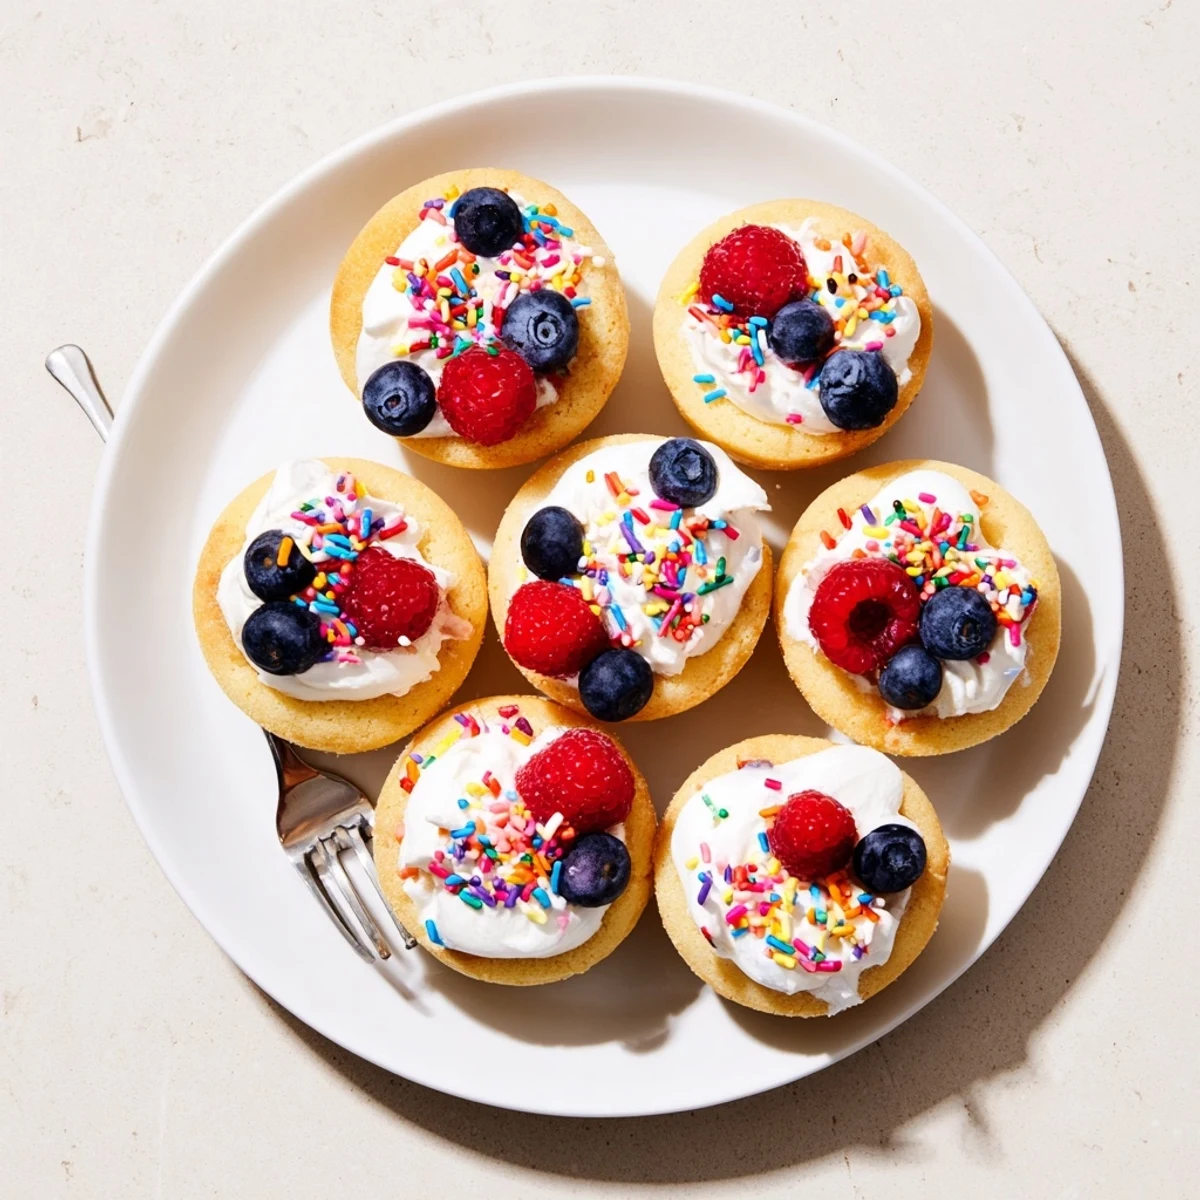
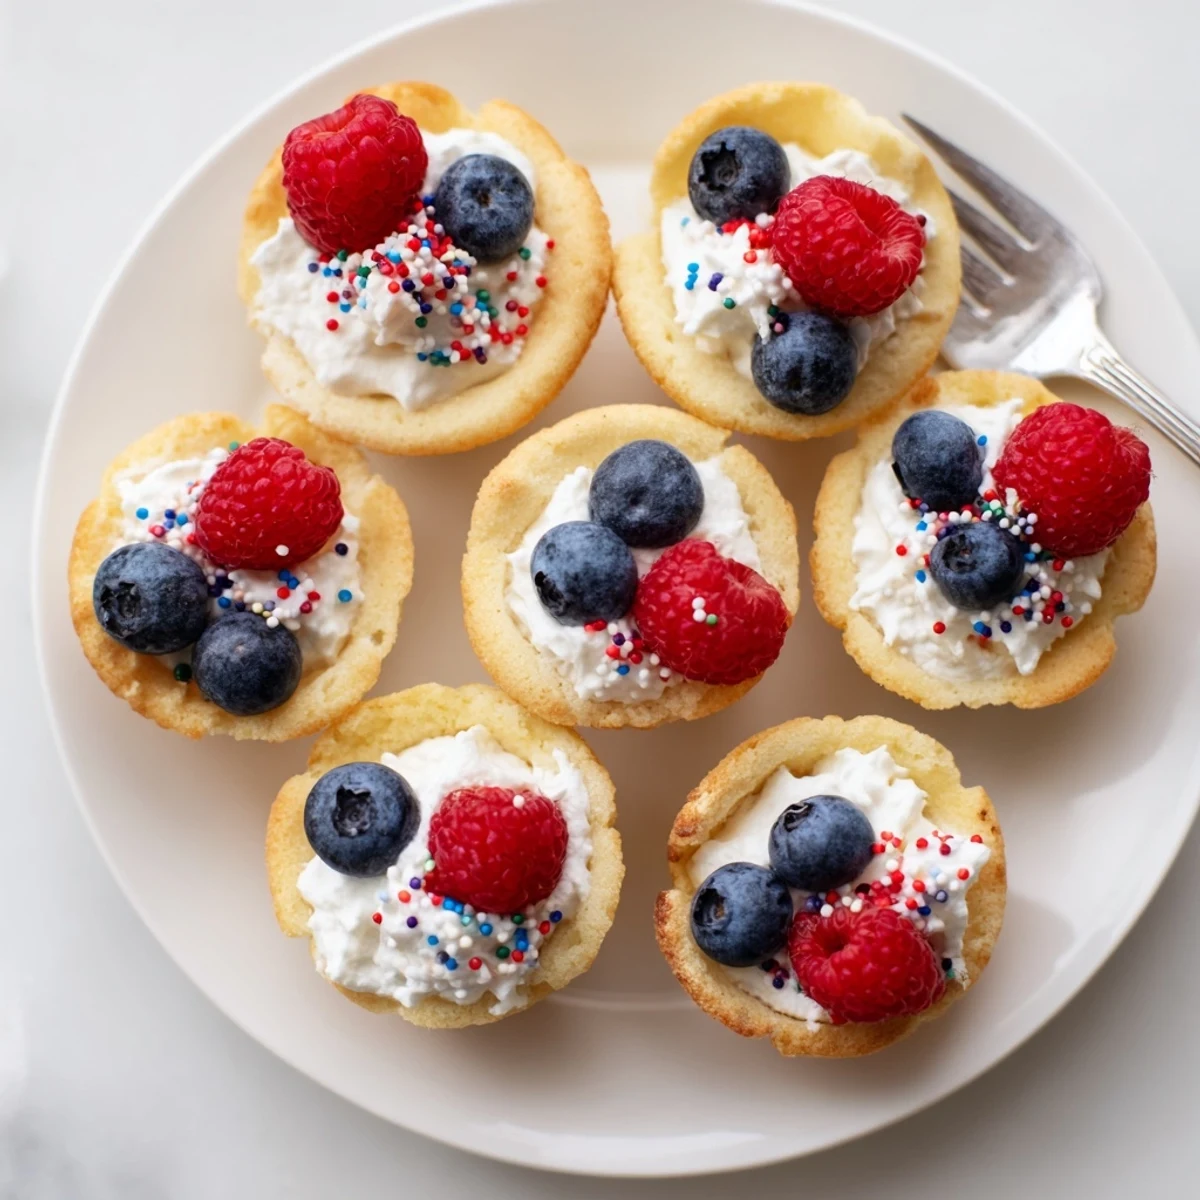
Save These charming sugar cookie cups transform classic cookies into handheld delights. Baked in mini muffin tins, each golden cup creates a perfect edible vessel for your favorite fillings. The vanilla-scented dough bakes into tender, buttery cups with lightly crisp edges. While still warm, a gentle press deepens the center for maximum filling capacity. Top with freshly whipped vanilla cream, vibrant berries, colorful sprinkles, or rich chocolate ganache. These versatile treats adapt to any celebration—birthday parties, holiday gatherings, or everyday sweetness. Kids adore decorating them, and adults appreciate the portion-controlled elegance. Make ahead and store unfilled, then add fresh toppings before serving for optimal texture.
The kitchen counter was covered in flour when my daughter suggested we turn our usual sugar cookie dough into something she could eat in one bite. I grabbed the mini muffin tin without thinking twice, and somehow those little edible cups became the most requested treat at every gathering since.
Last summer I made three batches for a neighborhood block party and watched them disappear faster than anything else on the table. Kids were sneaking seconds before dinner even started, and the adults kept asking where I bought them from.
Ingredients
- All-purpose flour: The foundation that gives these cups their structure without becoming tough
- Unsalted butter: Room temperature butter creams perfectly with sugar for that tender melt-in-your-mouth texture
- Granulated sugar: Creates the classic crisp edges while keeping centers soft
- Heavy cream: Whipped into clouds it balances the sweetness of the cookie cups
- Pure vanilla extract: Never skip this one ingredient it makes all the difference between flat and flavorful
Instructions
- Preheat and prepare:
- Heat your oven to 350°F and grease every cup of a 24-cup mini muffin tin thoroughly
- Whisk the dry ingredients:
- Combine flour baking soda and salt in a medium bowl and set aside
- Cream the butter and sugar:
- Beat softened butter and granulated sugar until the mixture turns pale and fluffy about 2 full minutes
- Add egg and vanilla:
- Crack in the egg and pour in the vanilla then mix until everything is incorporated
- Combine everything:
- Gradually add the dry ingredients to the wet mixing just until no flour streaks remain
- Shape the cups:
- Scoop one tablespoon of dough into each muffin cup and press it up the sides to form a hollow center
- Bake to golden:
- Bake for 10 to 12 minutes until edges turn light golden and centers are set
- Deepen the wells:
- Press the back of a spoon into each warm cup to reinforce the shape while they cool in the tin
- Whip the cream:
- Beat cold heavy cream with powdered sugar and vanilla until stiff peaks form
- Fill and decorate:
- Fill each cooled cup with cream and top with berries sprinkles or whatever makes you happy
 Save
Save My niece now requests these for her birthday instead of cake every single year. Something about having your own tiny dessert makes people feel special like each cup was made just for them.
Filling Variations That Work
Lemon curd brings a bright tangy contrast to the sweet cookie base while chocolate ganache turns them into something rich and indulgent. I once filled them with cream cheese frosting and sprinkles for a baby shower and the moms could not stop talking about them.
Making Them Ahead
The unfilled cups store beautifully in an airtight container for up to three days on your counter. Just keep the filling separate until right before serving to maintain that perfect texture contrast between crisp cup and fluffy cream.
Getting The Shape Right
The first time I made these I skipped the step of pressing the centers after baking and learned my lesson when all the filling spilled over the edges. Taking that extra moment with the spoon while they are still warm makes all the difference between a neat cup and a messy one.
- A small cookie scoop keeps portion sizes uniform for even baking
- Grease the tin thoroughly even nonstick needs help with these
- Let them cool in the tin for at least 10 minutes before moving them
 Save
Save These little cups have become my go-to for whenever I need to bring something that guarantees smiles. They are impossibly cute and somehow the two-bite size makes everyone feel like they can indulge just a little bit more.
Recipe FAQs
- → How do I prevent the cookie cups from sticking to the muffin tin?
-
Lightly grease your mini muffin tin with butter or cooking spray before adding dough. Allow the cups to cool for about 10 minutes in the tin before carefully removing them with a small spoon or knife. If any stubborn spots remain, twist gently to release.
- → Can I make the cookie dough ahead of time?
-
Absolutely. Wrap the dough tightly in plastic and refrigerate for up to 3 days or freeze for up to 3 months. Let chilled dough soften slightly at room temperature for 15-20 minutes before scooping into the muffin tin for easier handling.
- → What other fillings work well in these cups?
-
Beyond whipped cream, try lemon curd for brightness, chocolate ganache for richness, cream cheese frosting for tanginess, or fruit preserves for sweetness. Nutella, peanut butter, or even ice cream just before serving make delicious alternatives.
- → How do I store filled versus unfilled cookie cups?
-
Store unfilled cups in an airtight container at room temperature for 3 days or freeze for up to 2 months. For best results, fill cups within a few hours of serving—filled cups stay fresh for about 6 hours at room temperature or 1 day refrigerated depending on the filling used.
- → Can I double this recipe for larger gatherings?
-
Yes, simply double all ingredients. You'll need about 48 muffin cups total, so plan to bake in batches or use two mini muffin tins. The baking time remains the same. These are always popular at parties, so making extra ensures none go to waste.
- → Why do I press the centers again after baking?
-
During baking, the cookie dough puffs up slightly in the center. Gently pressing with a spoon while warm reshapes the cup and creates extra space for your filling. The dough is pliable at this stage and holds its shape as it cools completely.
