 Save
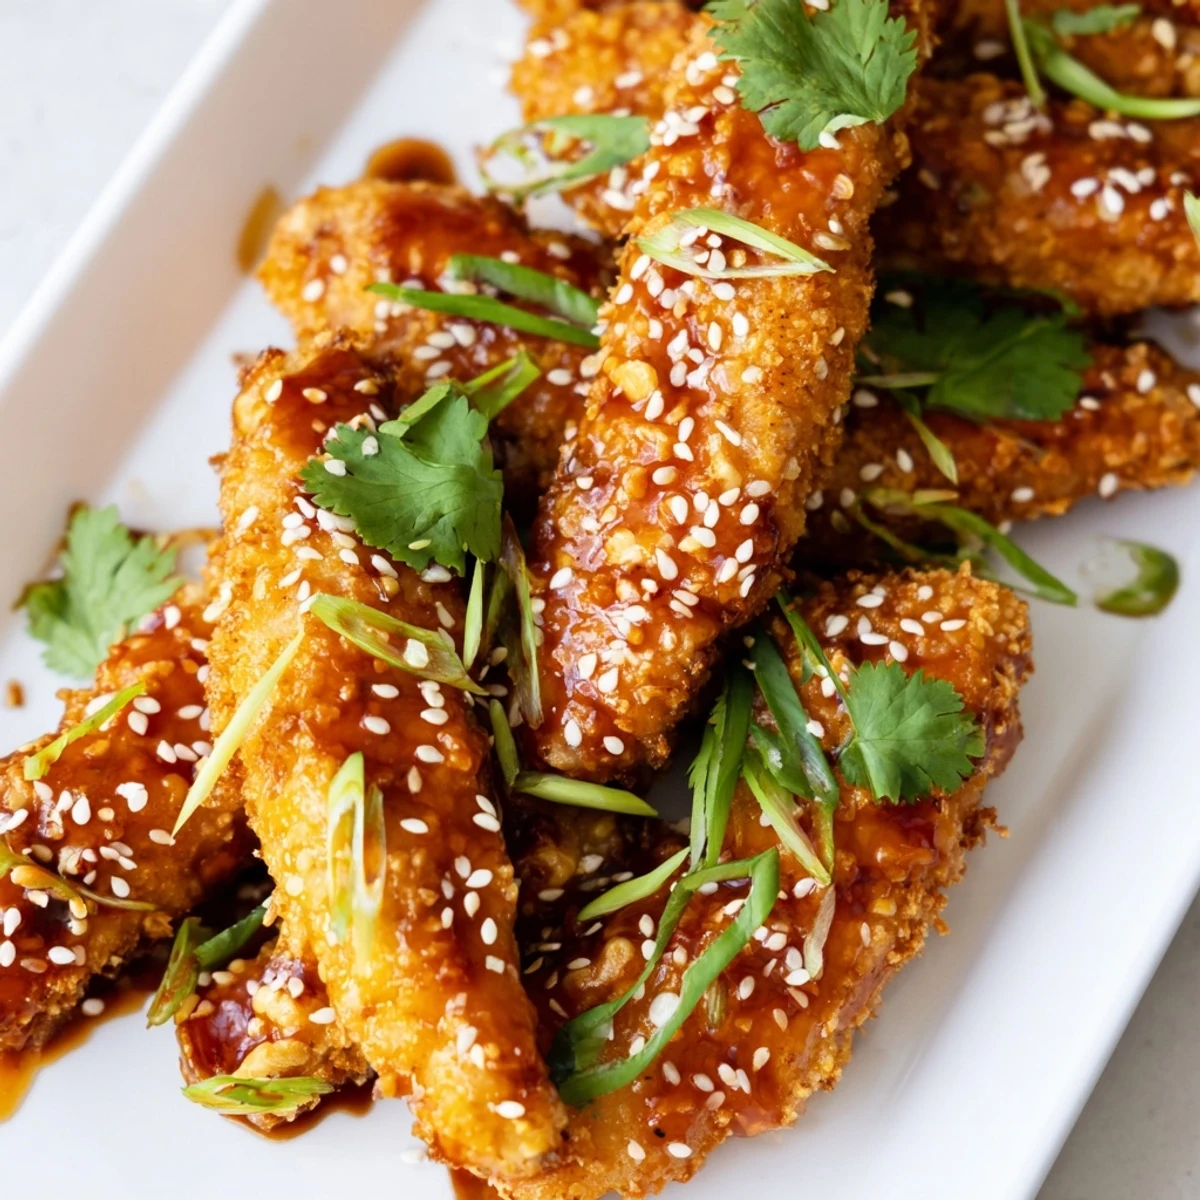
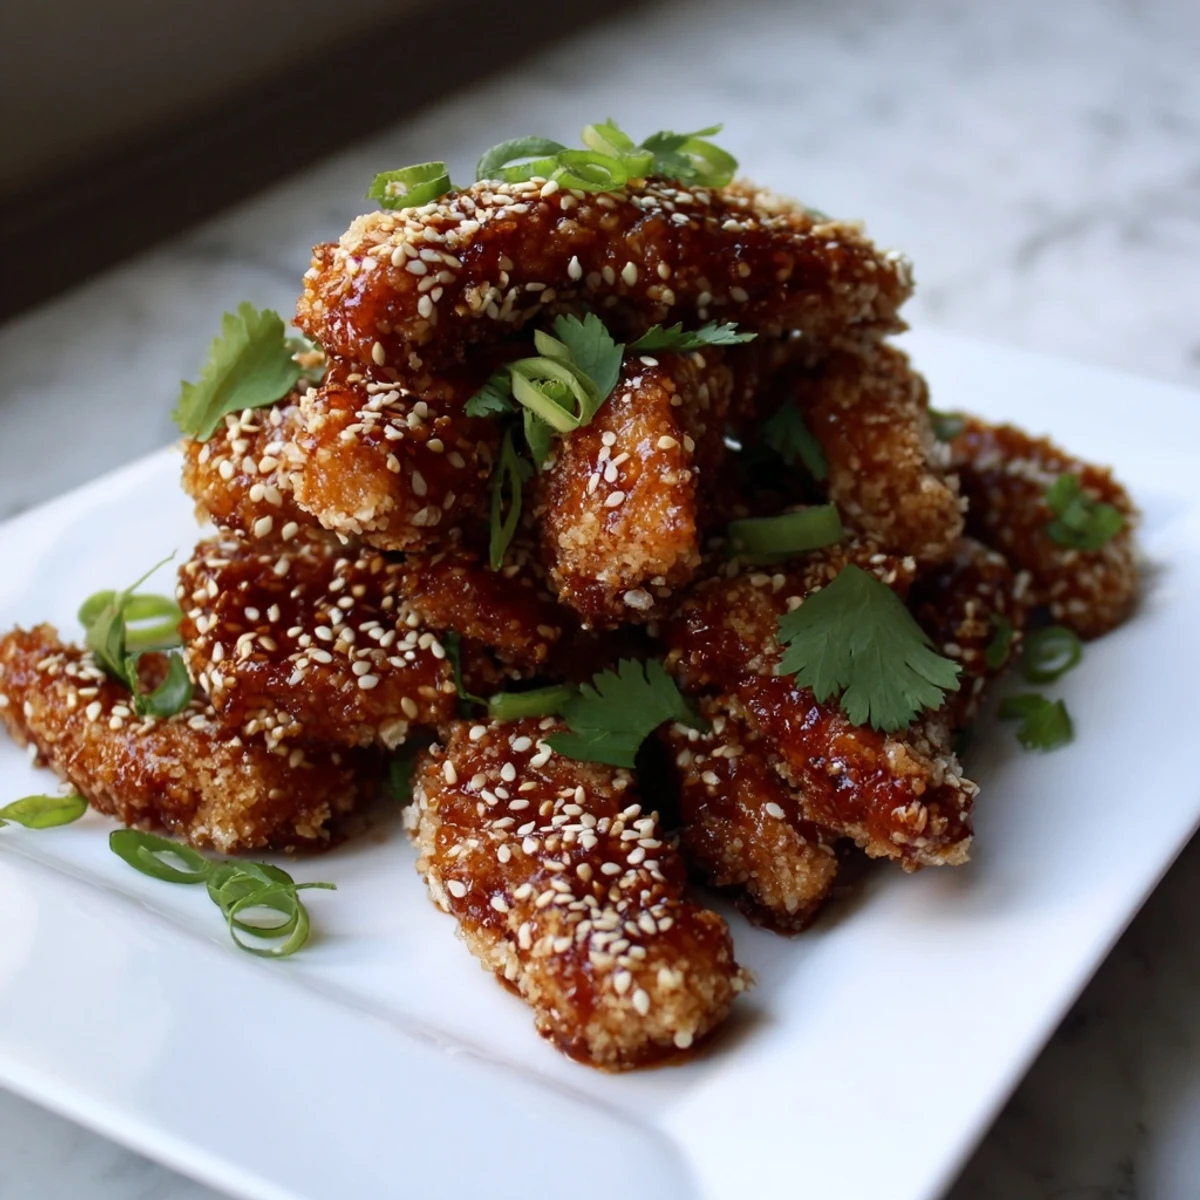
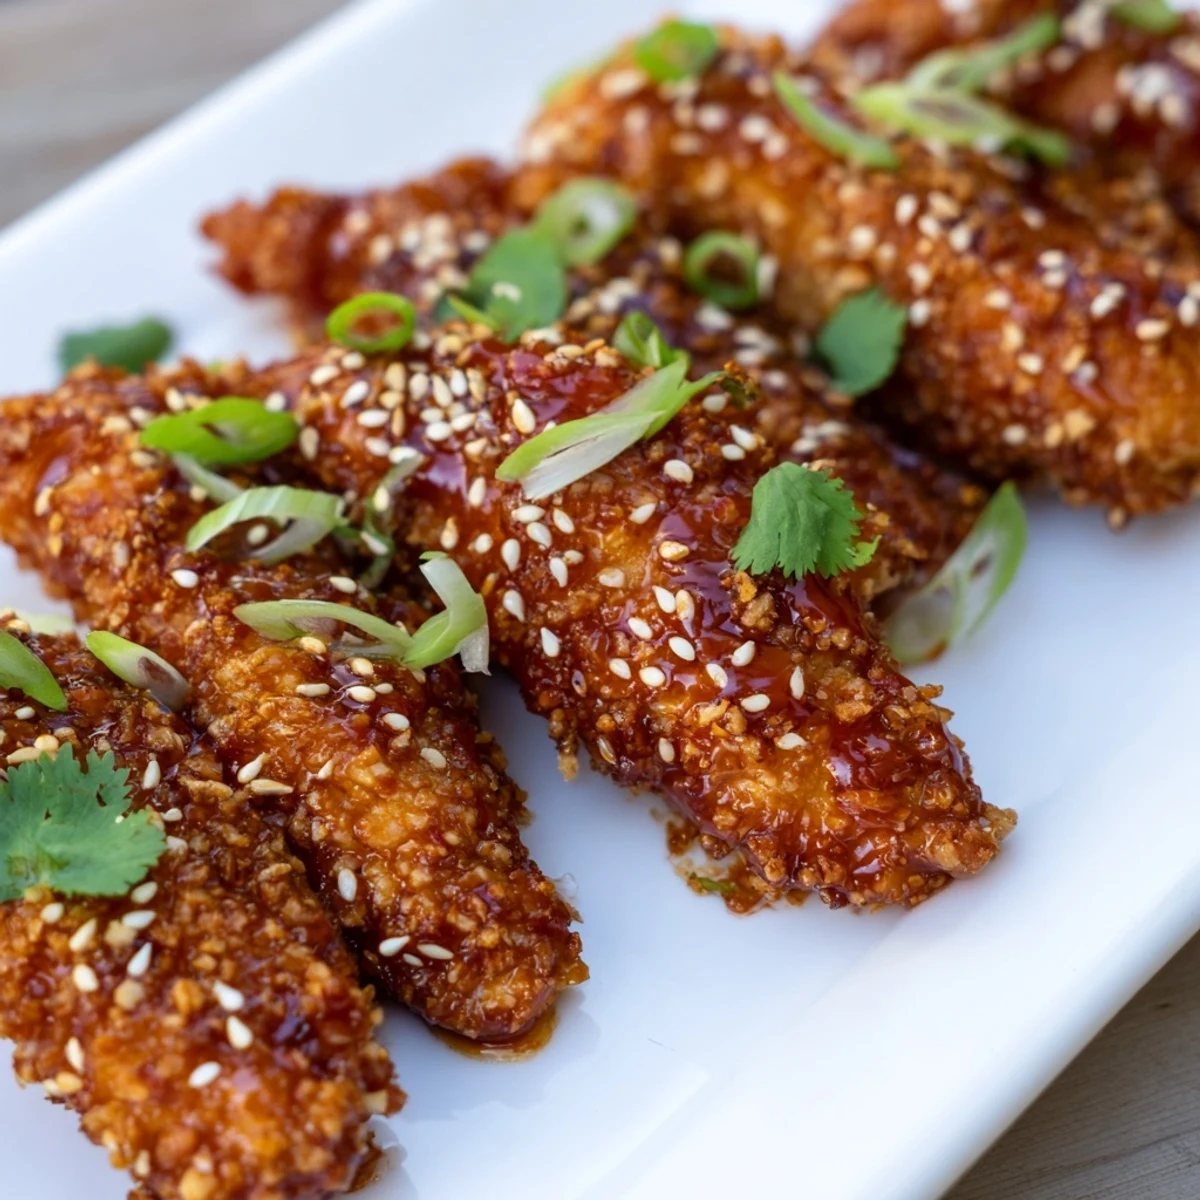
Save These crispy chicken fingers feature a golden panko coating that gets tossed in a homemade sticky Thai sauce. The sauce balances sweet chili, honey, and soy with aromatic ginger and garlic, while a hint of sriracha adds gentle heat. Serve these as an appetizer for gatherings or pair with jasmine rice for a satisfying meal.
My friend Mai showed up at my door last winter with takeout containers and announced we were having a DIY crispy chicken experiment night. We burned through three batches before landing on this Thai sticky version that had both of us doing happy dances in her tiny kitchen. Now it is the only thing anyone requests when I host game night.
Last summer I made these for my nephews birthday and his usually picky eater friend ate seven pieces then asked if I could teach his mom the recipe. Watching kids reach for seconds on something with actual ginger and garlic in the sauce felt like a serious parenting win.
Ingredients
- Chicken tenders or breasts: Cutting your own strips saves money and lets you control thickness for even cooking
- Salt and black pepper: Do not skip seasoning the chicken itself it needs a foundation before the coating
- All purpose flour: This first dredge creates the dry surface that helps egg stick properly
- Eggs: Two large eggs beaten well act as the glue between flour and panko
- Panko breadcrumbs: Japanese breadcrumbs stay lighter and crunchier than regular ones
- Garlic powder: Adding it directly to the panko means flavor in every bite
- Smoked paprika: Subtle depth that plays so nicely with the Thai flavors
- Sweet chili sauce: The backbone of the glude look for an authentic Thai brand
- Soy sauce: Use regular or light soy not dark which can overpower
- Honey: Balances the chili heat and helps the sauce coat beautifully
- Rice vinegar: Cuts through the sweetness and adds brightness
- Sesame oil: A little goes a long way for that nutty finish
- Sriracha: Optional but I love the extra kick it brings
- Fresh garlic and ginger: Fresh matters here jarred ginger just does not compare
- Toasted sesame seeds: Toast them yourself in a dry pan for 2 minutes
- Spring onions: Their mild bite contrasts perfectly with the sweet sauce
Instructions
- Get your oven ready:
- Preheat to 220°C (425°F) and line a baking sheet with parchment paper. This high temperature is what creates that golden crunch.
- Season the chicken:
- Sprinkle your strips with salt and pepper on all sides. Let them sit while you set up your coating station.
- Set up three shallow bowls:
- Flour in the first beaten eggs in the second and panko mixed with garlic powder and paprika in the third. Keep one hand dry for flour and one wet for egg to avoid the dreaded clumping fingers.
- Coat each strip:
- Dredge in flour shaking off excess dip in egg letting excess drip off then press firmly into panko. Place on the prepared baking sheet.
- Add a little oil:
- Lightly spray or brush the tops with oil. This step mimics deep frying without the mess.
- Bake until golden:
- 20 to 25 minutes flipping halfway. They should be deeply golden and feel firm when tapped.
- Make the magic sauce:
- While chicken bakes combine sweet chili sauce soy sauce honey rice vinegar sesame oil sriracha garlic and ginger in a small saucepan. Simmer for 2 to 3 minutes until slightly thickened.
- The toss:
- Transfer cooked chicken to a large bowl and pour half the sauce over. Gently toss to coat. Add more sauce if you want them extra sticky.
- Finish and serve:
- Arrange on a platter and scatter with sesame seeds spring onions and cilantro if using. Serve immediately while still hot and crispy.
 Save
Save My roommate started requesting these every Tuesday night and now we have a whole ritual around them. She sets up a movie while I cook and we eat them straight off the baking sheet standing in the kitchen.
Making Ahead
You can coat the chicken strips up to 4 hours ahead and refrigerate them on the baking tray covered tightly with plastic wrap. Add 2 to 3 minutes to the baking time since they will be cold.
Sauce Secrets
Double the sauce recipe and keep the extra in a jar in the refrigerator. It keeps for 2 weeks and works beautifully on grilled salmon or roasted cauliflower.
Serving Ideas
I have learned that serving these with something cool and fresh balances the heat perfectly. Cucumber ribbons with rice vinegar or a simple green salad with lime dressing work beautifully.
- Jasmine rice soaks up any extra sauce beautifully
- Cold beer or crisp white wine cuts through the sweetness
- Lime wedges on the side add a bright pop if needed
 Save
Save Hope these bring as much joy to your table as they have to mine. Happy cooking.
Recipe FAQs
- → What makes the sauce sticky?
-
The combination of sweet chili sauce, honey, and simmering the mixture creates that characteristic glossy, sticky texture that clings beautifully to the crispy coating.
- → Can I make these ahead of time?
-
Prepare the sauce up to 3 days in advance and store refrigerated. The chicken fingers are best served immediately after tossing with warm sauce for maximum crispiness.
- → How do I get extra crispy chicken?
-
Use panko breadcrumbs, ensure proper coating at each dredging stage, and finish under the broiler for 2 minutes. Lightly spraying with oil before baking also enhances crunch.
- → What can I serve with these?
-
Jasmine rice, fresh vegetable sticks, or a simple cucumber salad pair well. The dipping sauce doubles as a glaze, so no additional condiments are needed.
- → Can I adjust the spice level?
-
Omit or reduce the sriracha for a milder version. Add extra chili garlic sauce or red pepper flakes if you prefer more heat in the glaze.
- → Is there a vegetarian alternative?
-
Firm tofu cut into strips works well. Press tofu first to remove excess moisture, then follow the same coating and baking method.
